![微信图片_20170818112921]() 时间过得真快
时间过得真快
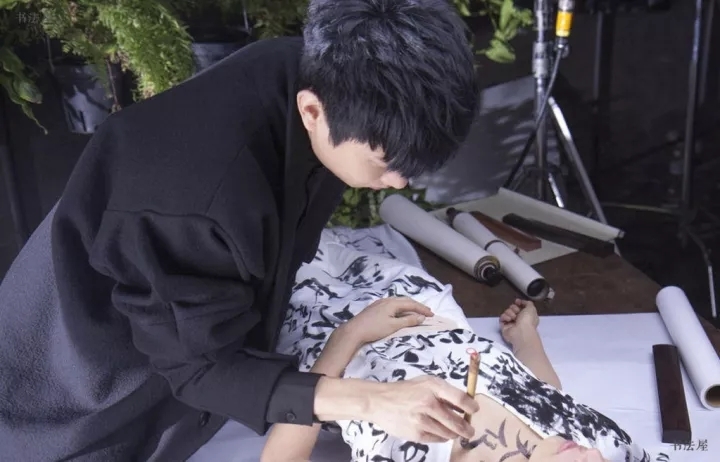
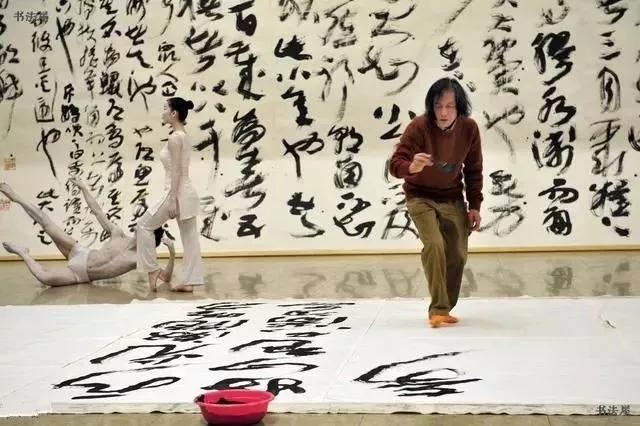
王长远老师隶书阶段的教学
马上告一段落了
![440ef293-0d0b-497a-a5b5-5c6e42e03eb6]()
在这三个月里,王老师继续他认真、细致的教学风格,每次课平均发送40个视频,教学时90分钟,尽可能地让学员听到要求,看到更多的细节。各位同学也按老师的要求,每周按时交作业、在群内热烈讨论、交流心得、互评作业、向老师请教,三个月下来,大家取得了超出预期的效果。可以说,隶书阶段又是收获满满。
老师点评到深夜,每周点评作业
![2.老师每周在作业本语音评作业]()
三个月教学不够,老师还免费加两节课
![图6,王老师加课]()
同学们互相勉励、点评、交流
![4同学们互相勉励、点评、交流]()
好的东西和资料分享
![8]()
这是一个
认真、执着、踏实的
准专业书法学习群
也是一个融洽友爱的大家庭
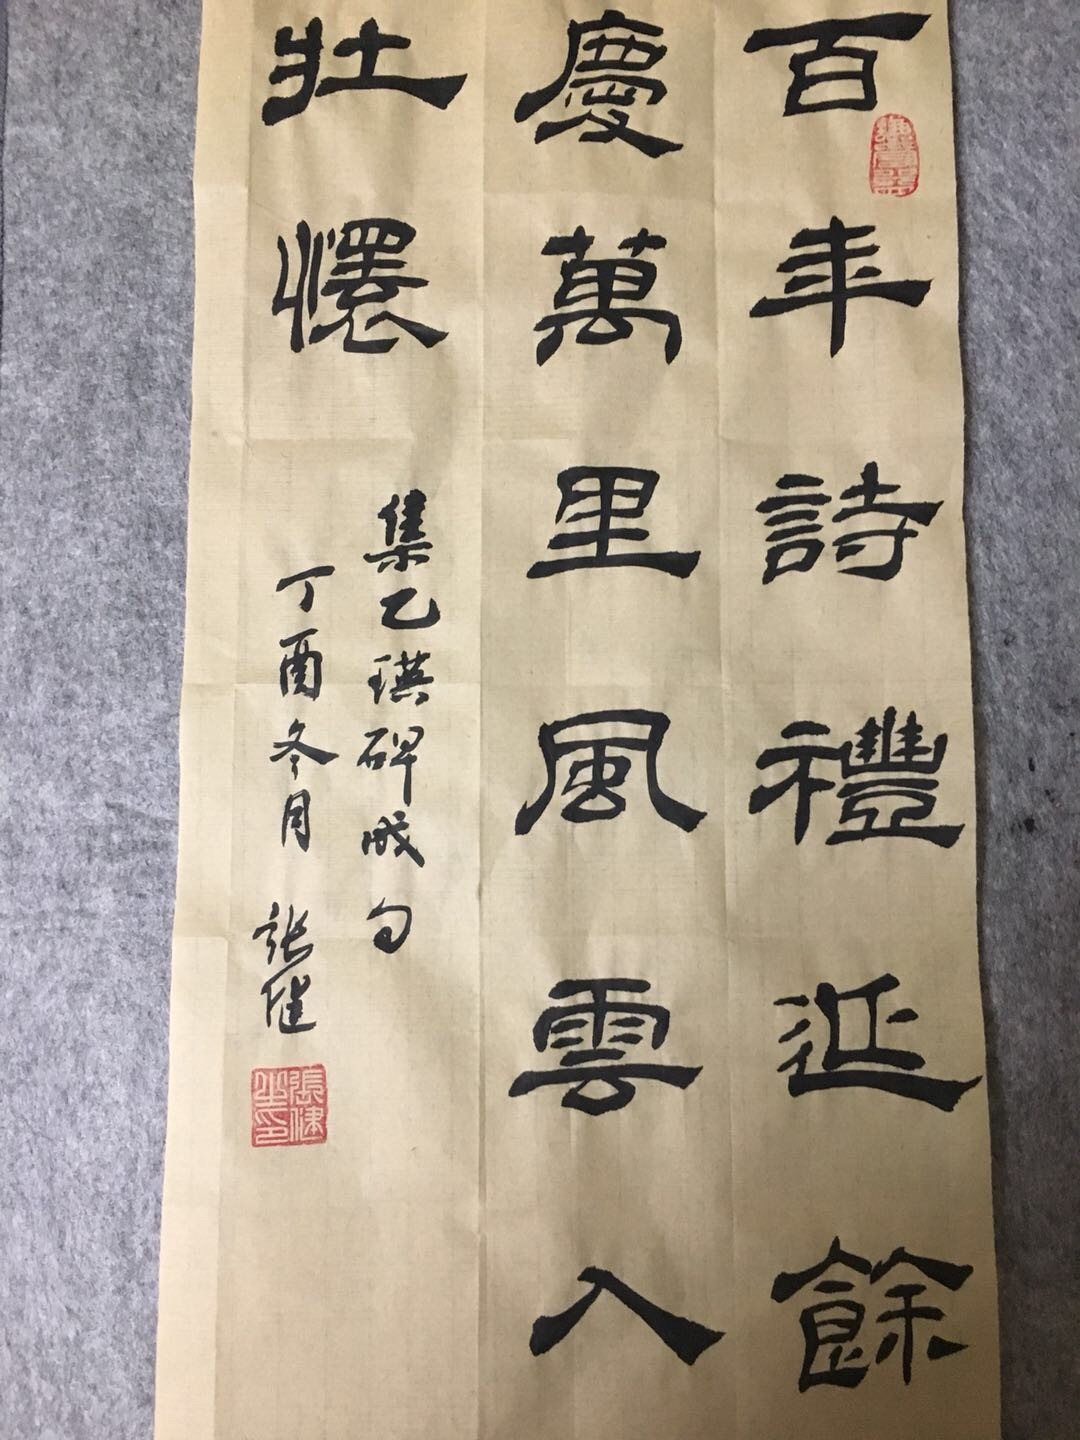
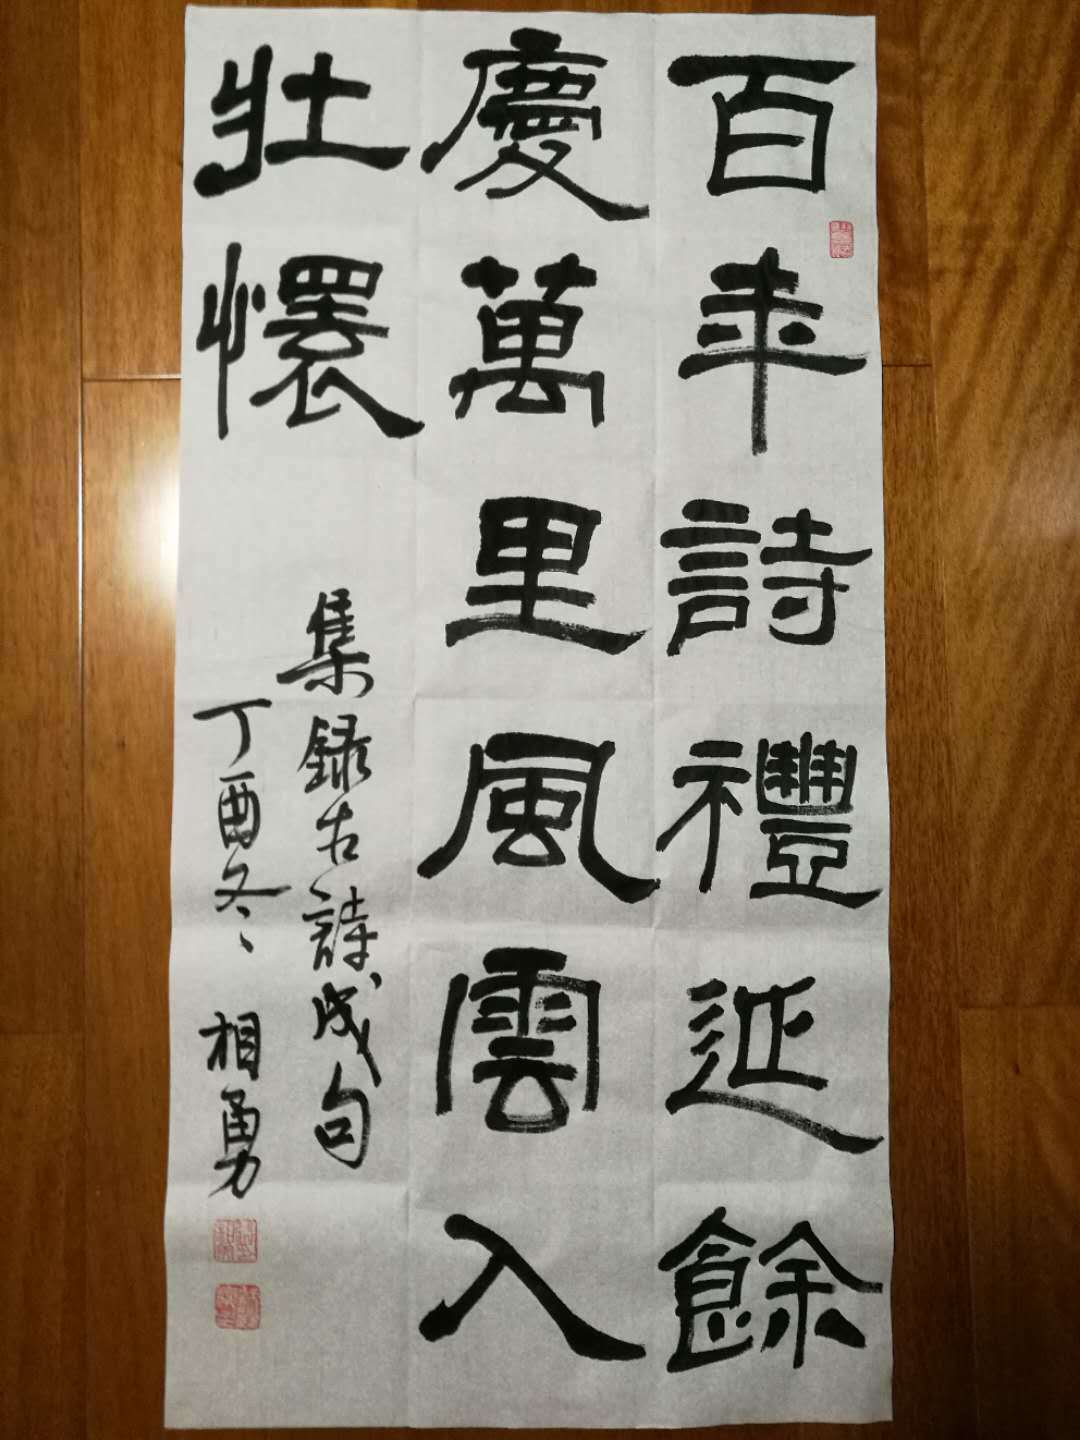
隶书阶段将于本月23日结束。经过一周的修整,王老师带着大家继续起航,1月6日开始进行楷书阶段的学习。
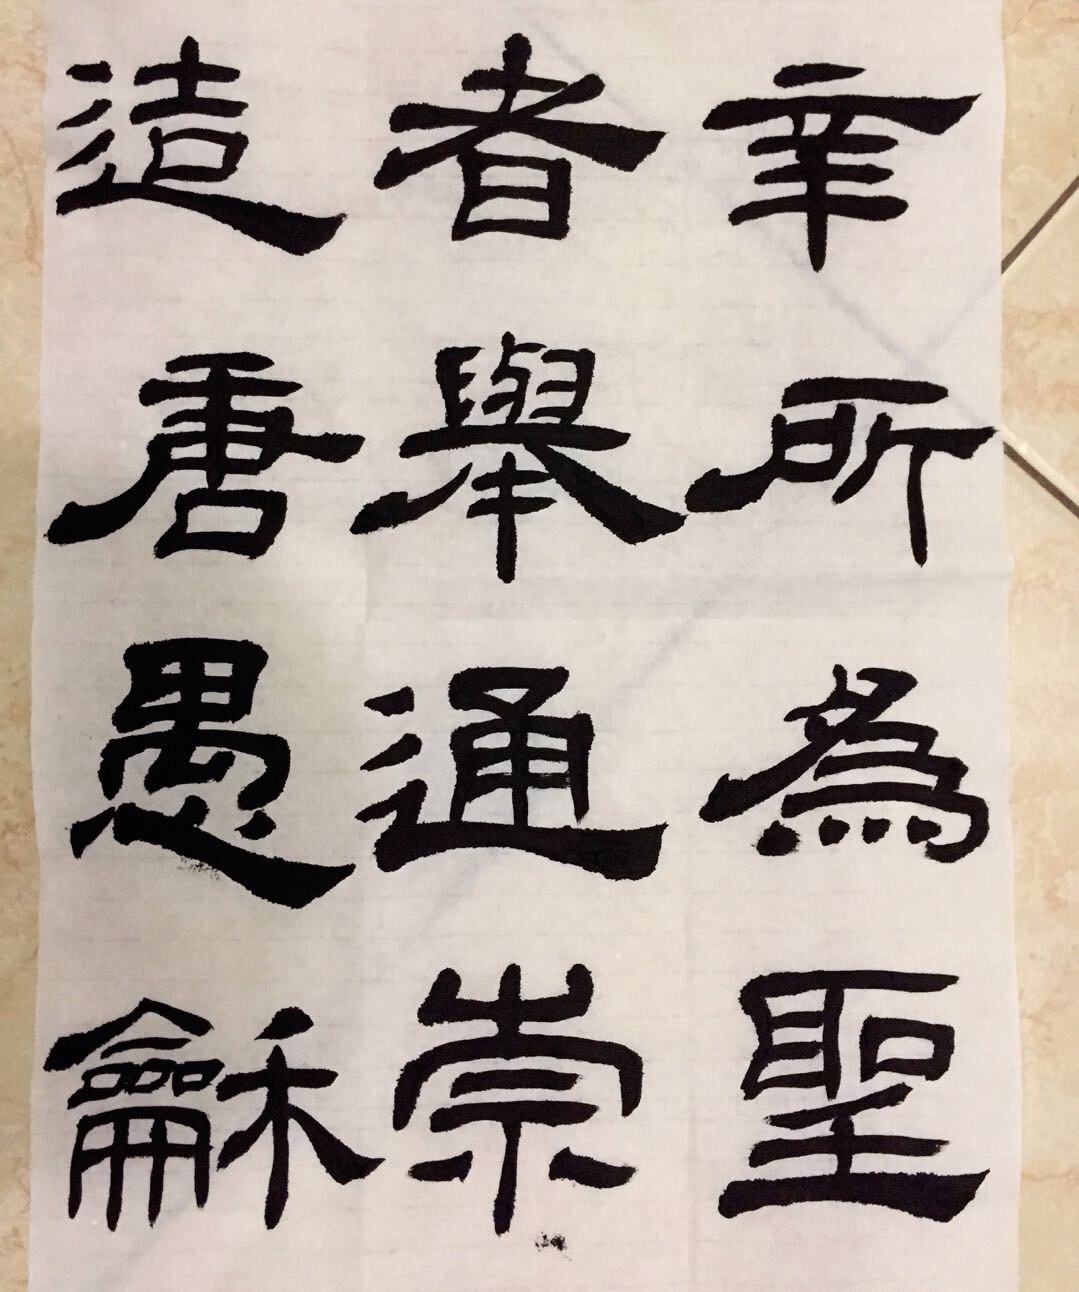
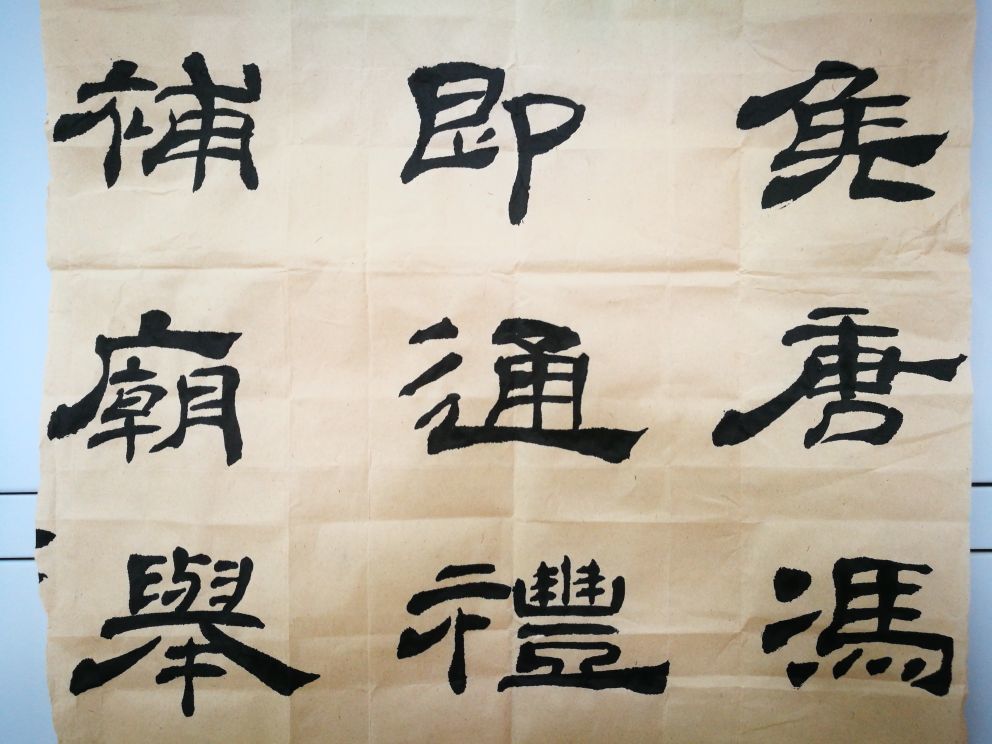
楷书段将以《张猛龙碑》、《雁塔圣教序》和《大字阴符经》为主轴,延续理论与技法相结合的教学理念,不只埋头苦练,还要寻根溯源、对比研究,摸清书体之间的联系。
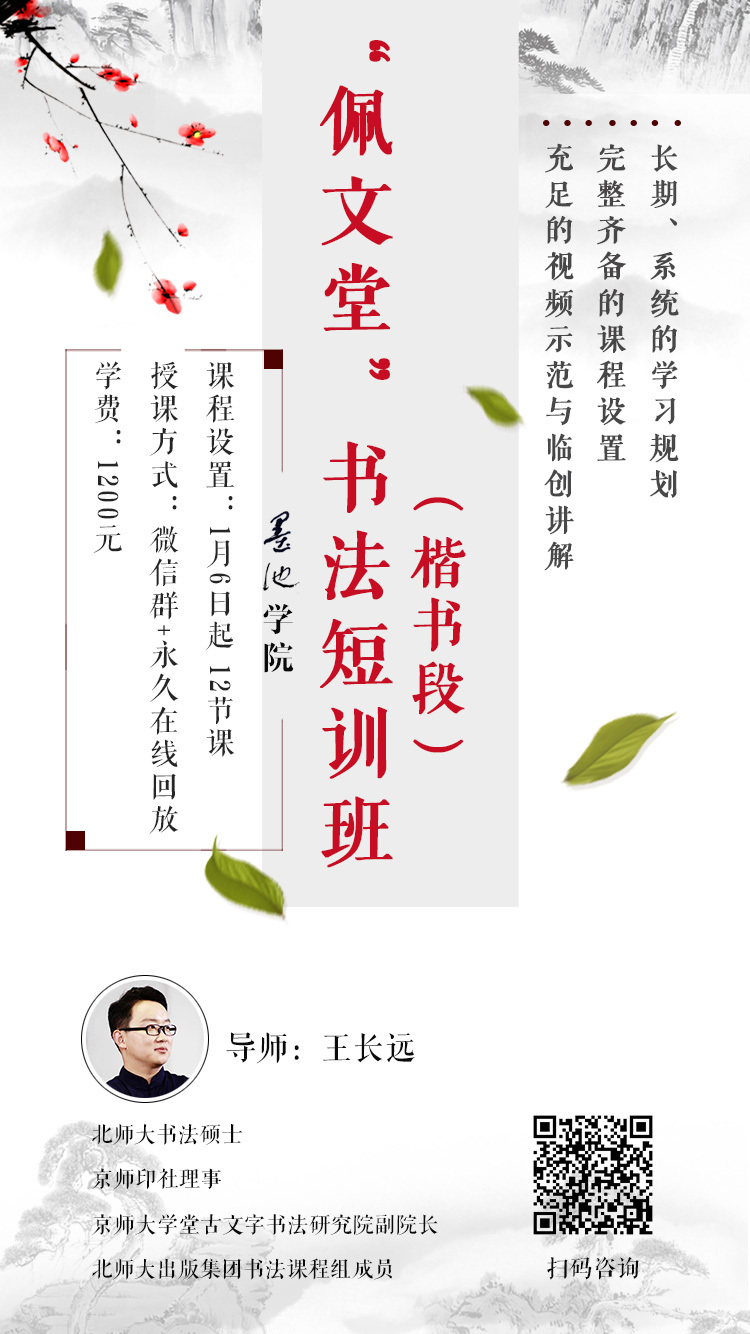
【点击此处,了解楷书段课程详情】
![虚线]()
下面,来看看各位学员的成果吧
▽
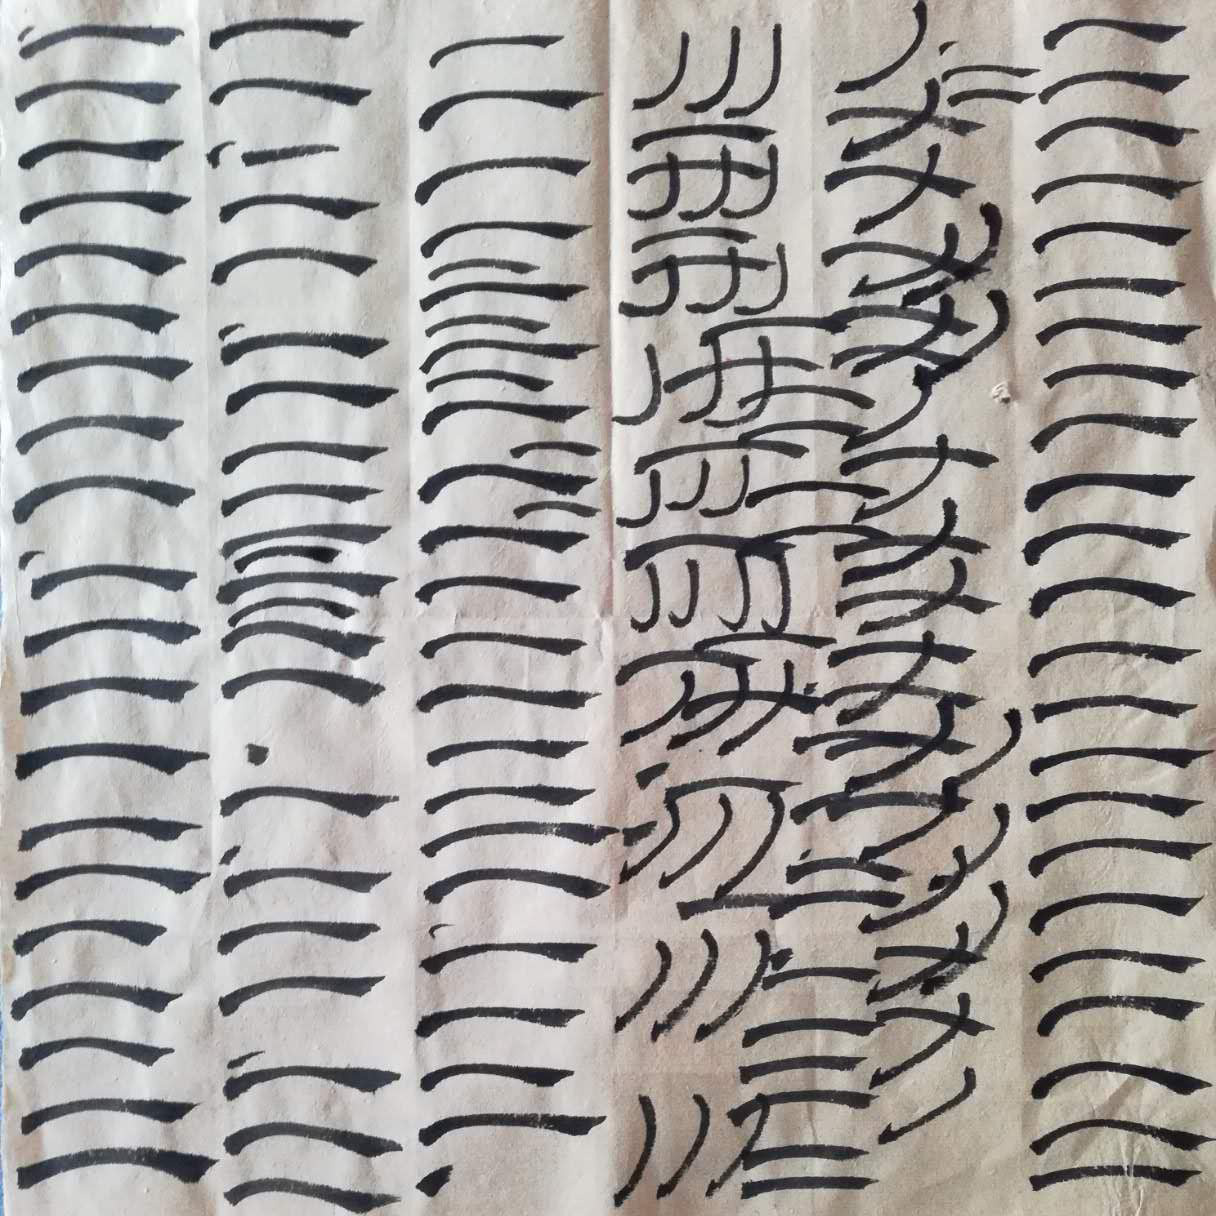
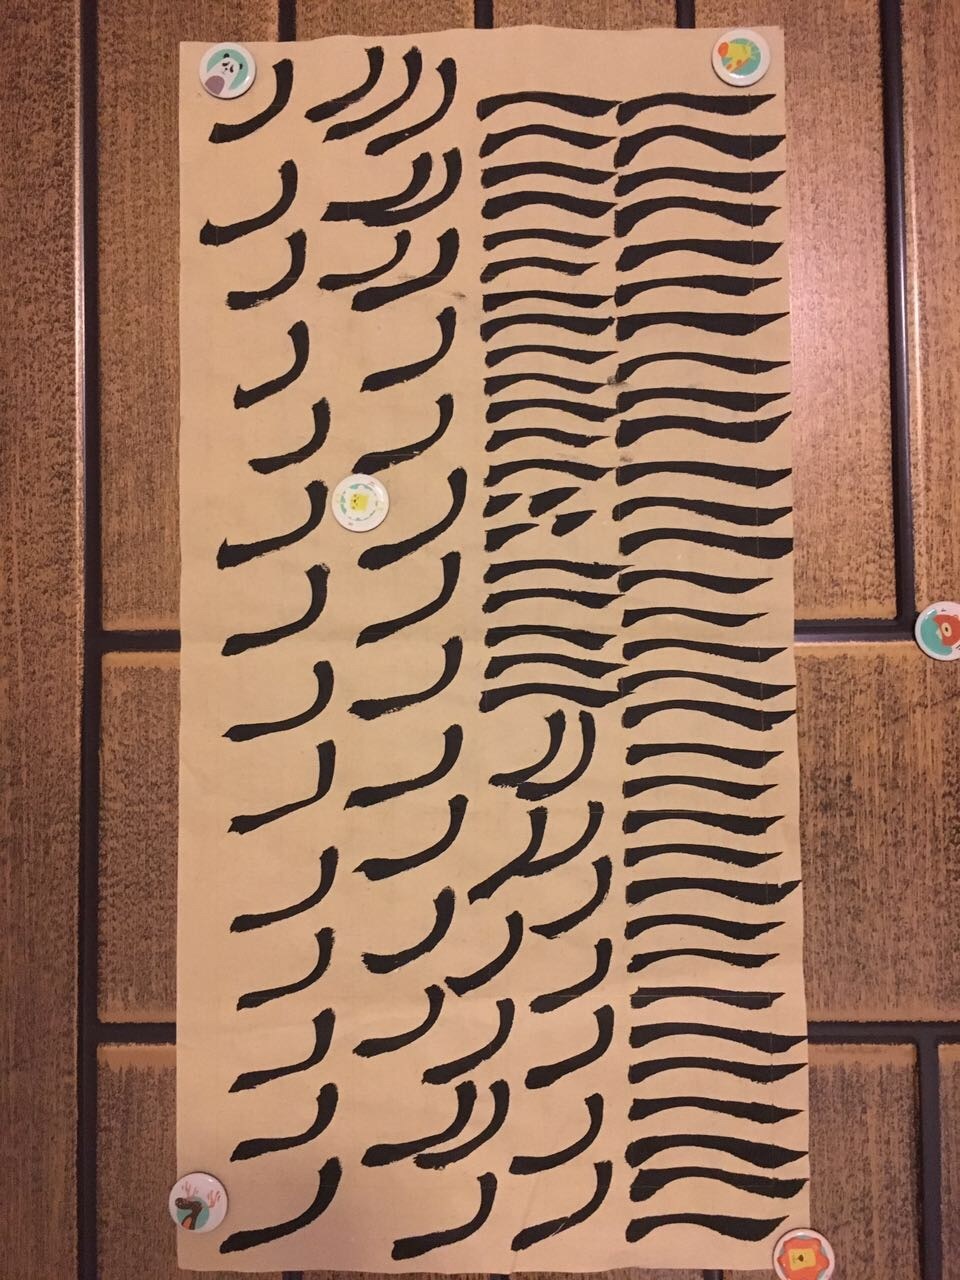
我们从最开始的小蝌蚪、小泥鳅:
![图9,田毅]()
到渐渐熟悉了笔画和结构
![图11Kitty]()
❖
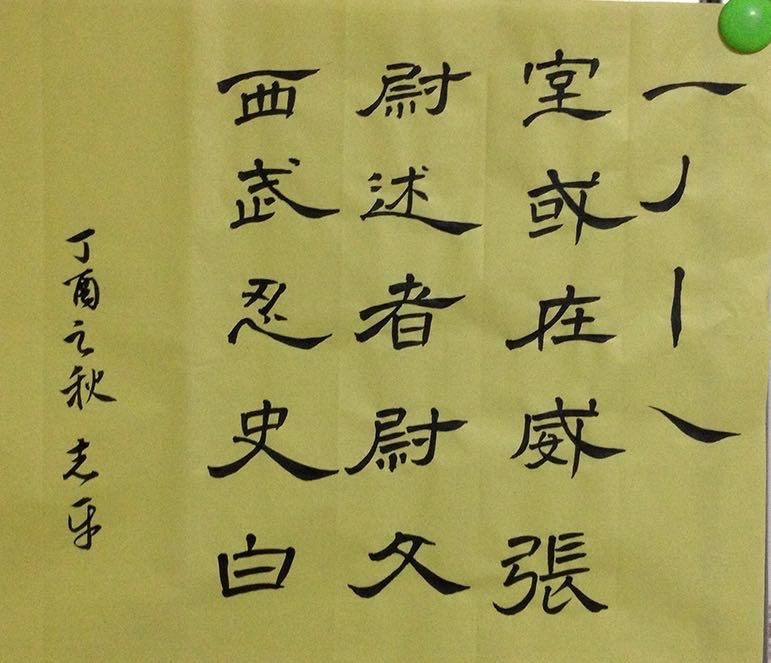
![图13张志平]()
![虚线]()
最终,我们的效果这样的
![微信图片_20171211182245]()
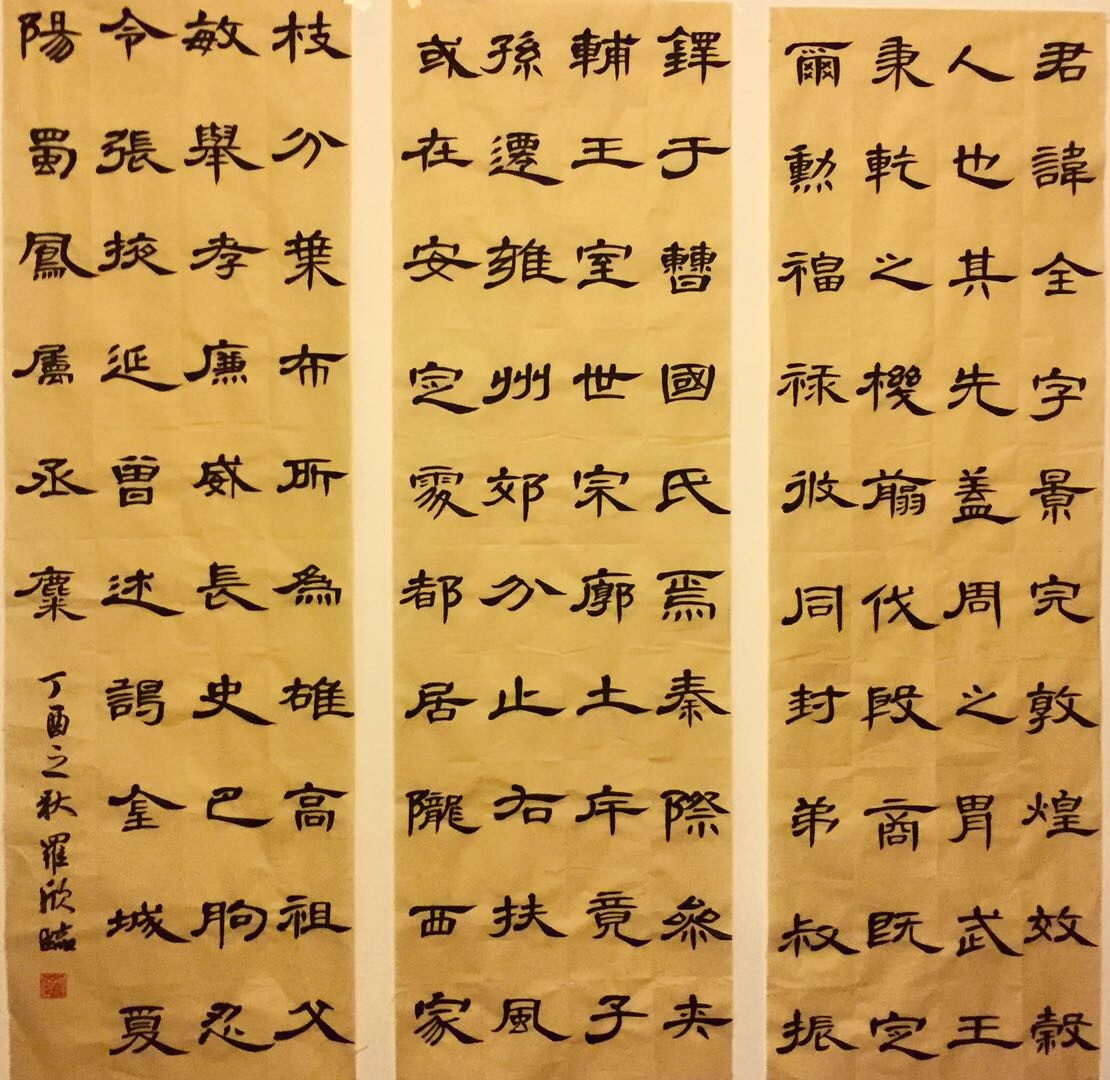
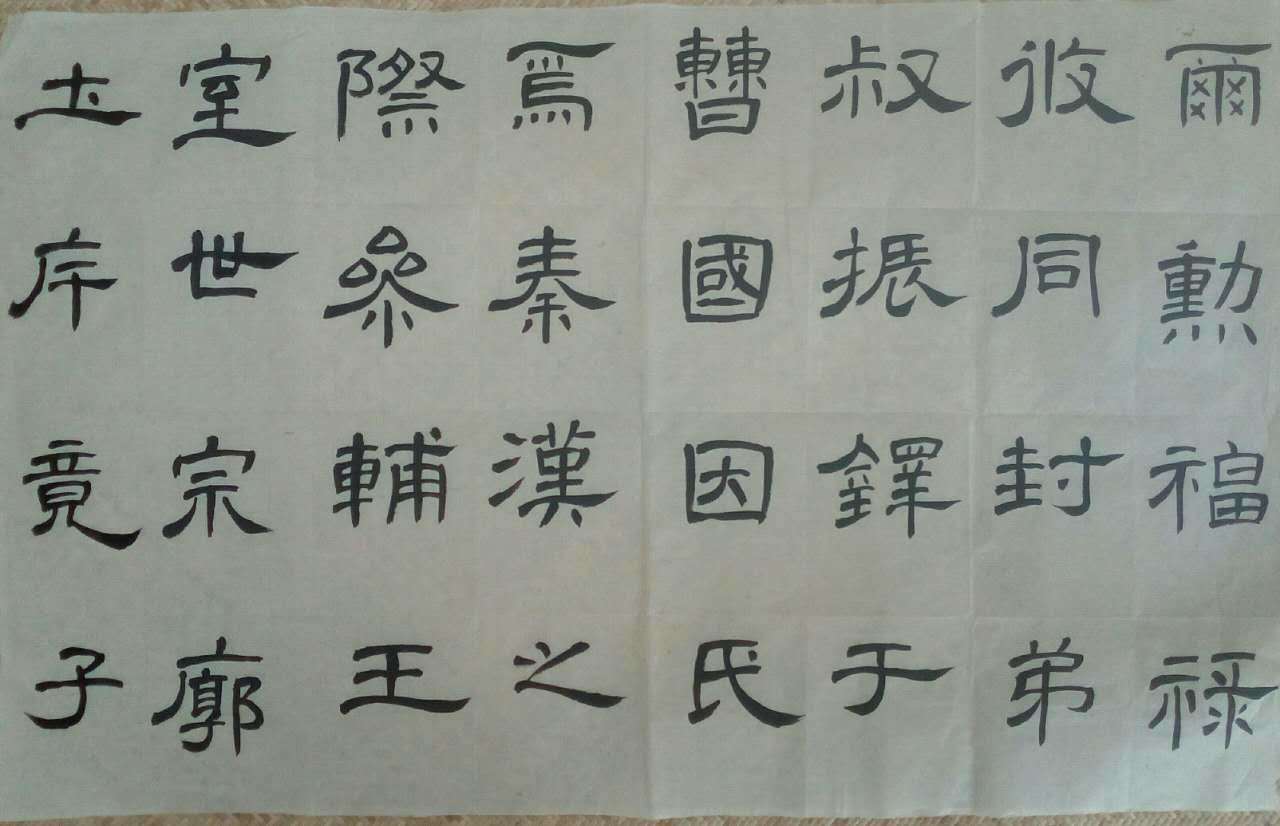
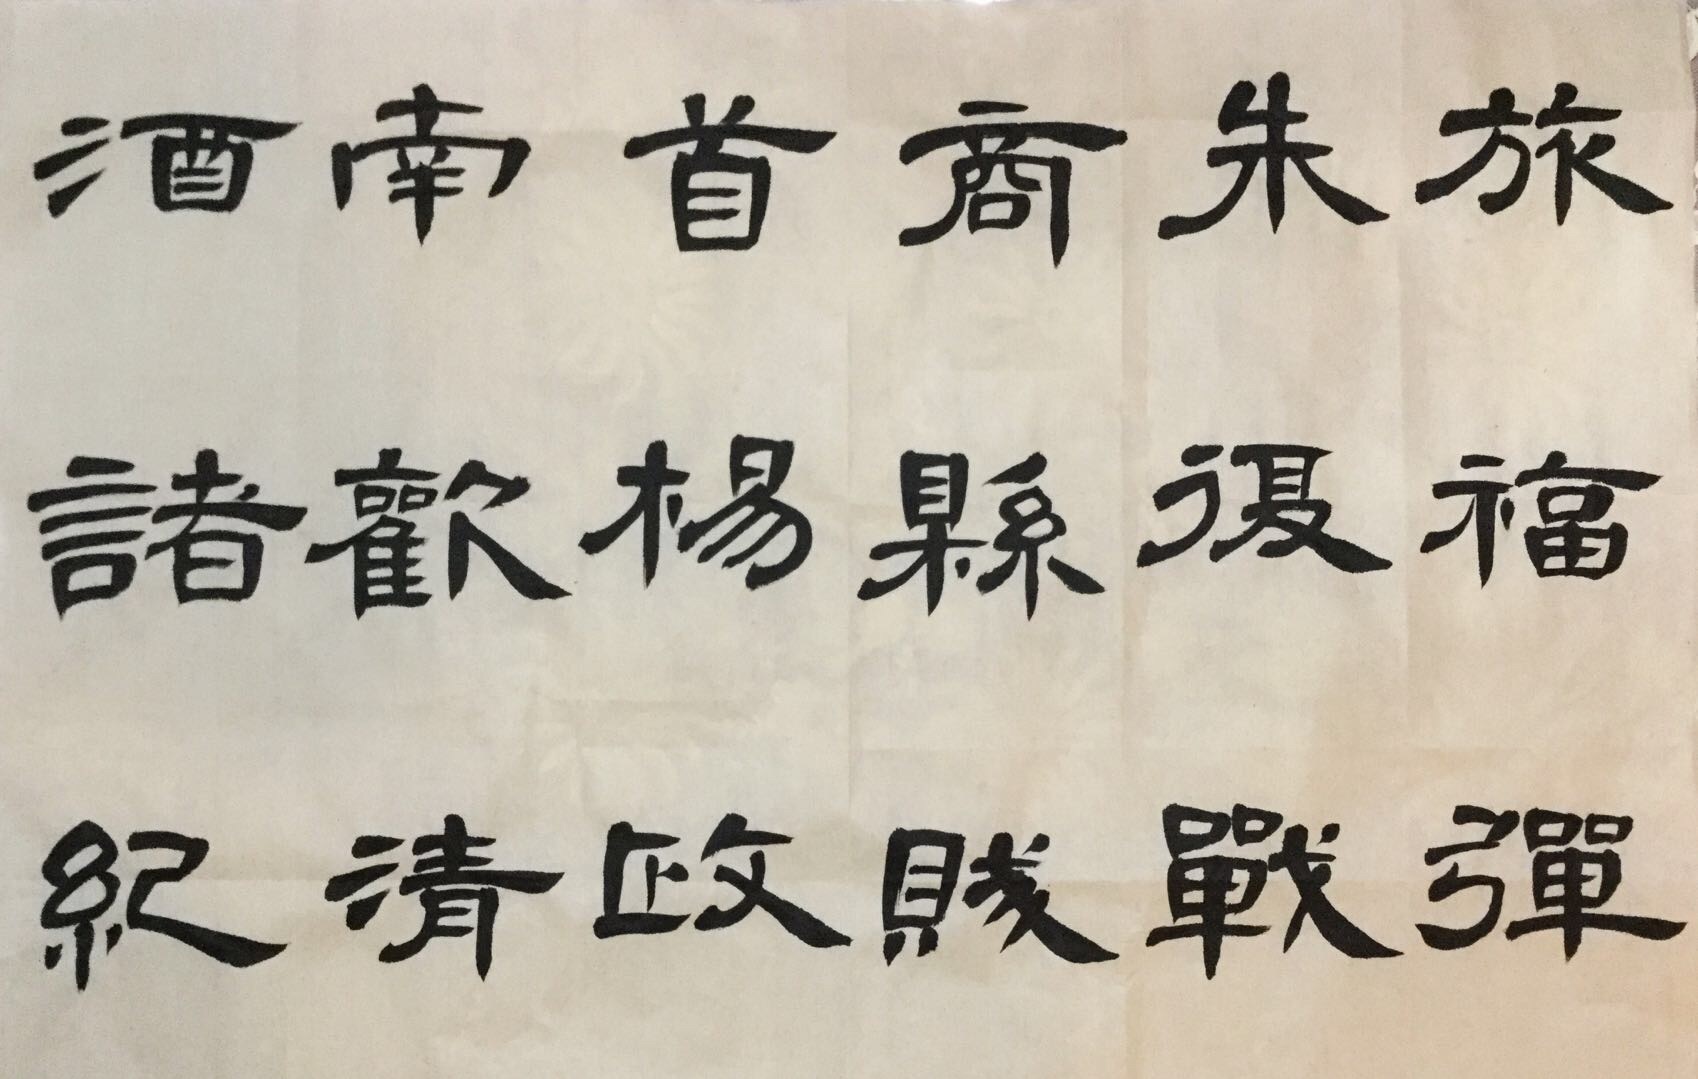
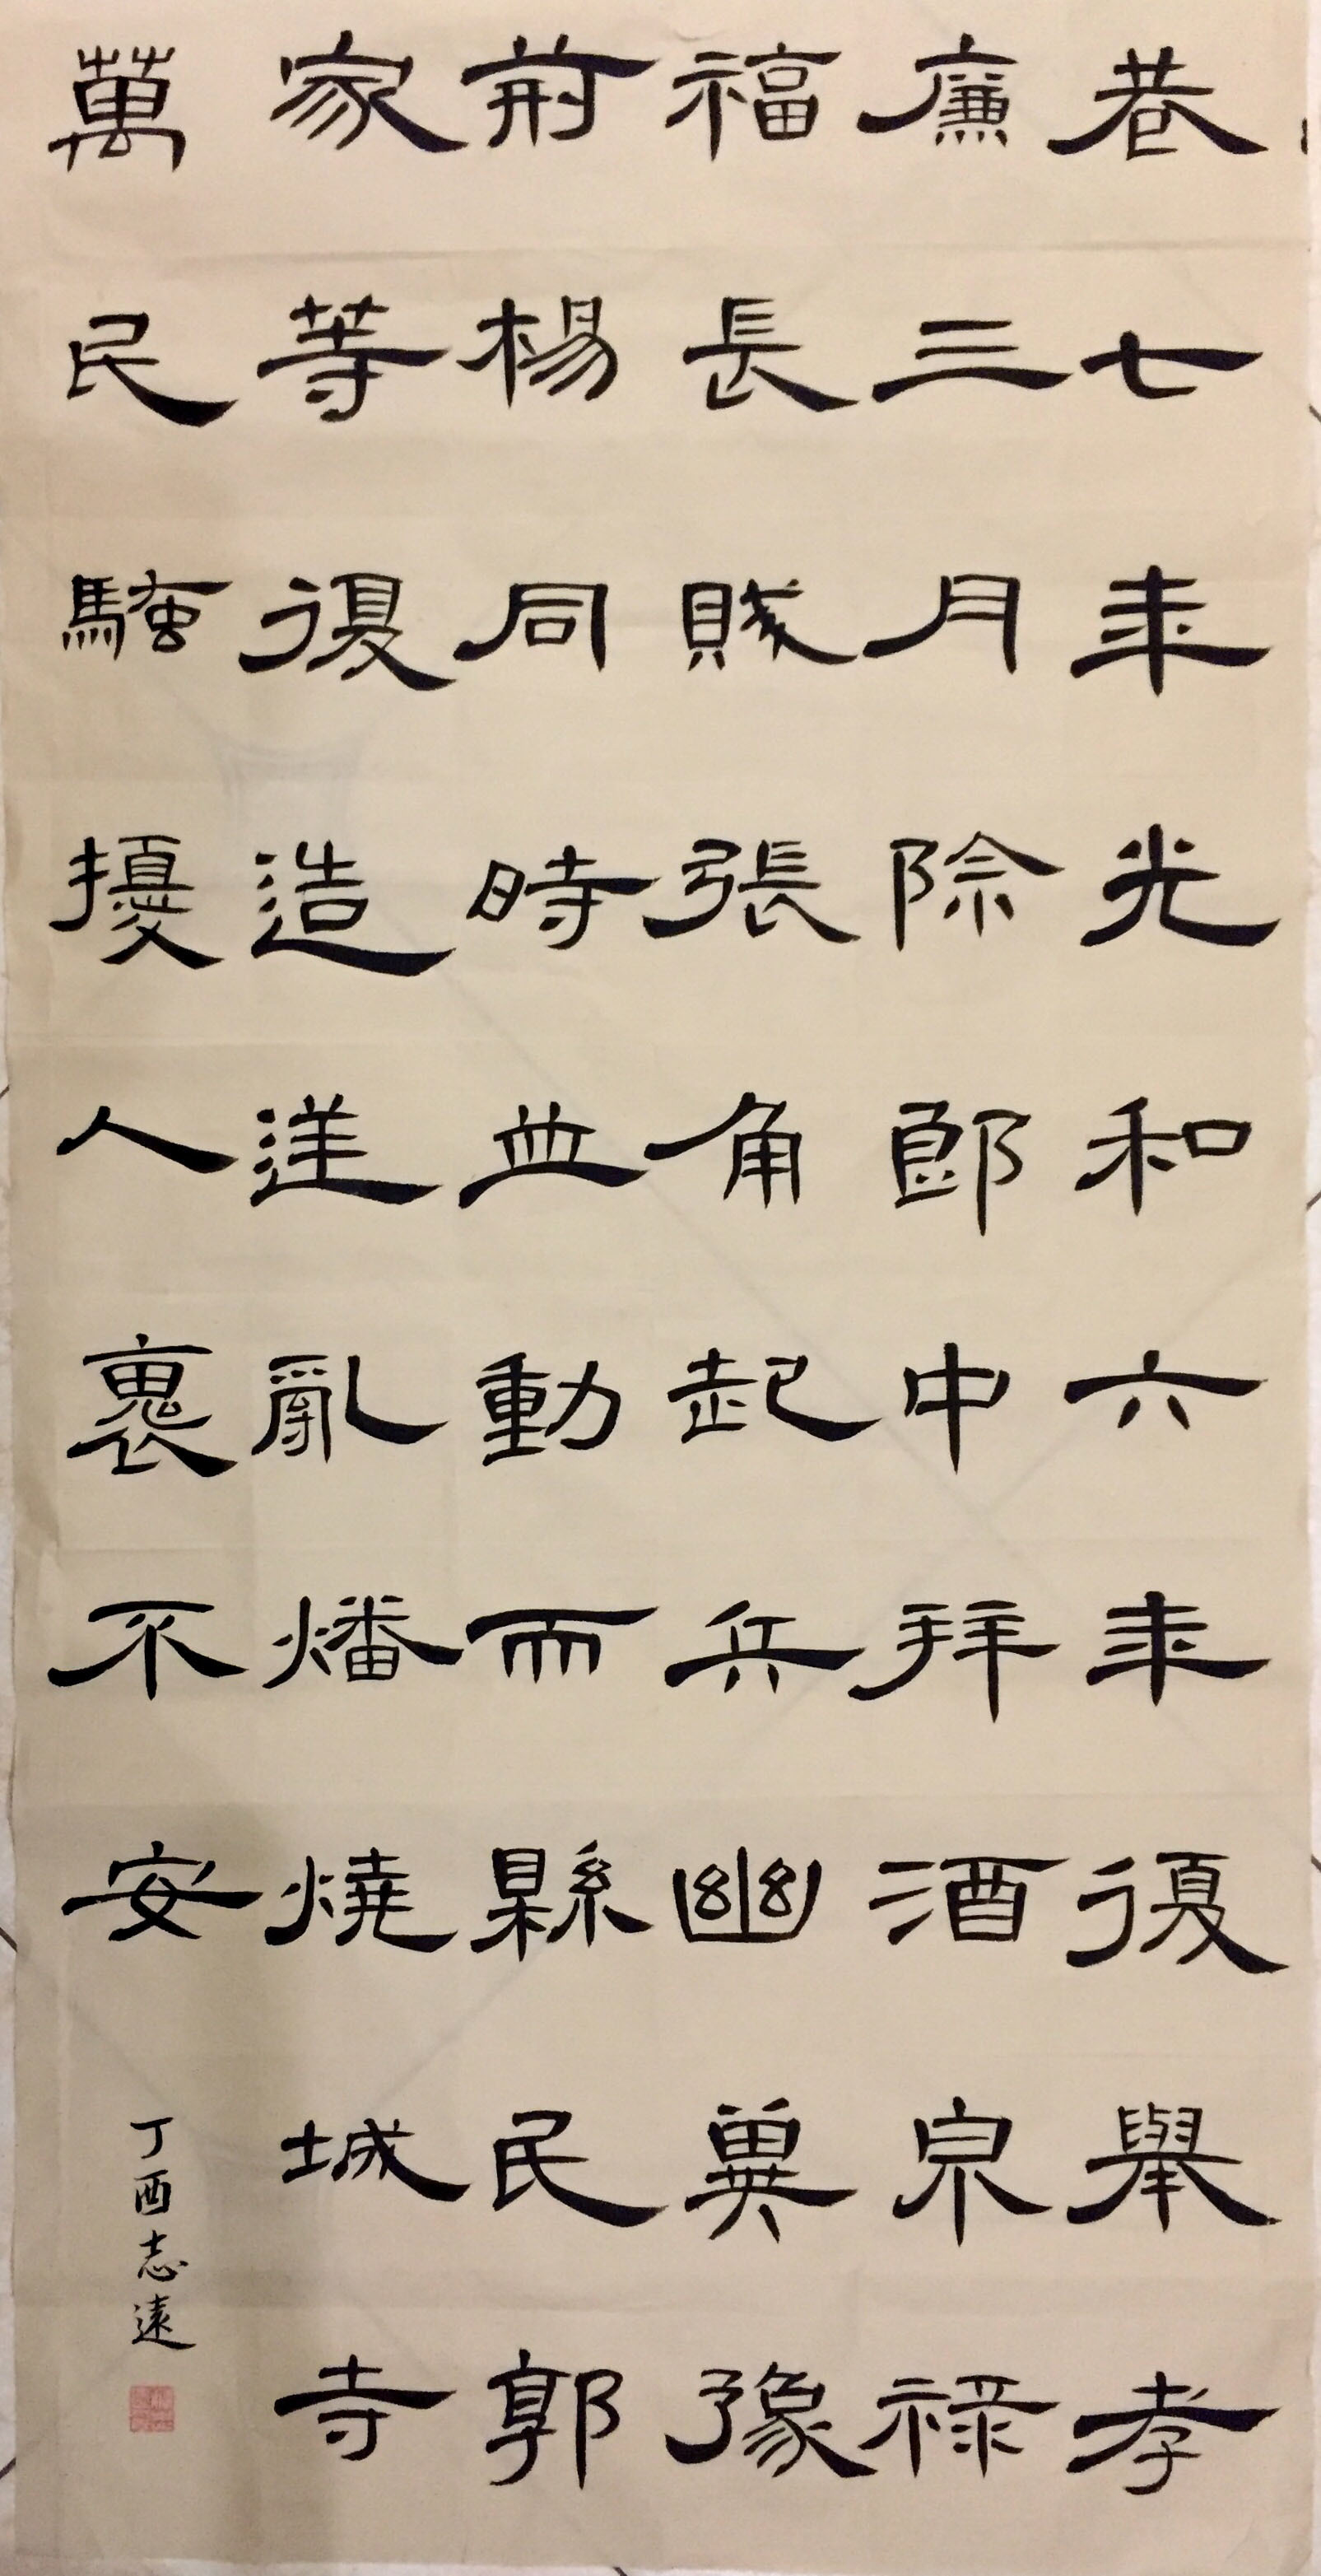
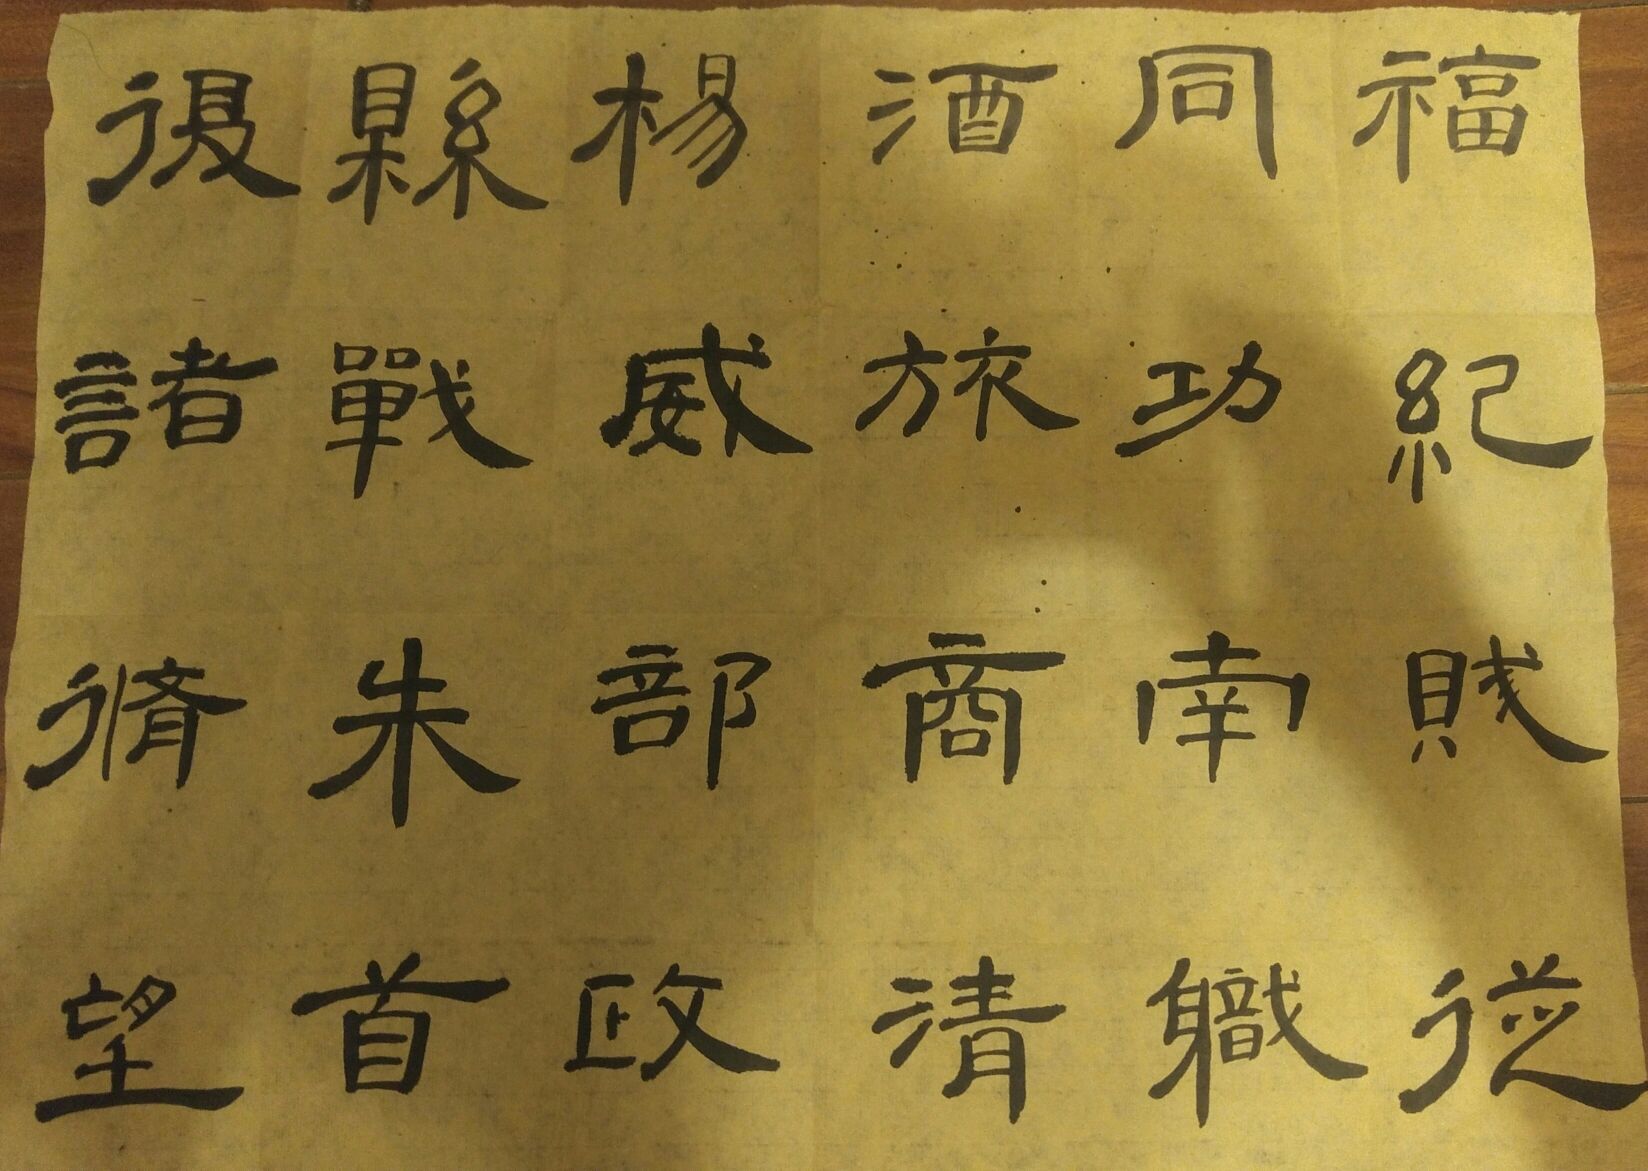
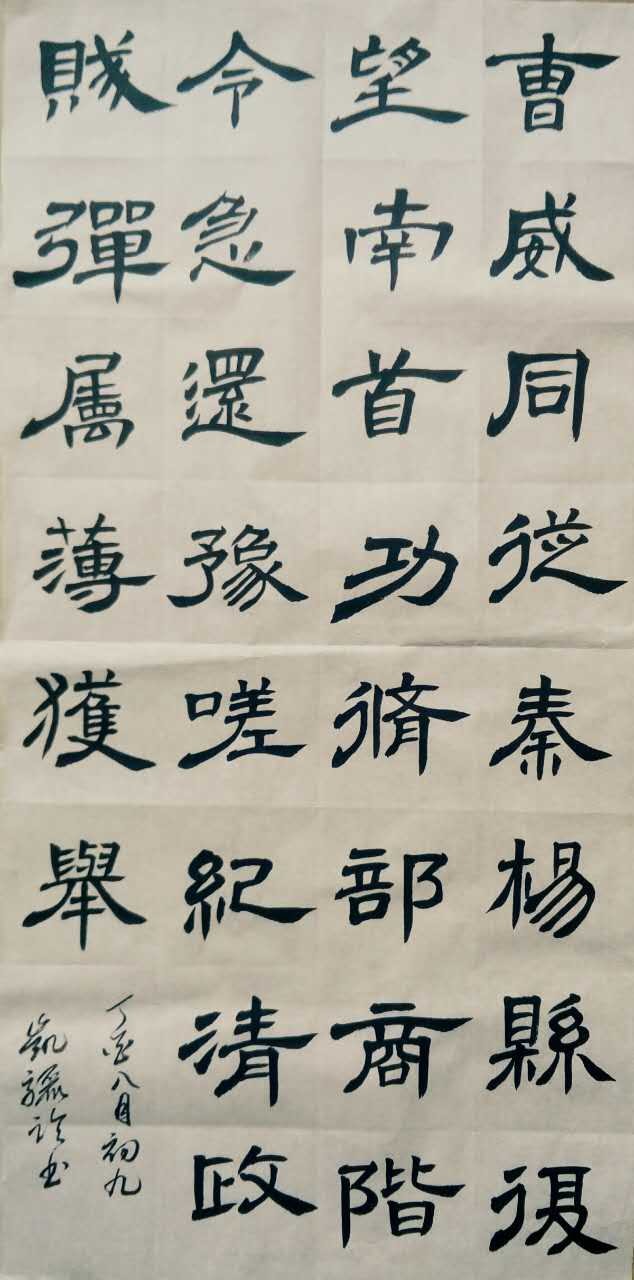
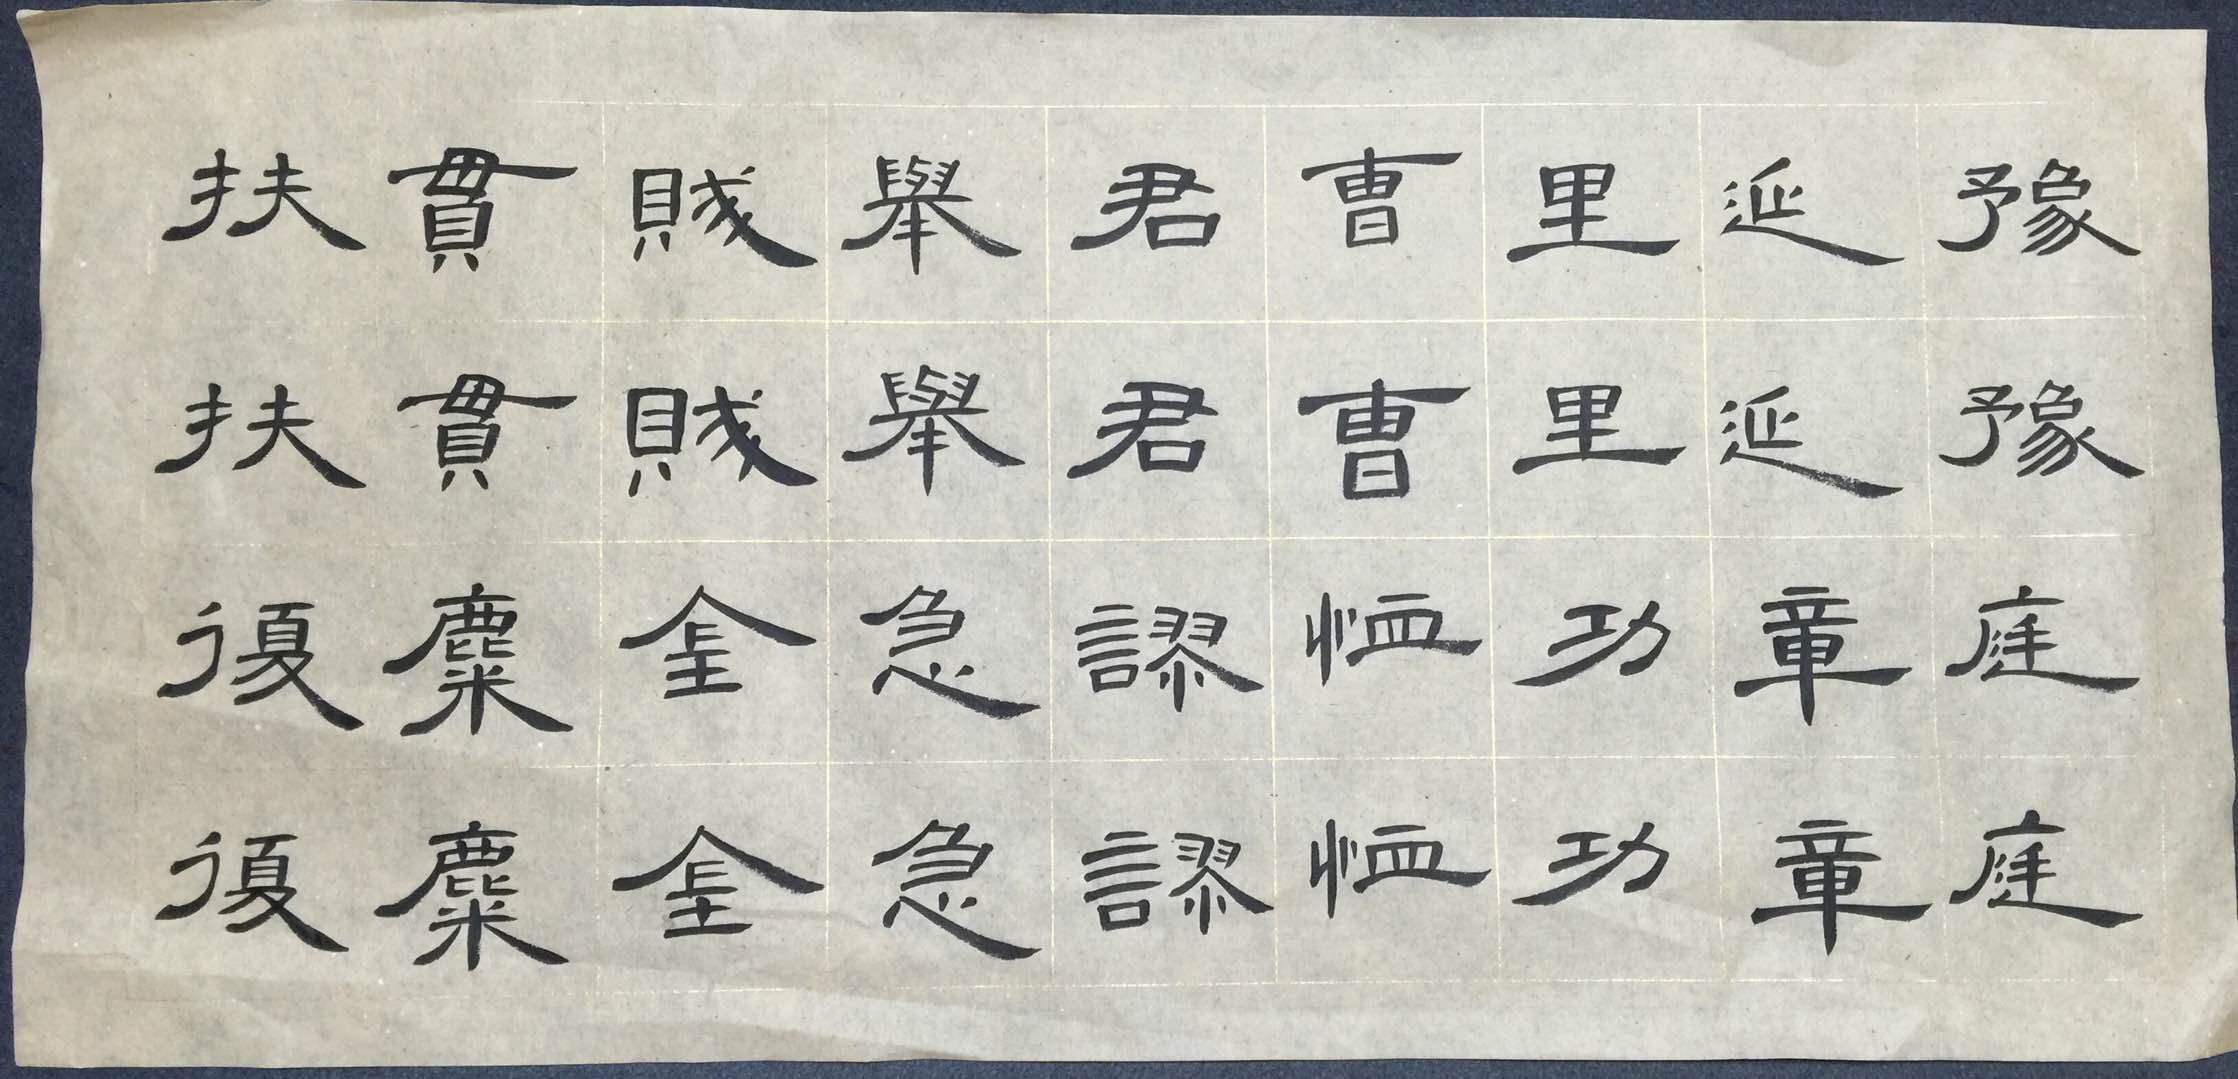
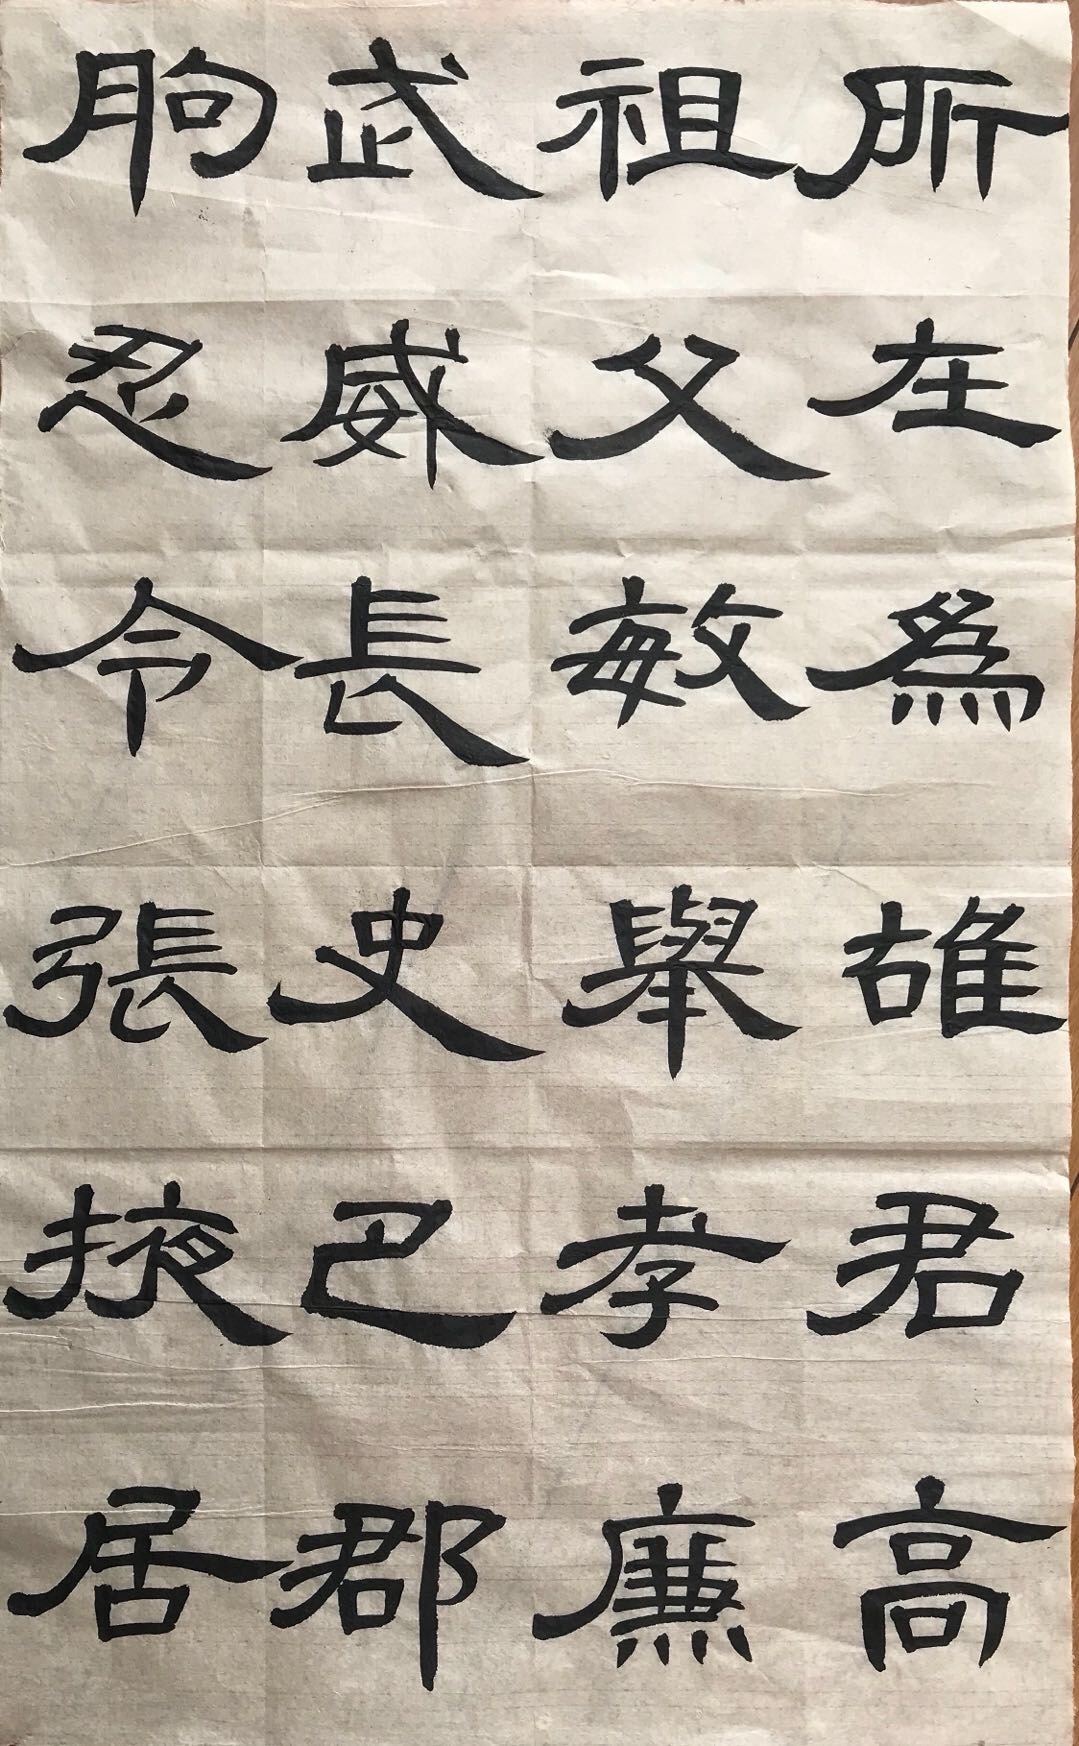
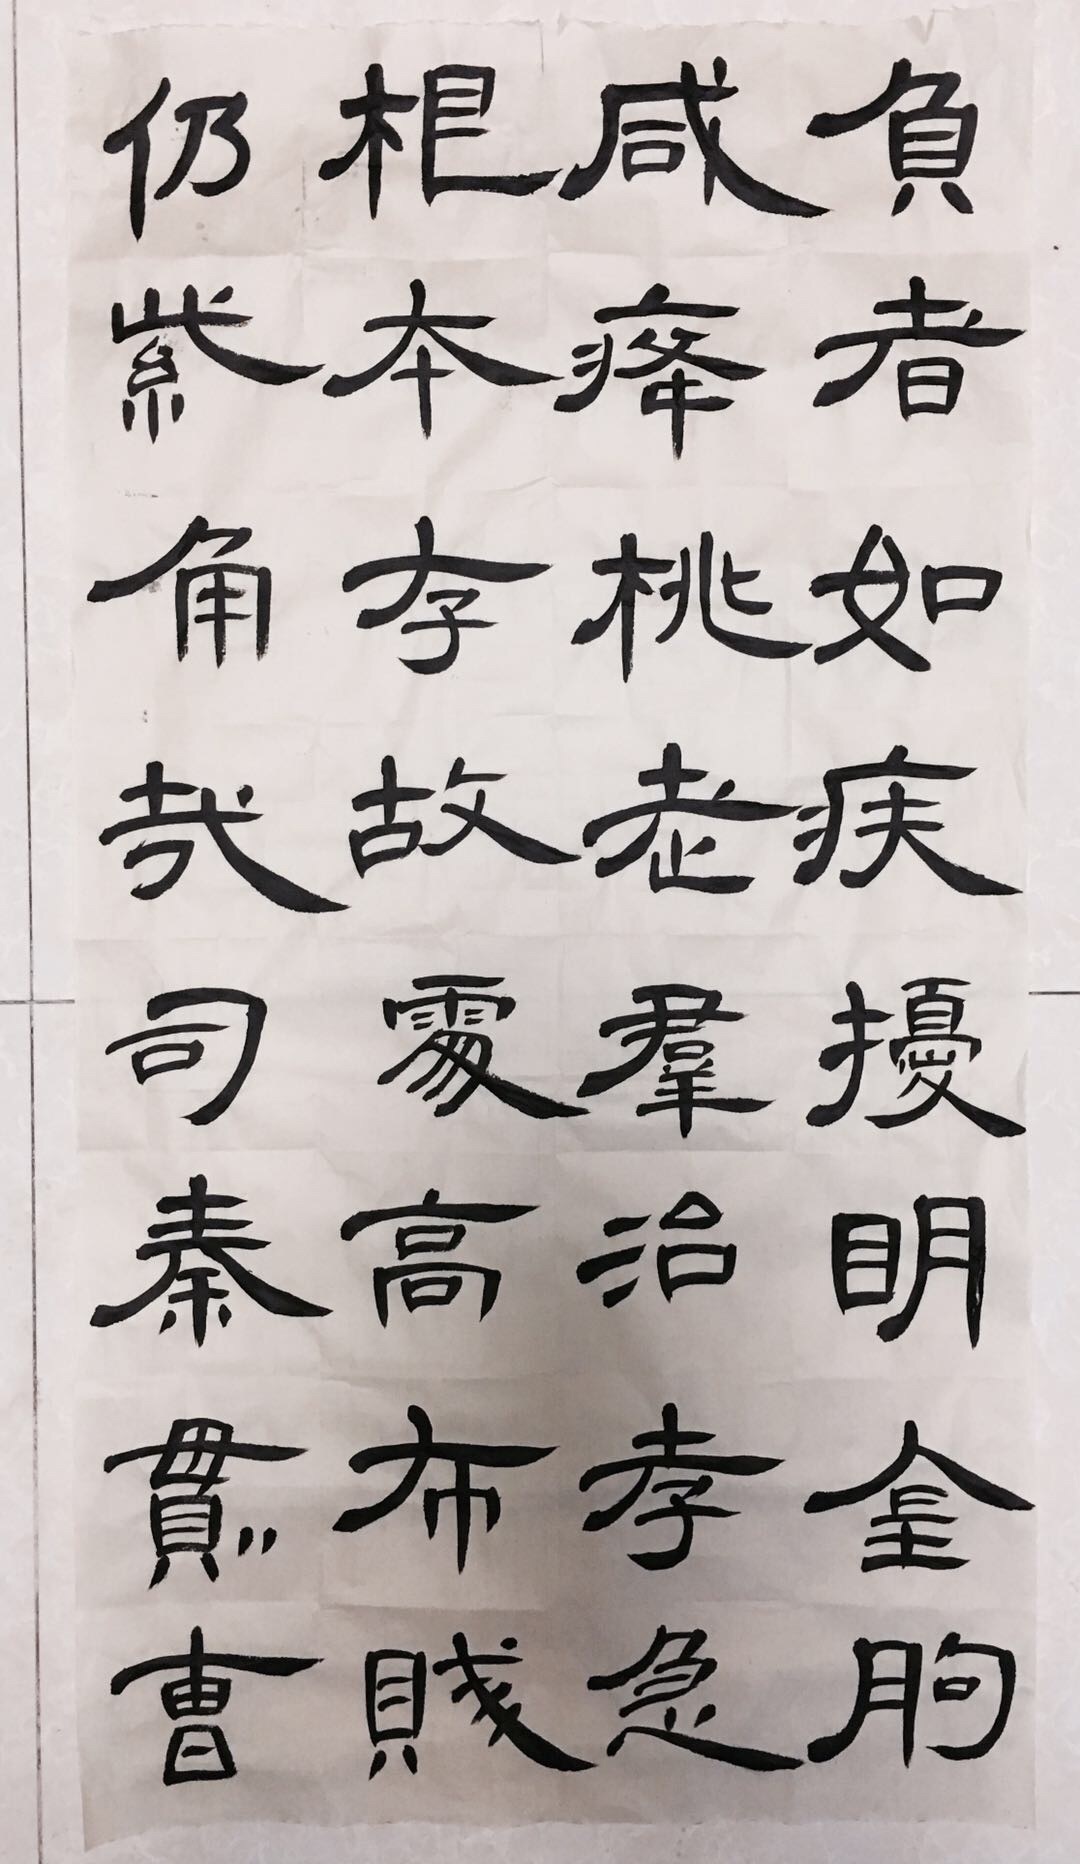
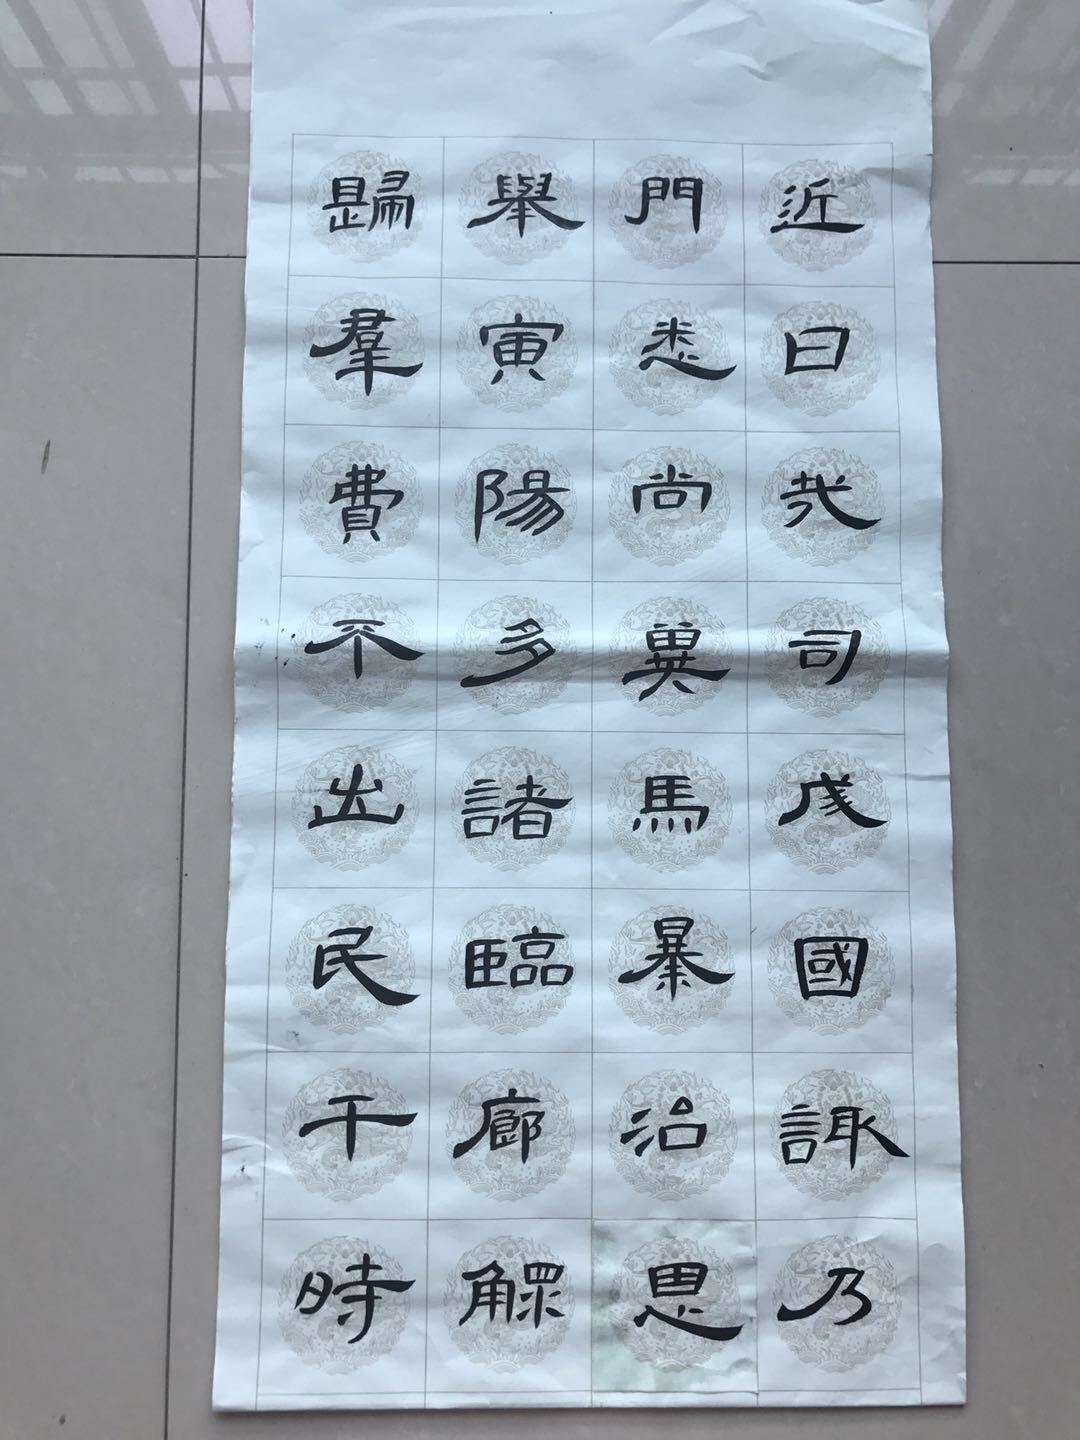
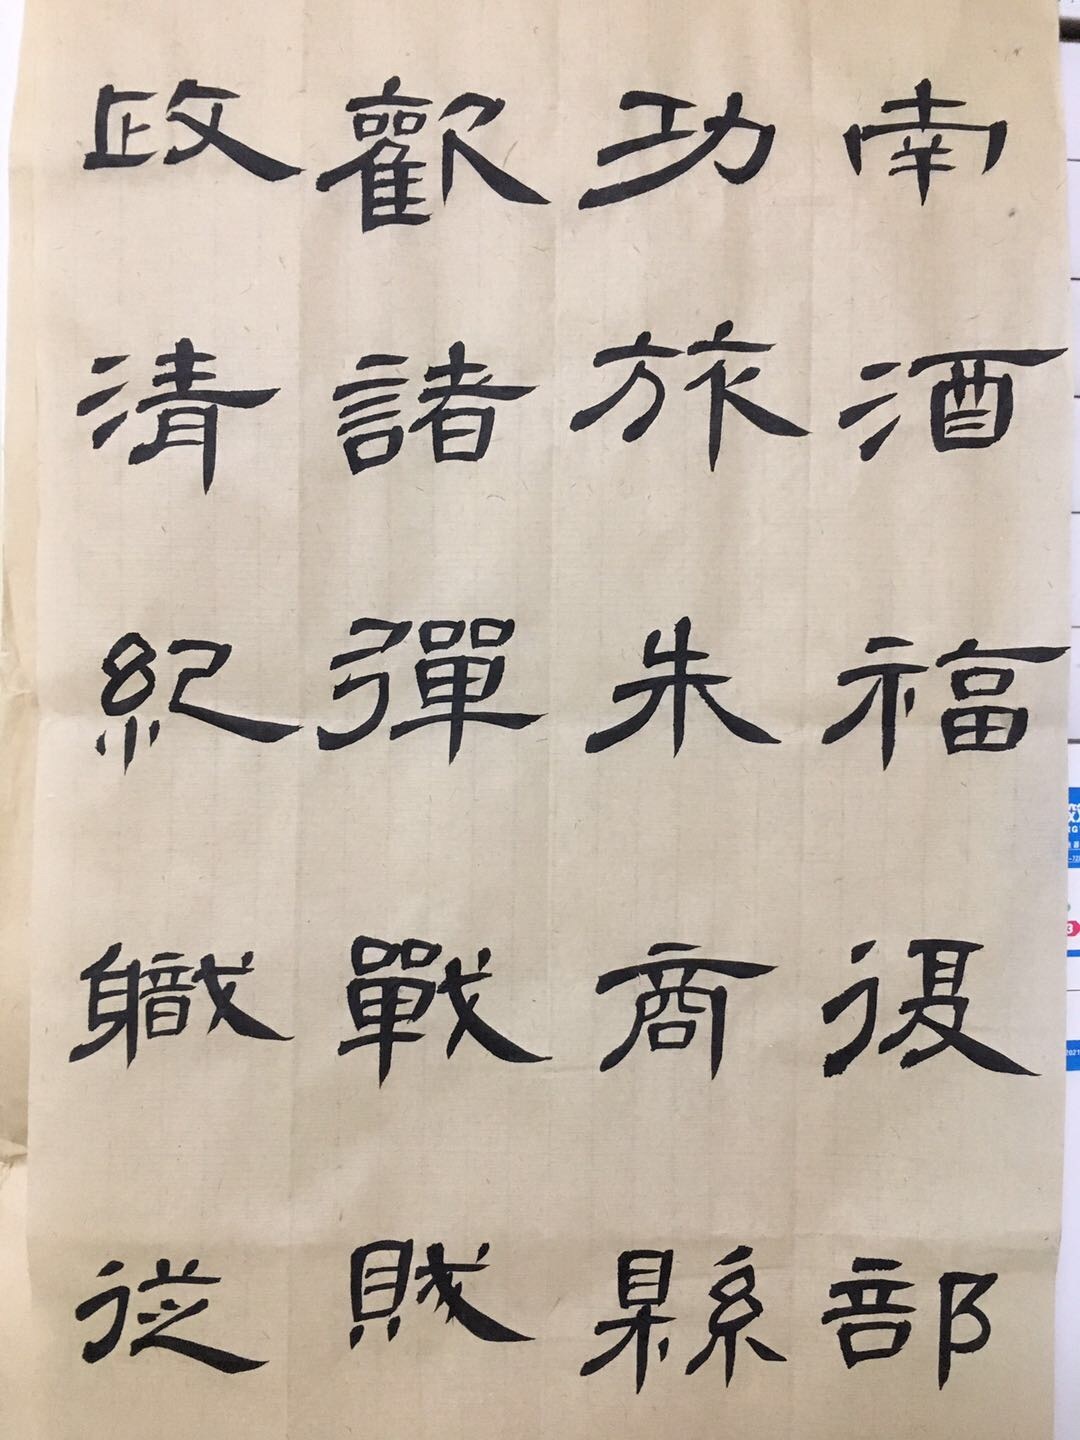
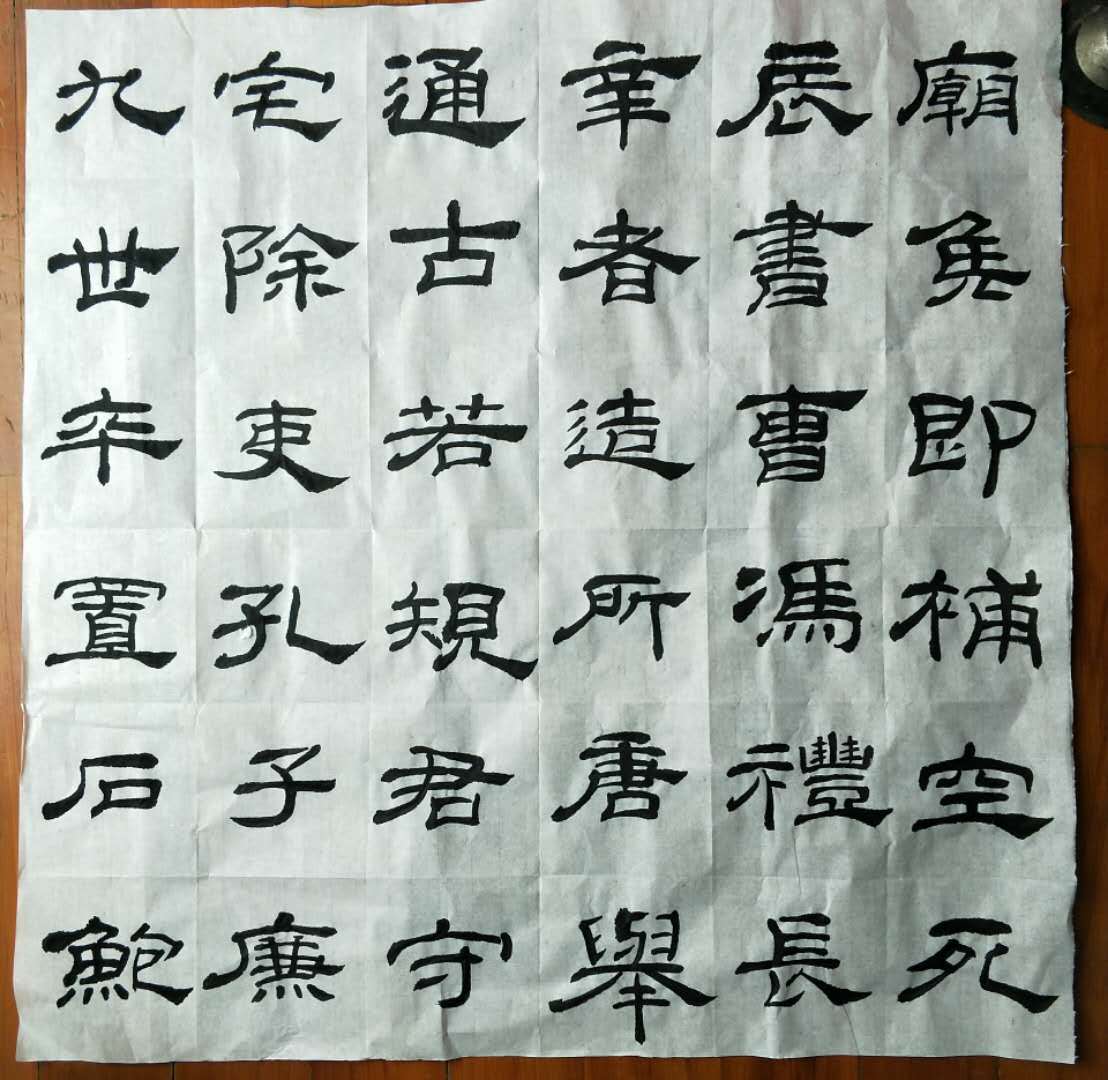
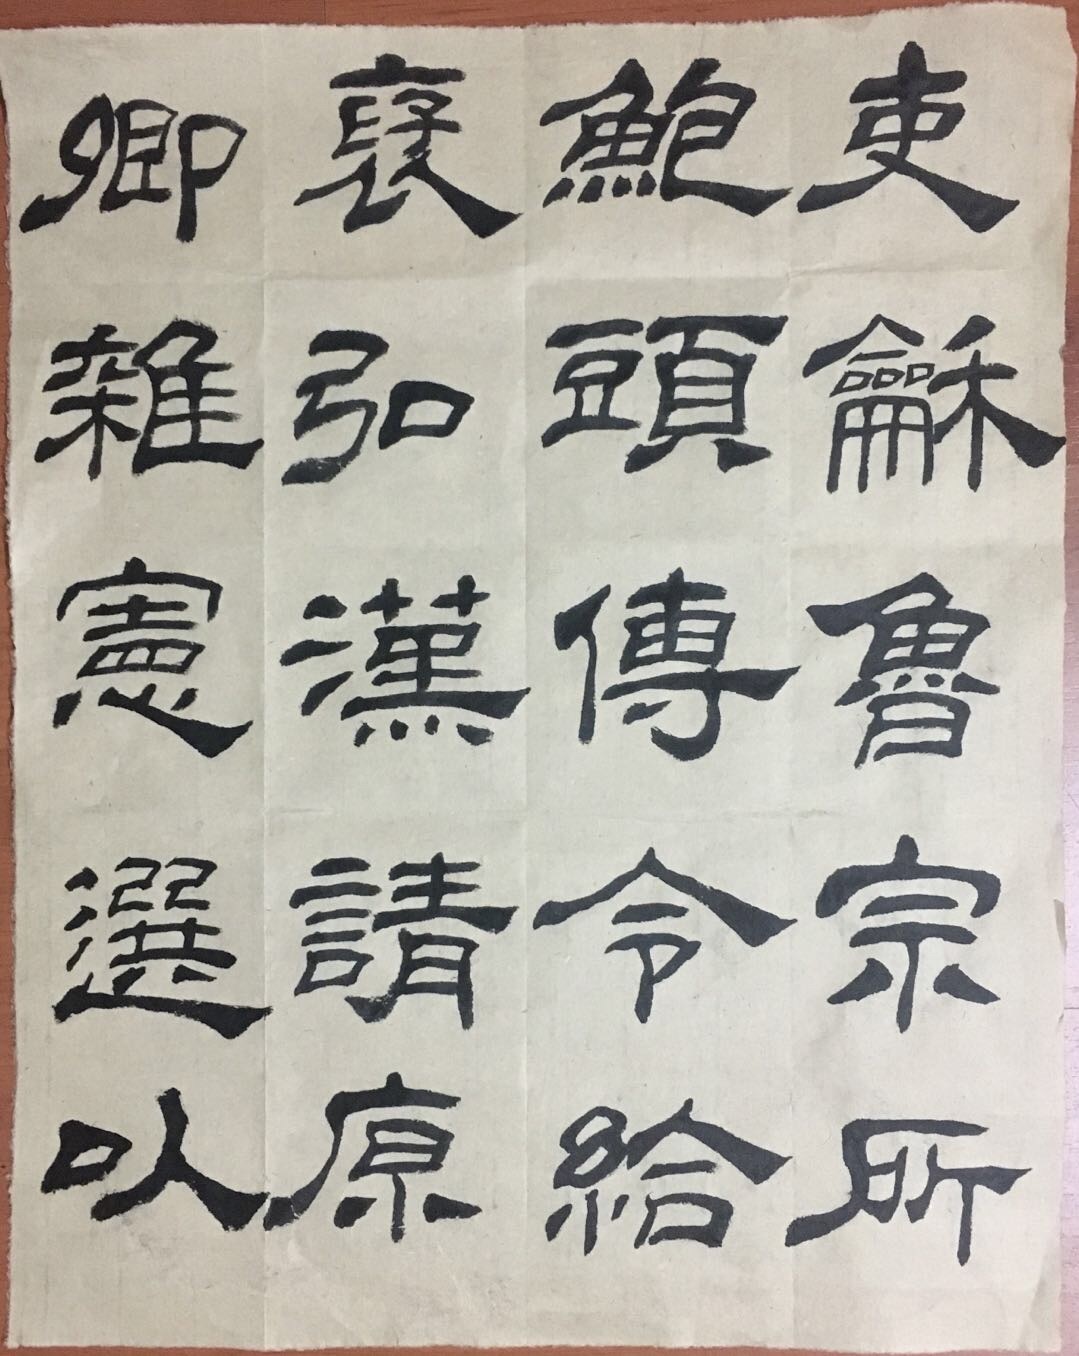
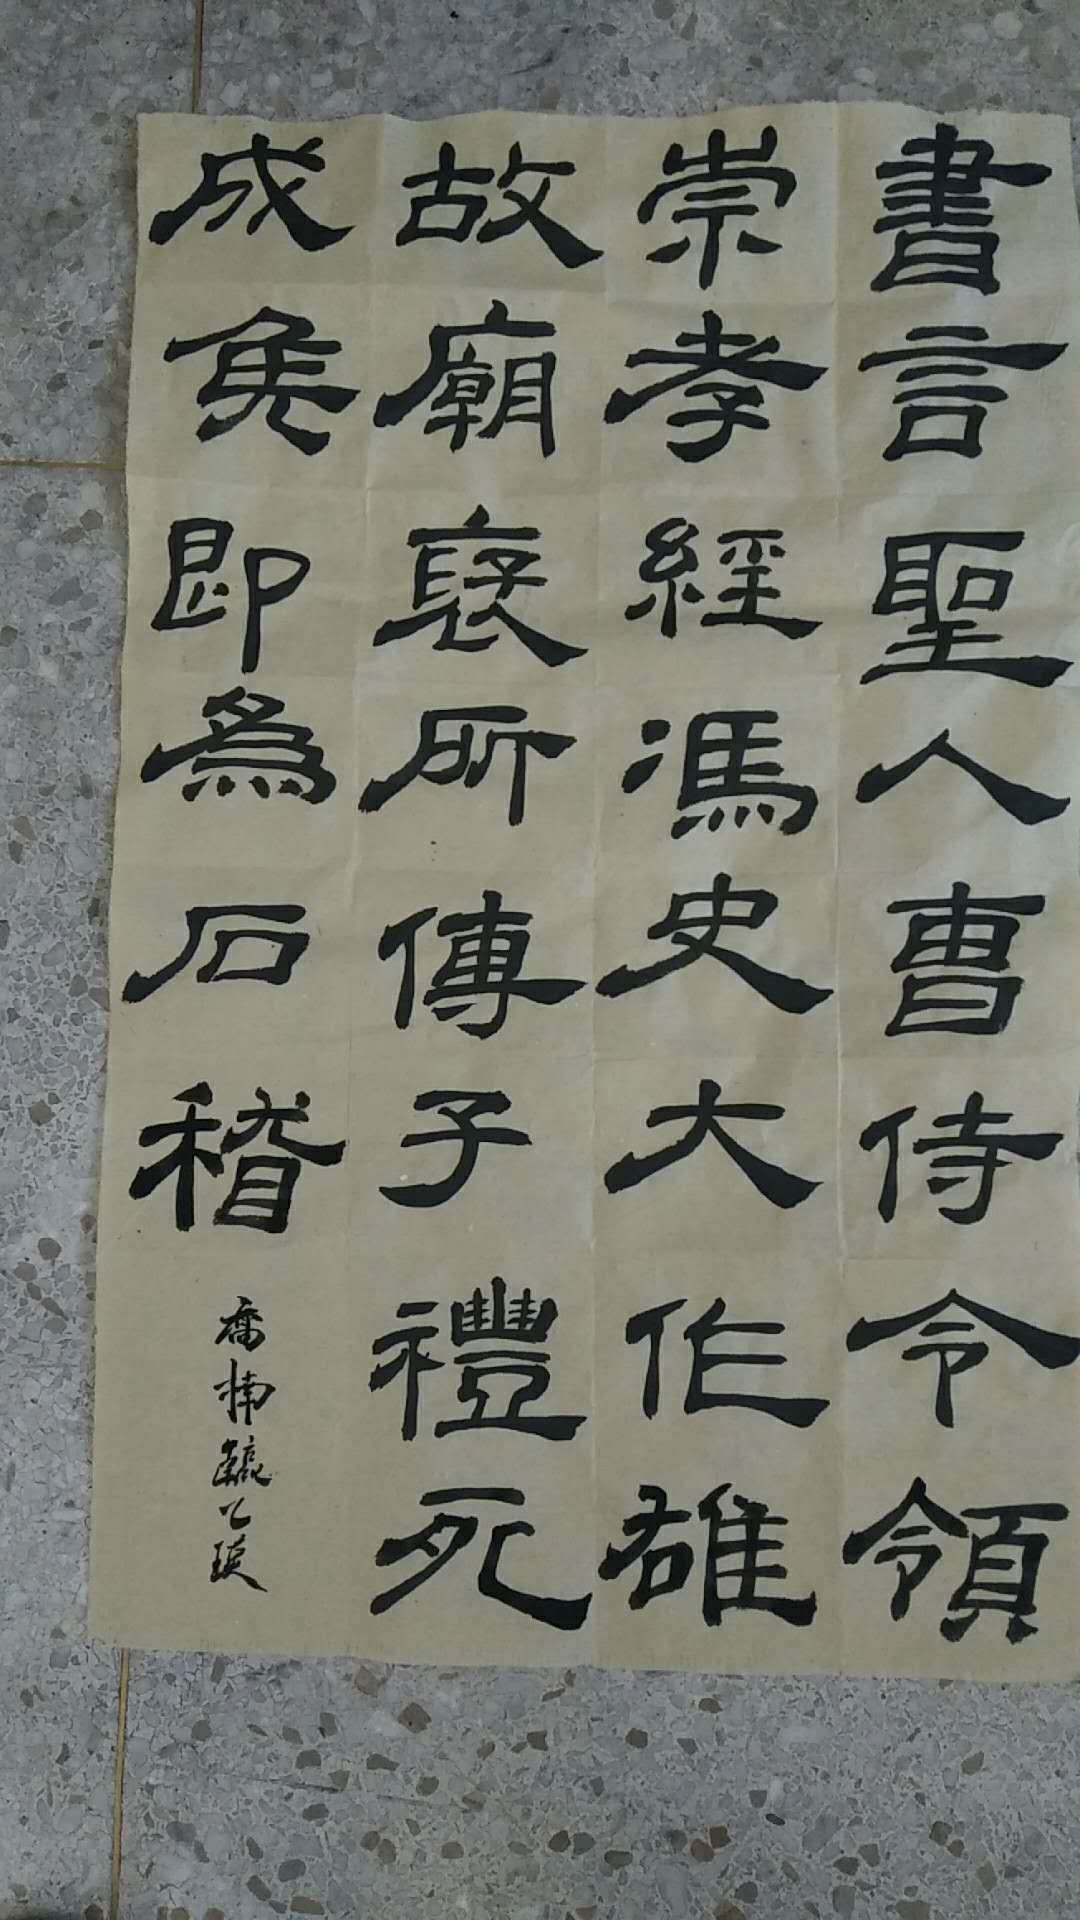
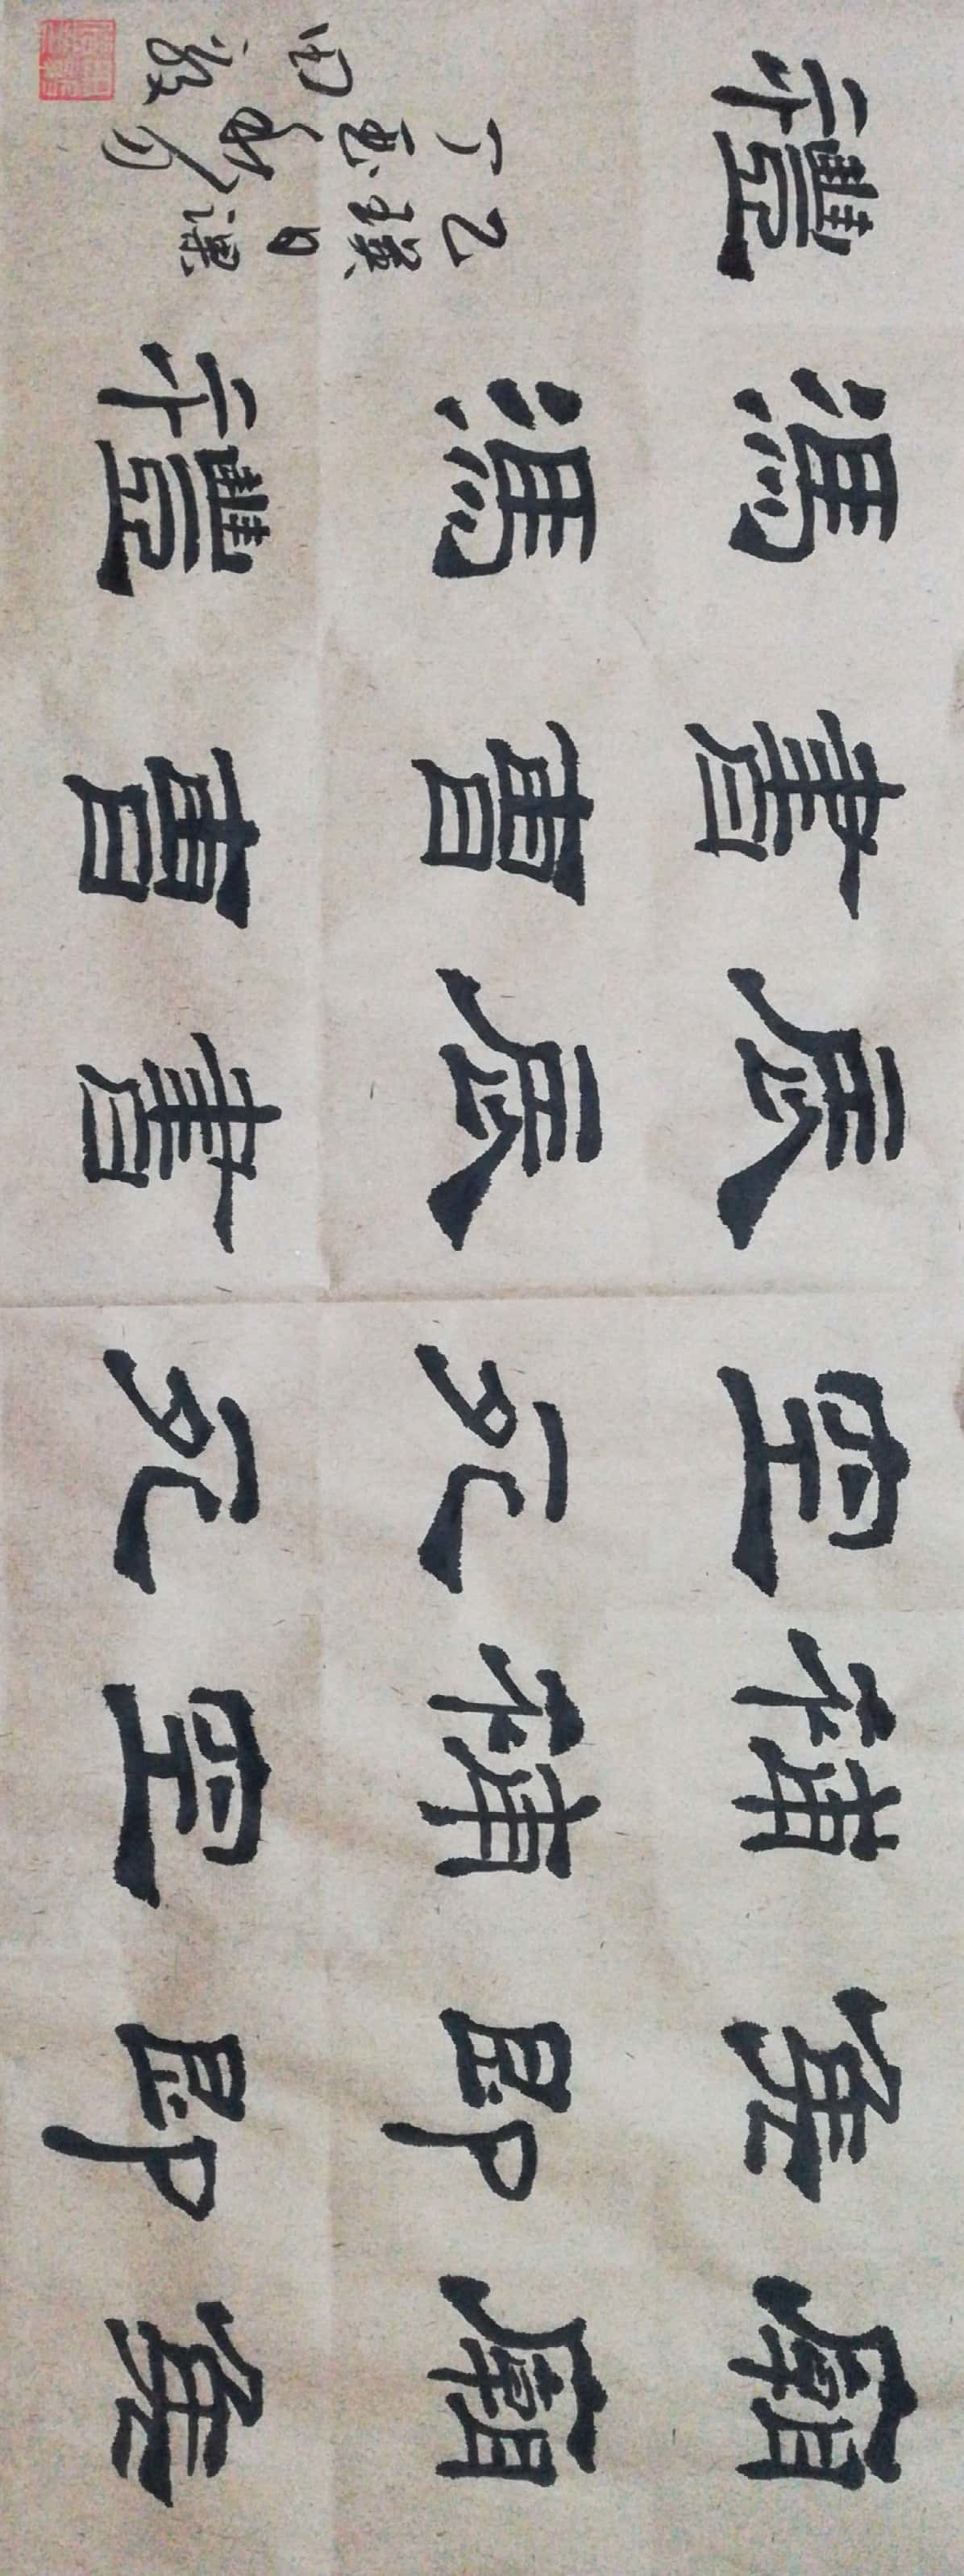
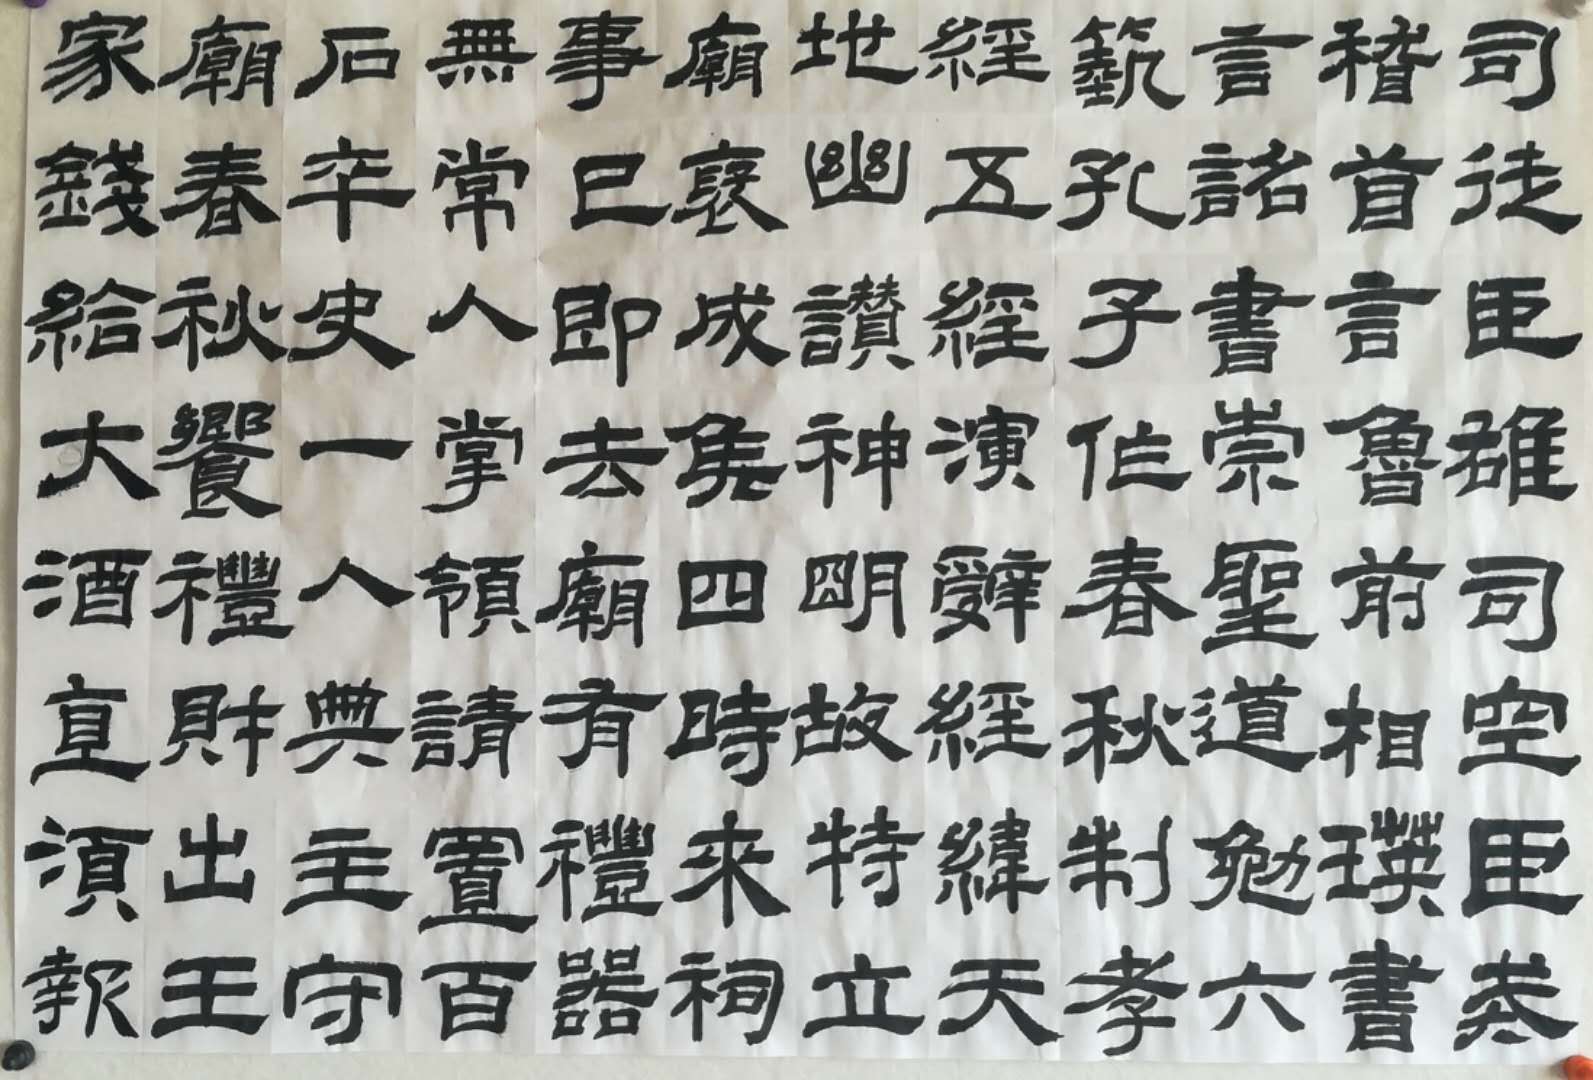
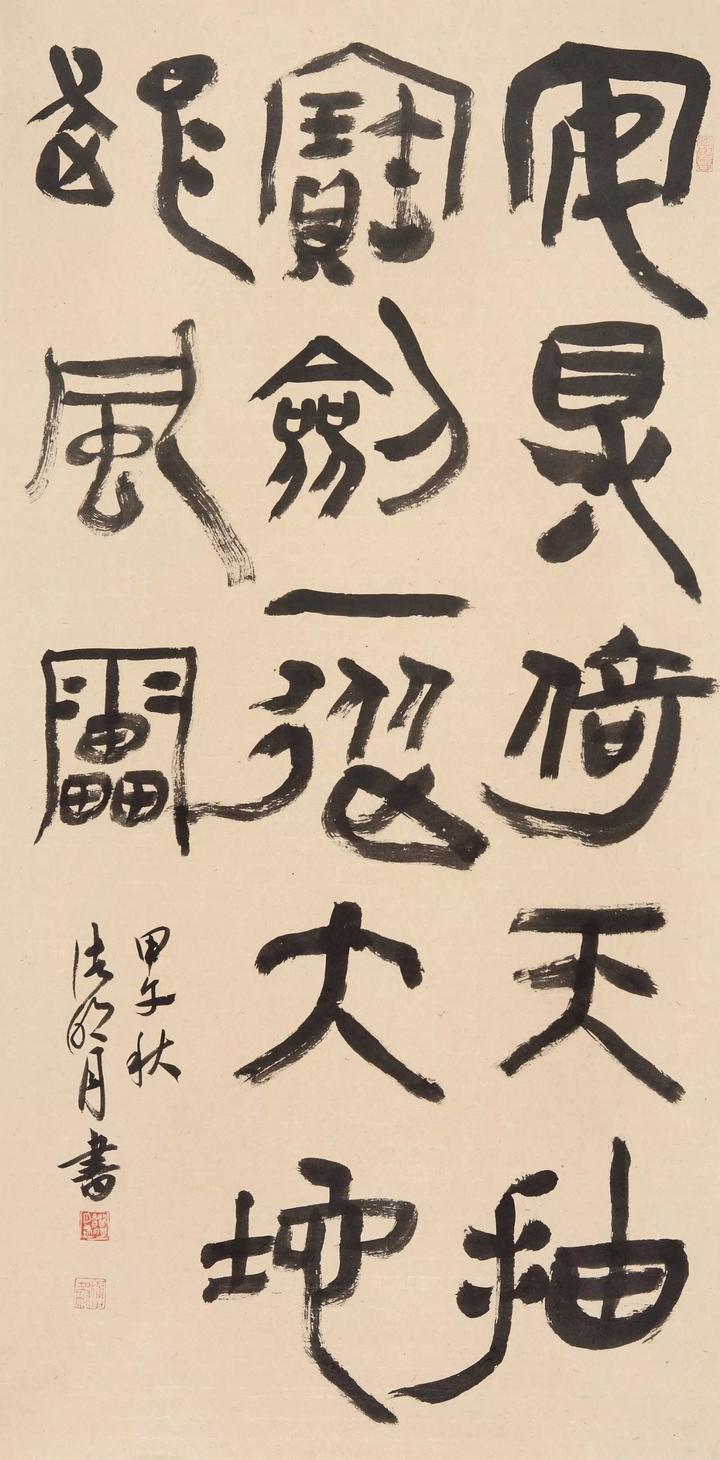
《曹全碑》学员作品图(节选)
▽
『晨昕 作品』
![晨昕1]()
『byte 作品』
![byte]()
『崔鸿燕 作品』
![崔鸿雁]()
『骆船长 作品』
![骆船长]()
『艺海无涯 作品』
![艺海无涯]()
『志远 作品』
![志远 曹全碑作品]()
『Kevin 作品』
![Kevin]()
『拉布大林 作品』
![拉布大林]()
『SSL 作品』
![SSL]()
『阿甲 作品』
![阿甲]()
『安人 作品』
![安人1]()
『笔耕砚田 作品』
![笔耕砚田]()
『点墨兰 作品』
![点墨兰]()
『顾宗漣 作品』
![顾宗漣]()
『鹤峰山人 作品』
![鹤峰山人1]()
『借海扬帆 作品』
![借海扬帆]()
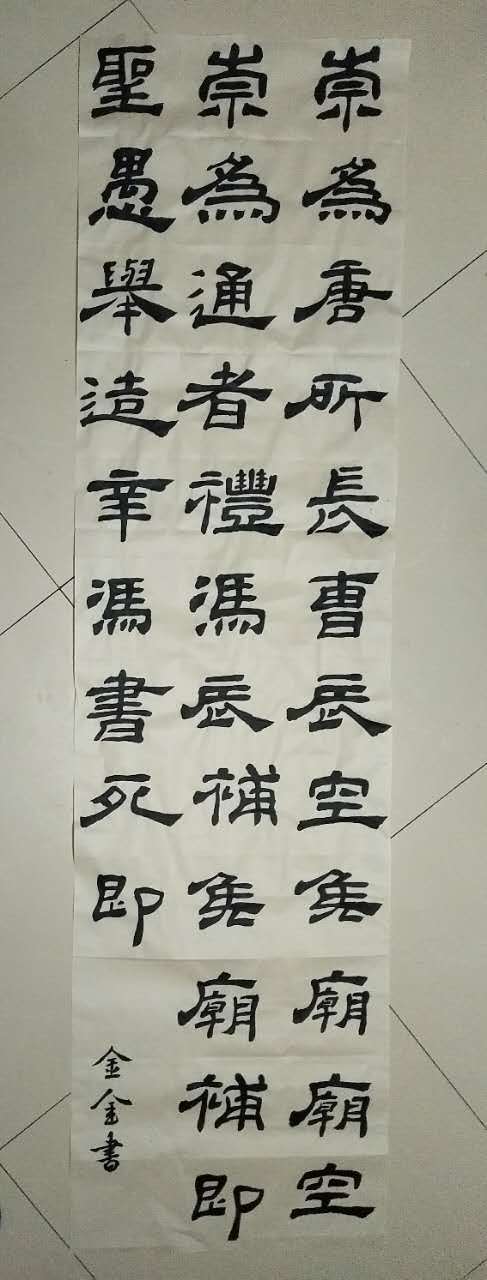
『金金 作品』
![金金]()
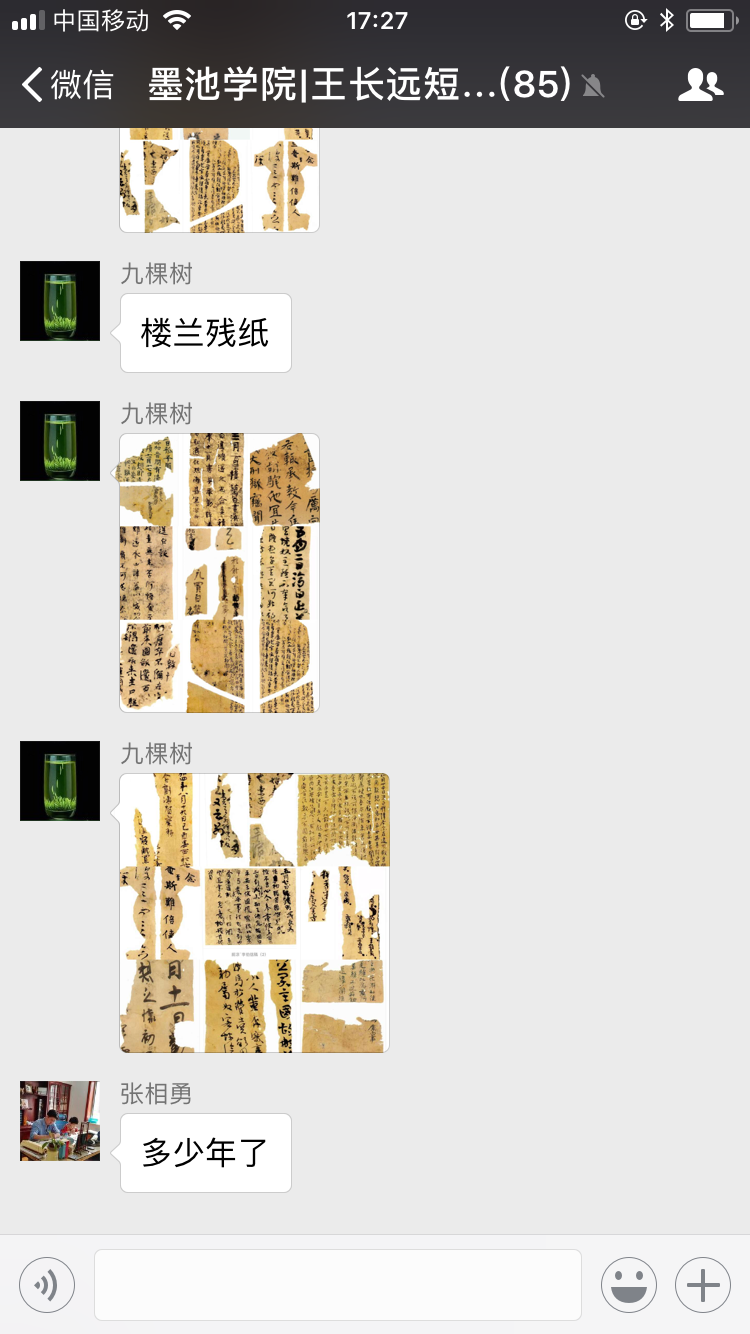
『九棵树 作品』
![九棵树]()
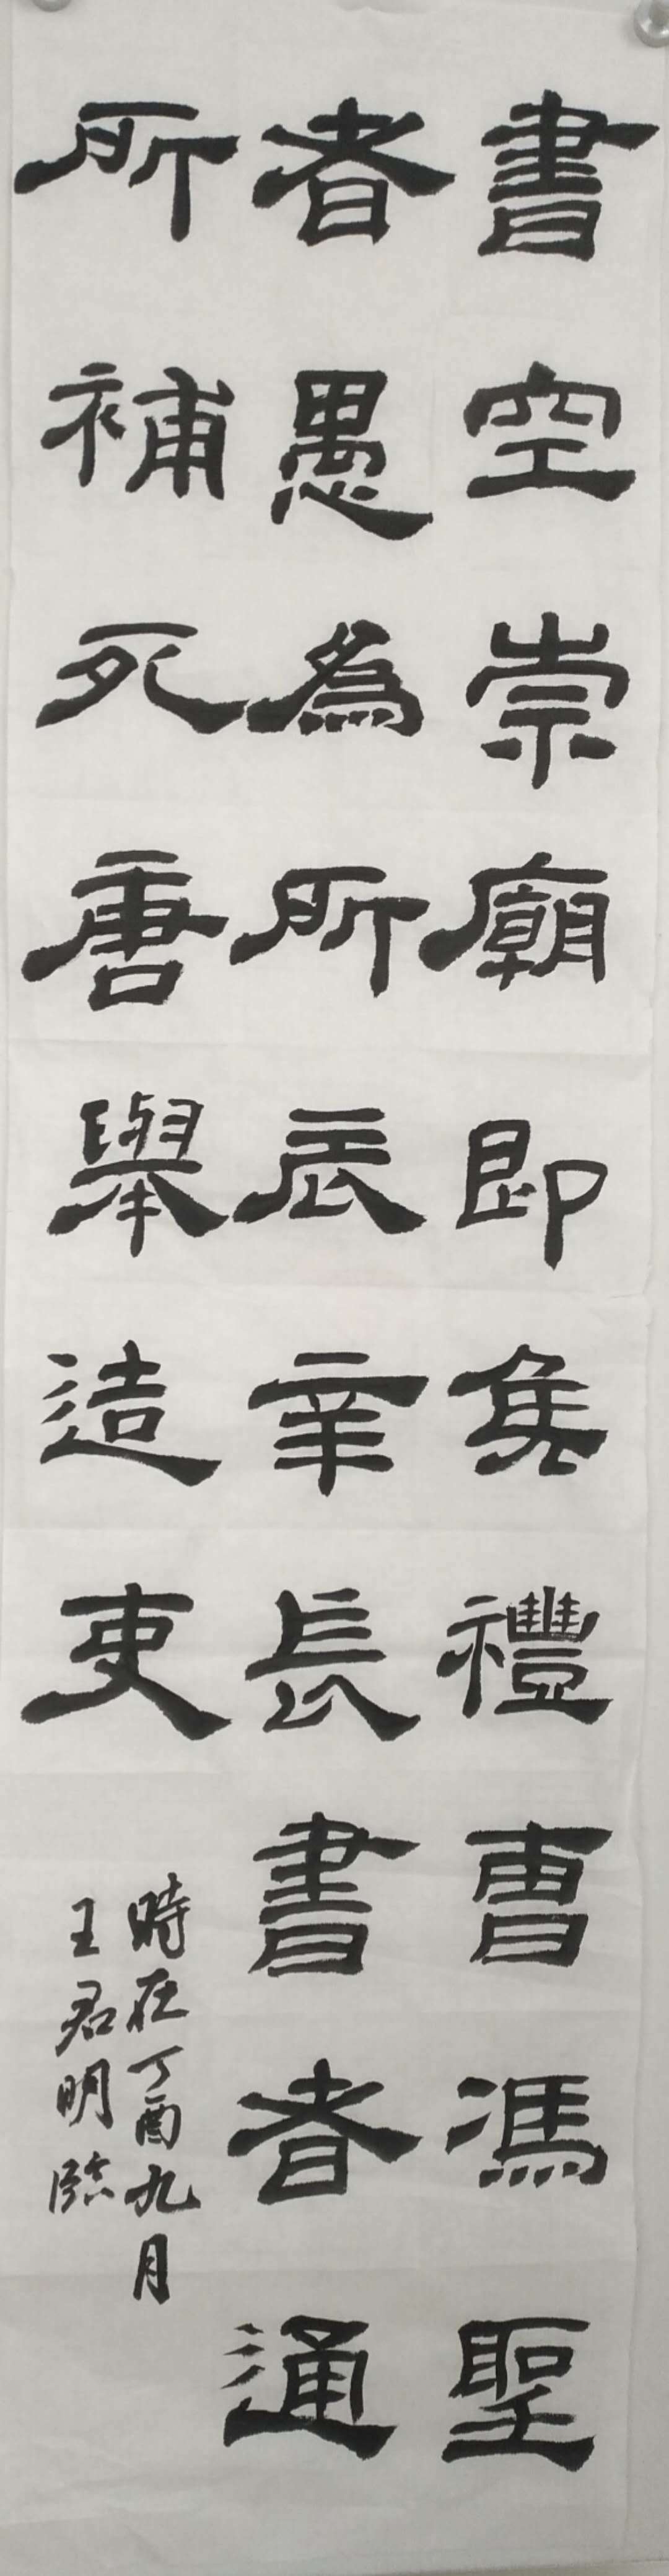
『君明 作品』
![君明]()
『乐山乐水 作品』
![乐山乐水]()
『立夏 作品』![立夏1]()
『梁积宏 作品』
![梁积宏1]()
『刘长征 作品』
![刘长征]()
『秦健 作品』
![秦健]()
『清风明月 作品』
![清风明月]()
『如燕 作品』
![如燕1]()
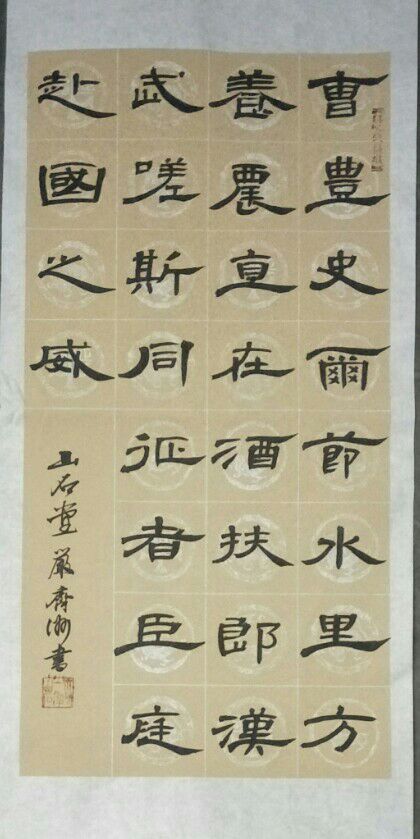
『山石齐洲 作品』
![山石齐洲]()
『田毅 作品』![田毅3]()
『徐艳 作品』
![徐艳]()
『庸君 作品』
![庸君]()
『悠悠 作品』
![悠悠]()
『张健 作品』
![张健]()
『紫玉 作品』
![紫玉]()
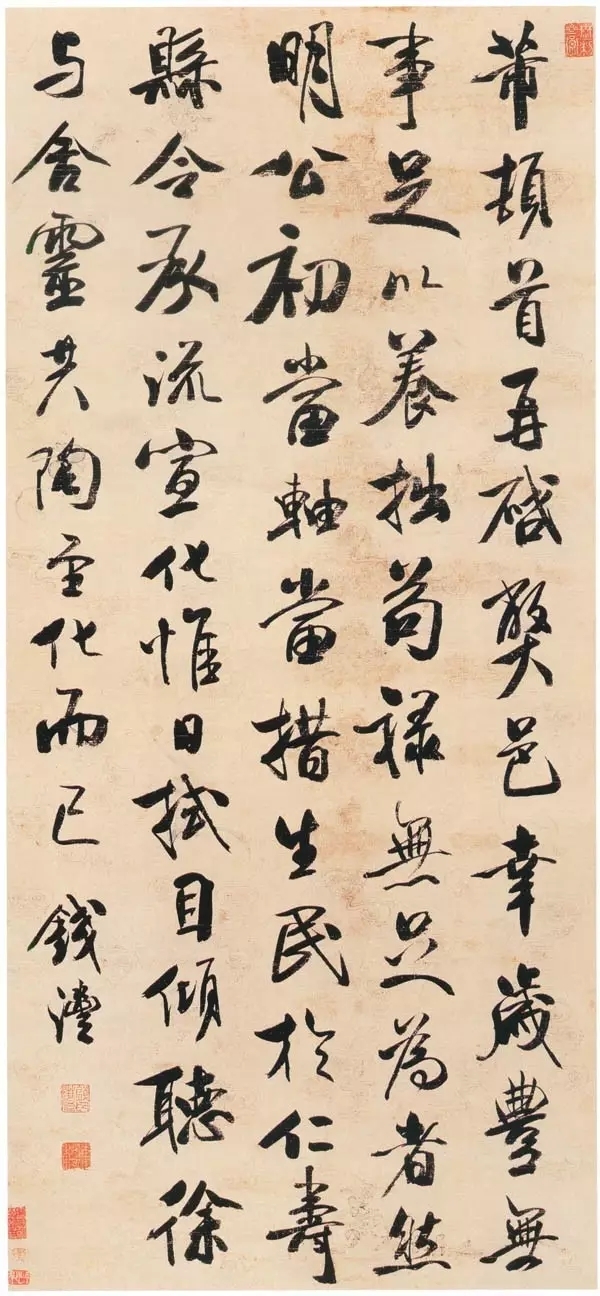
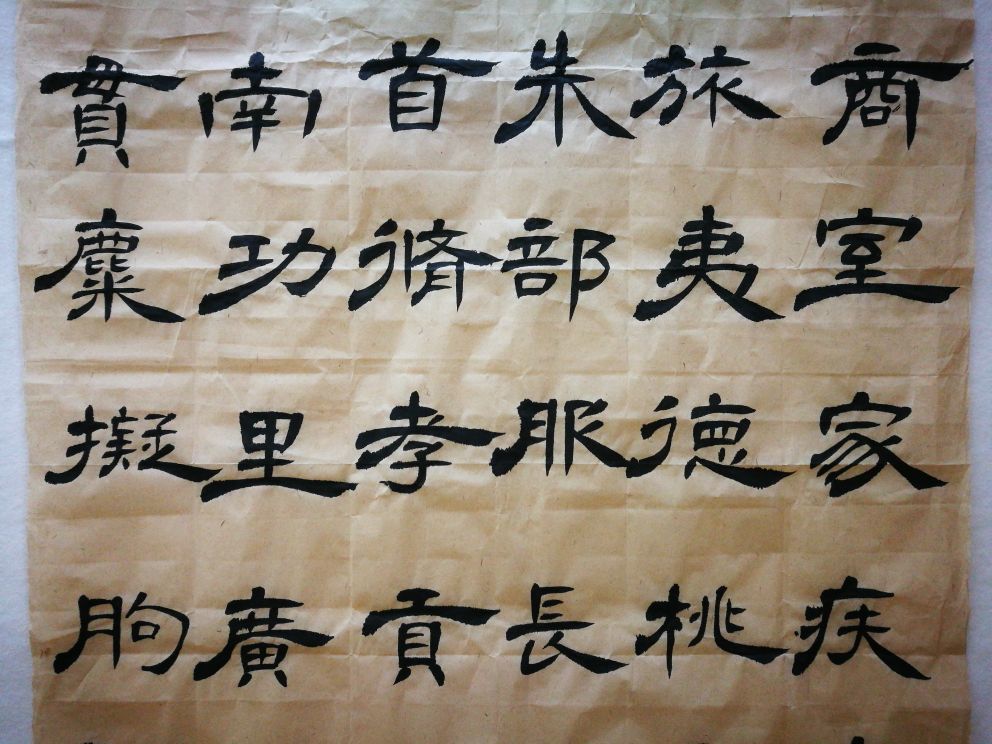
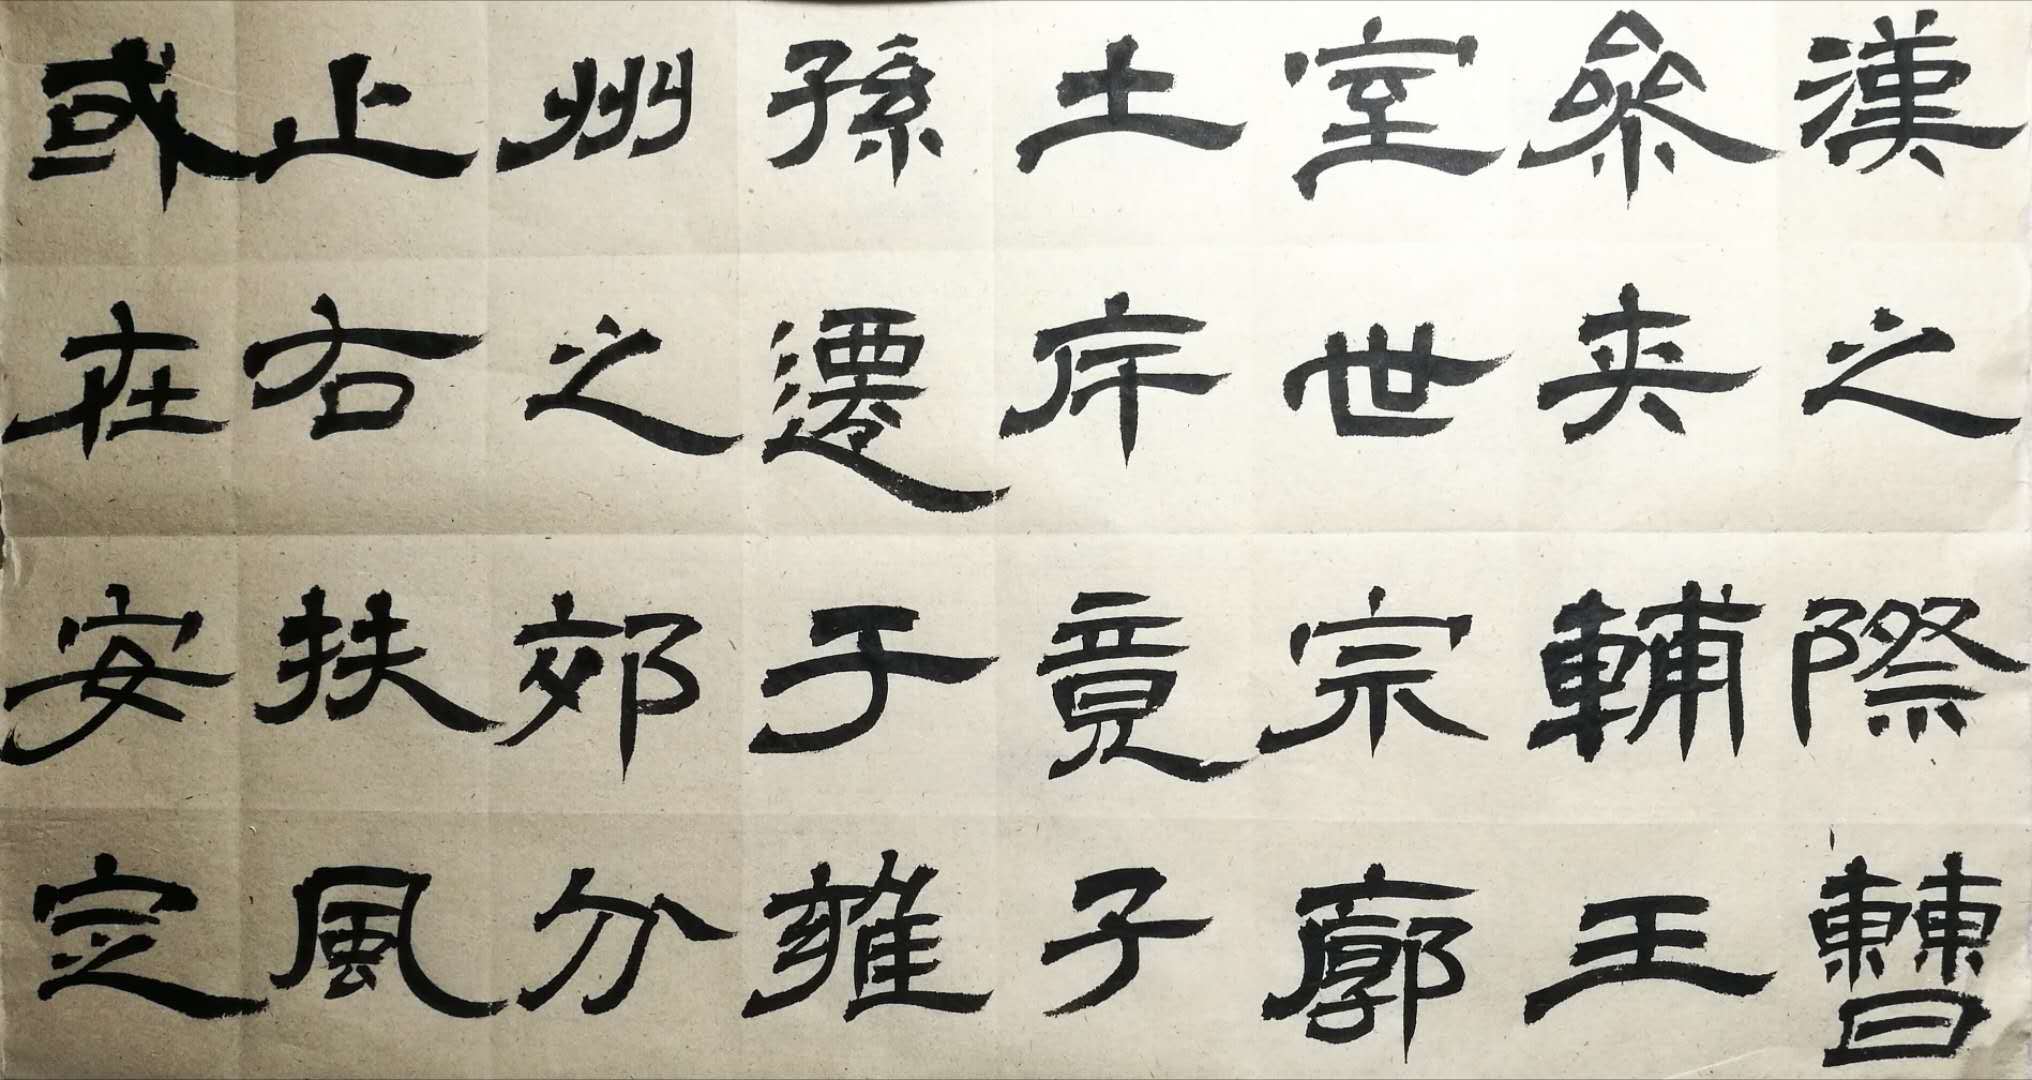
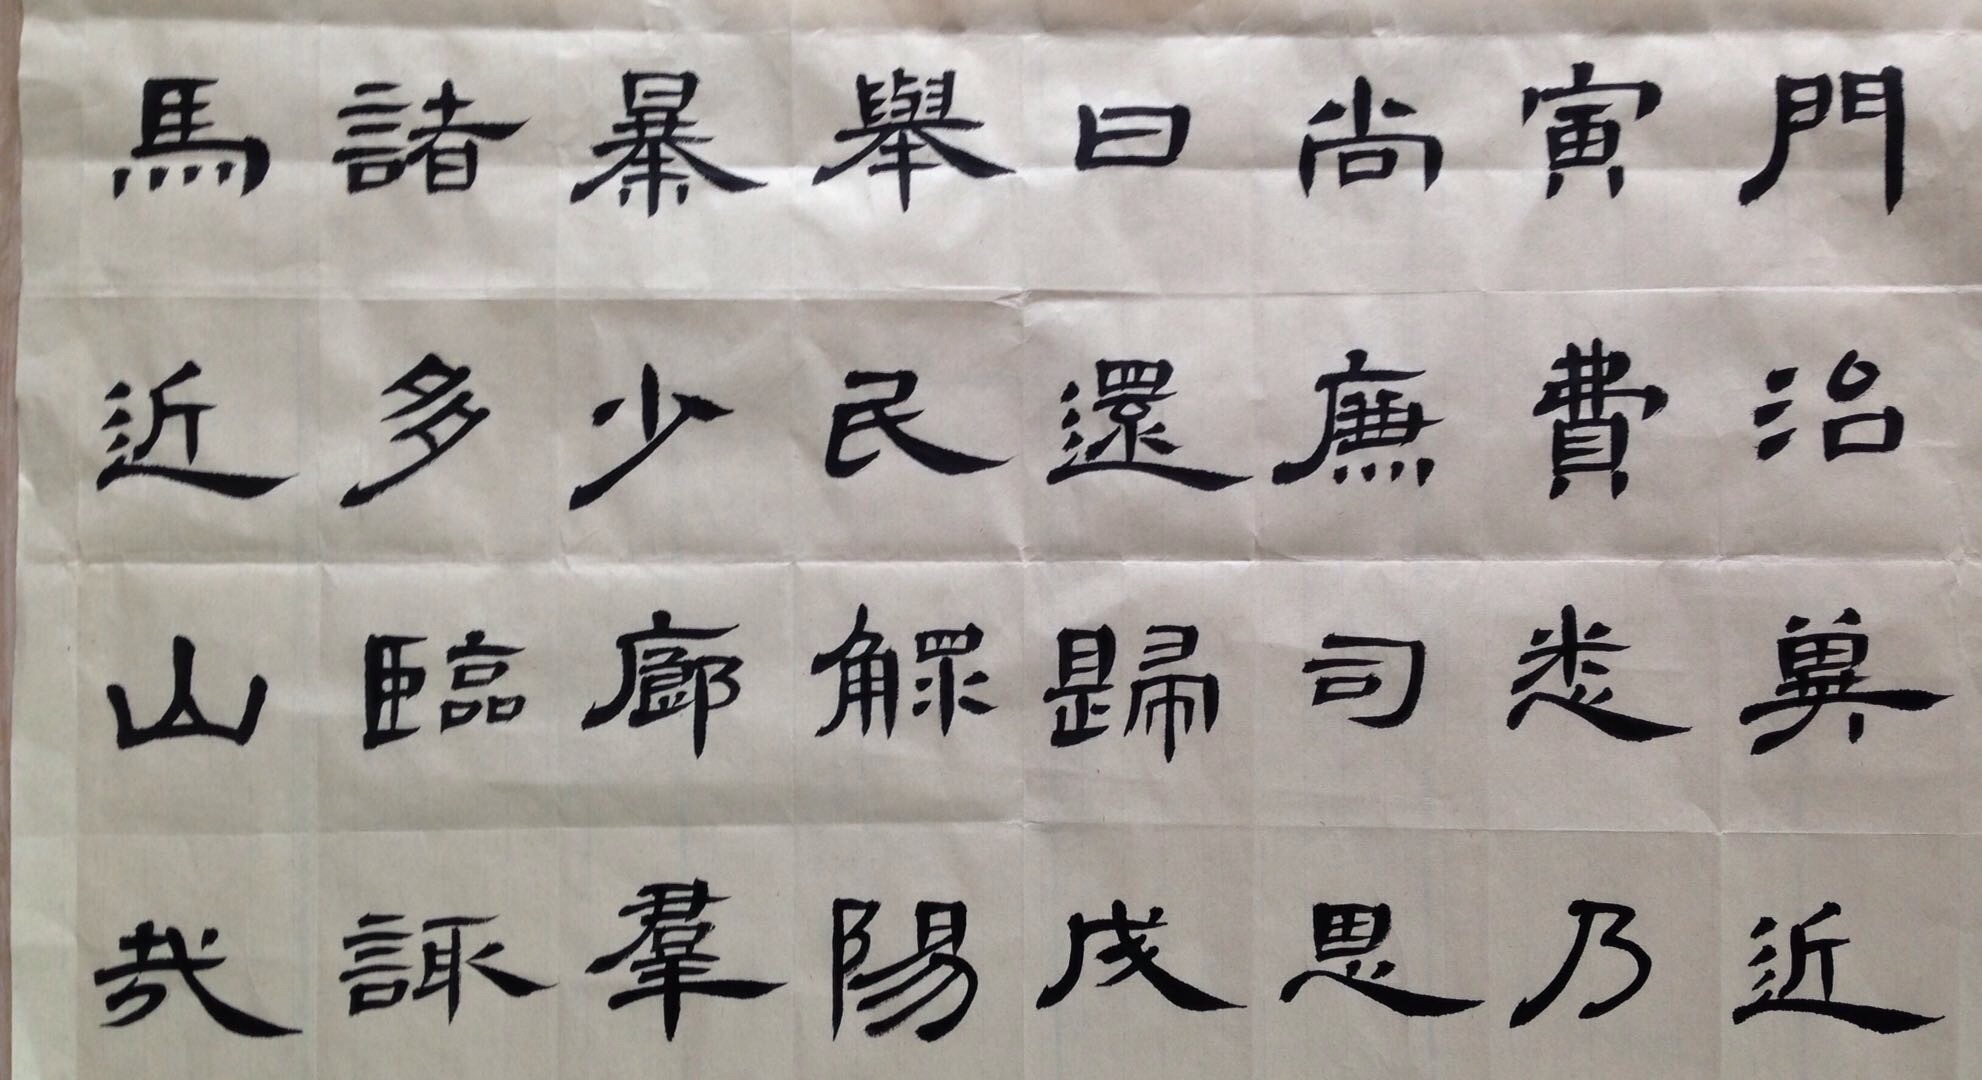
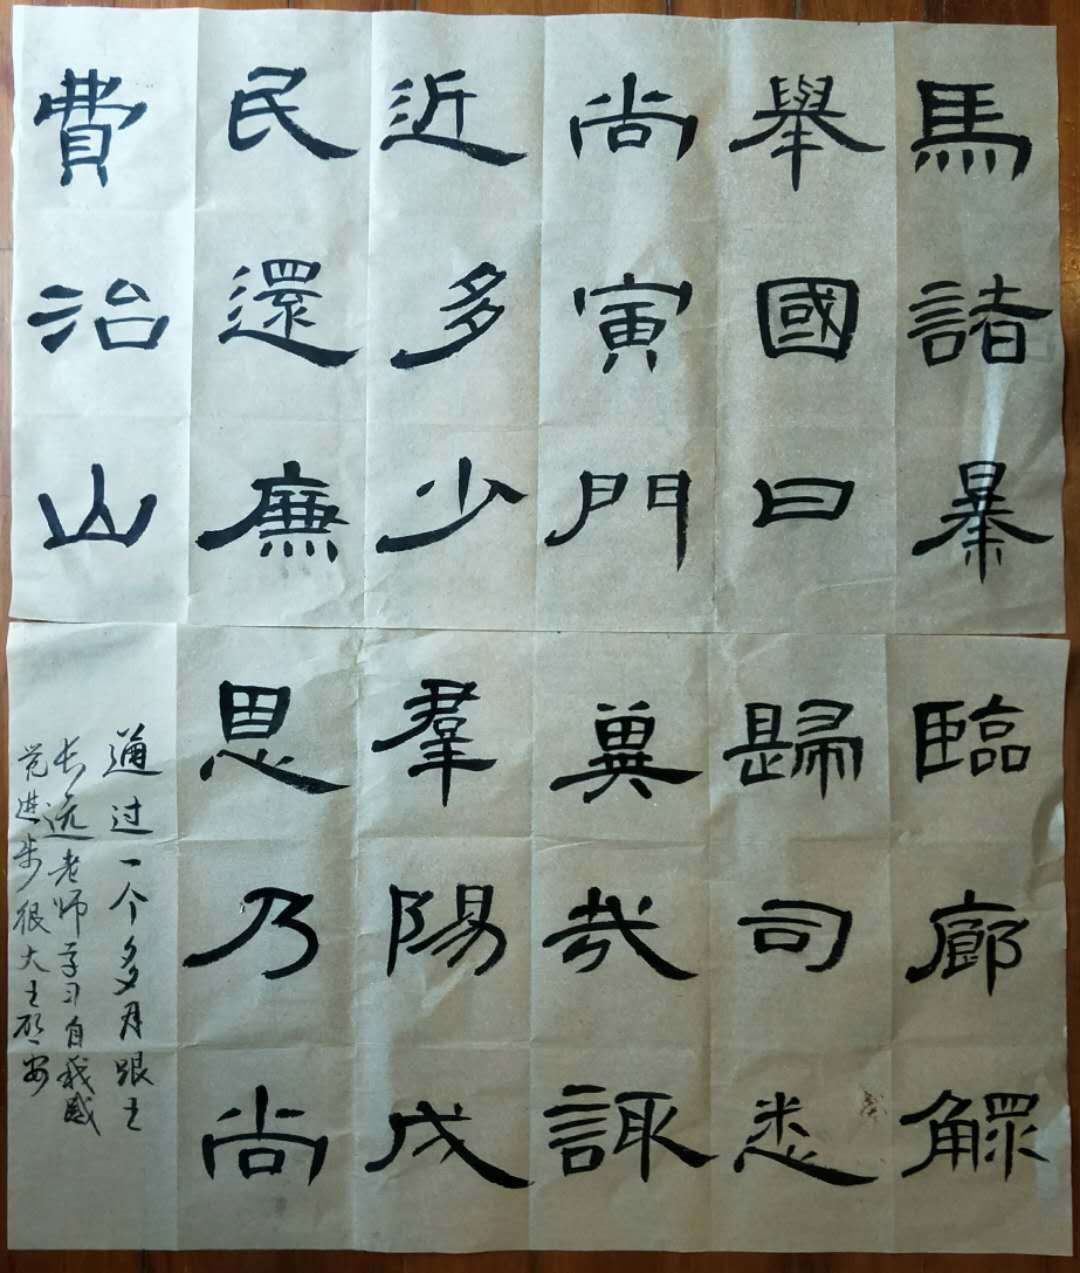
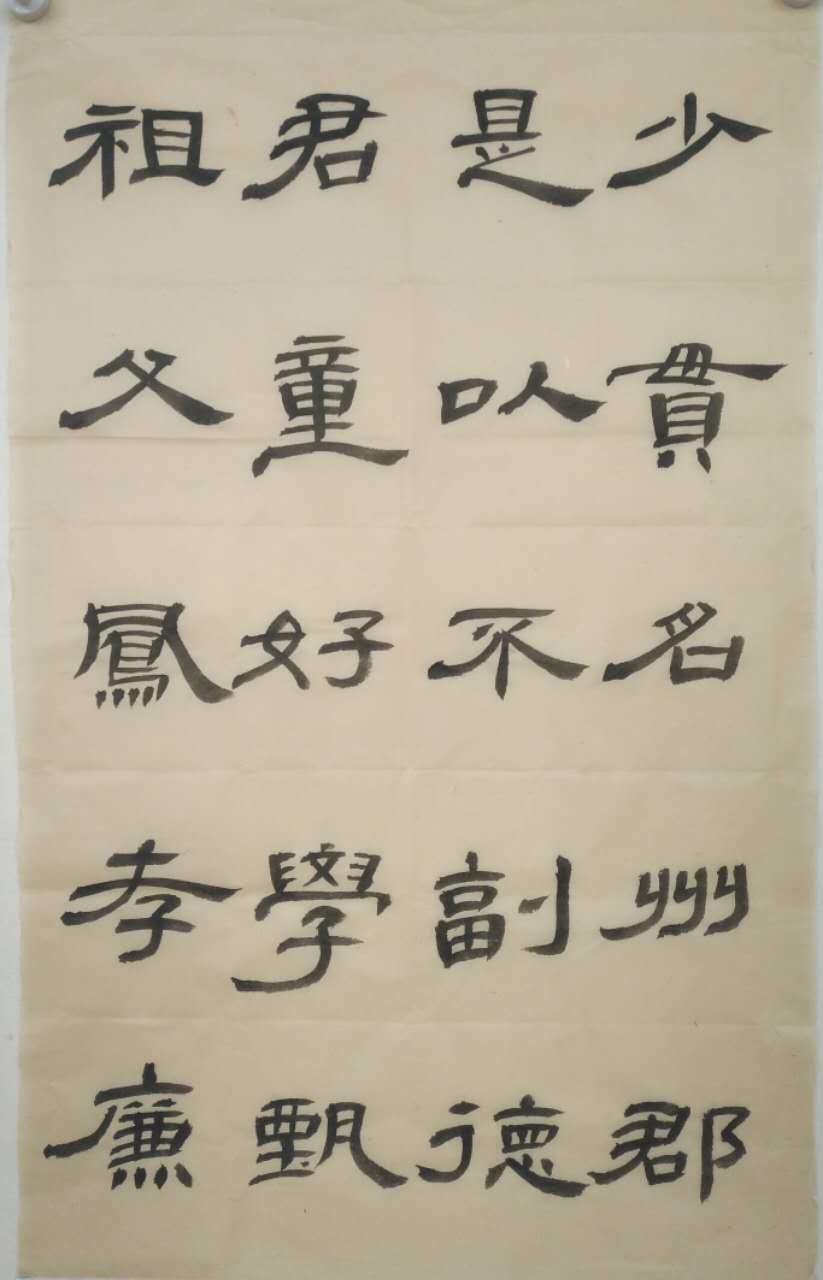
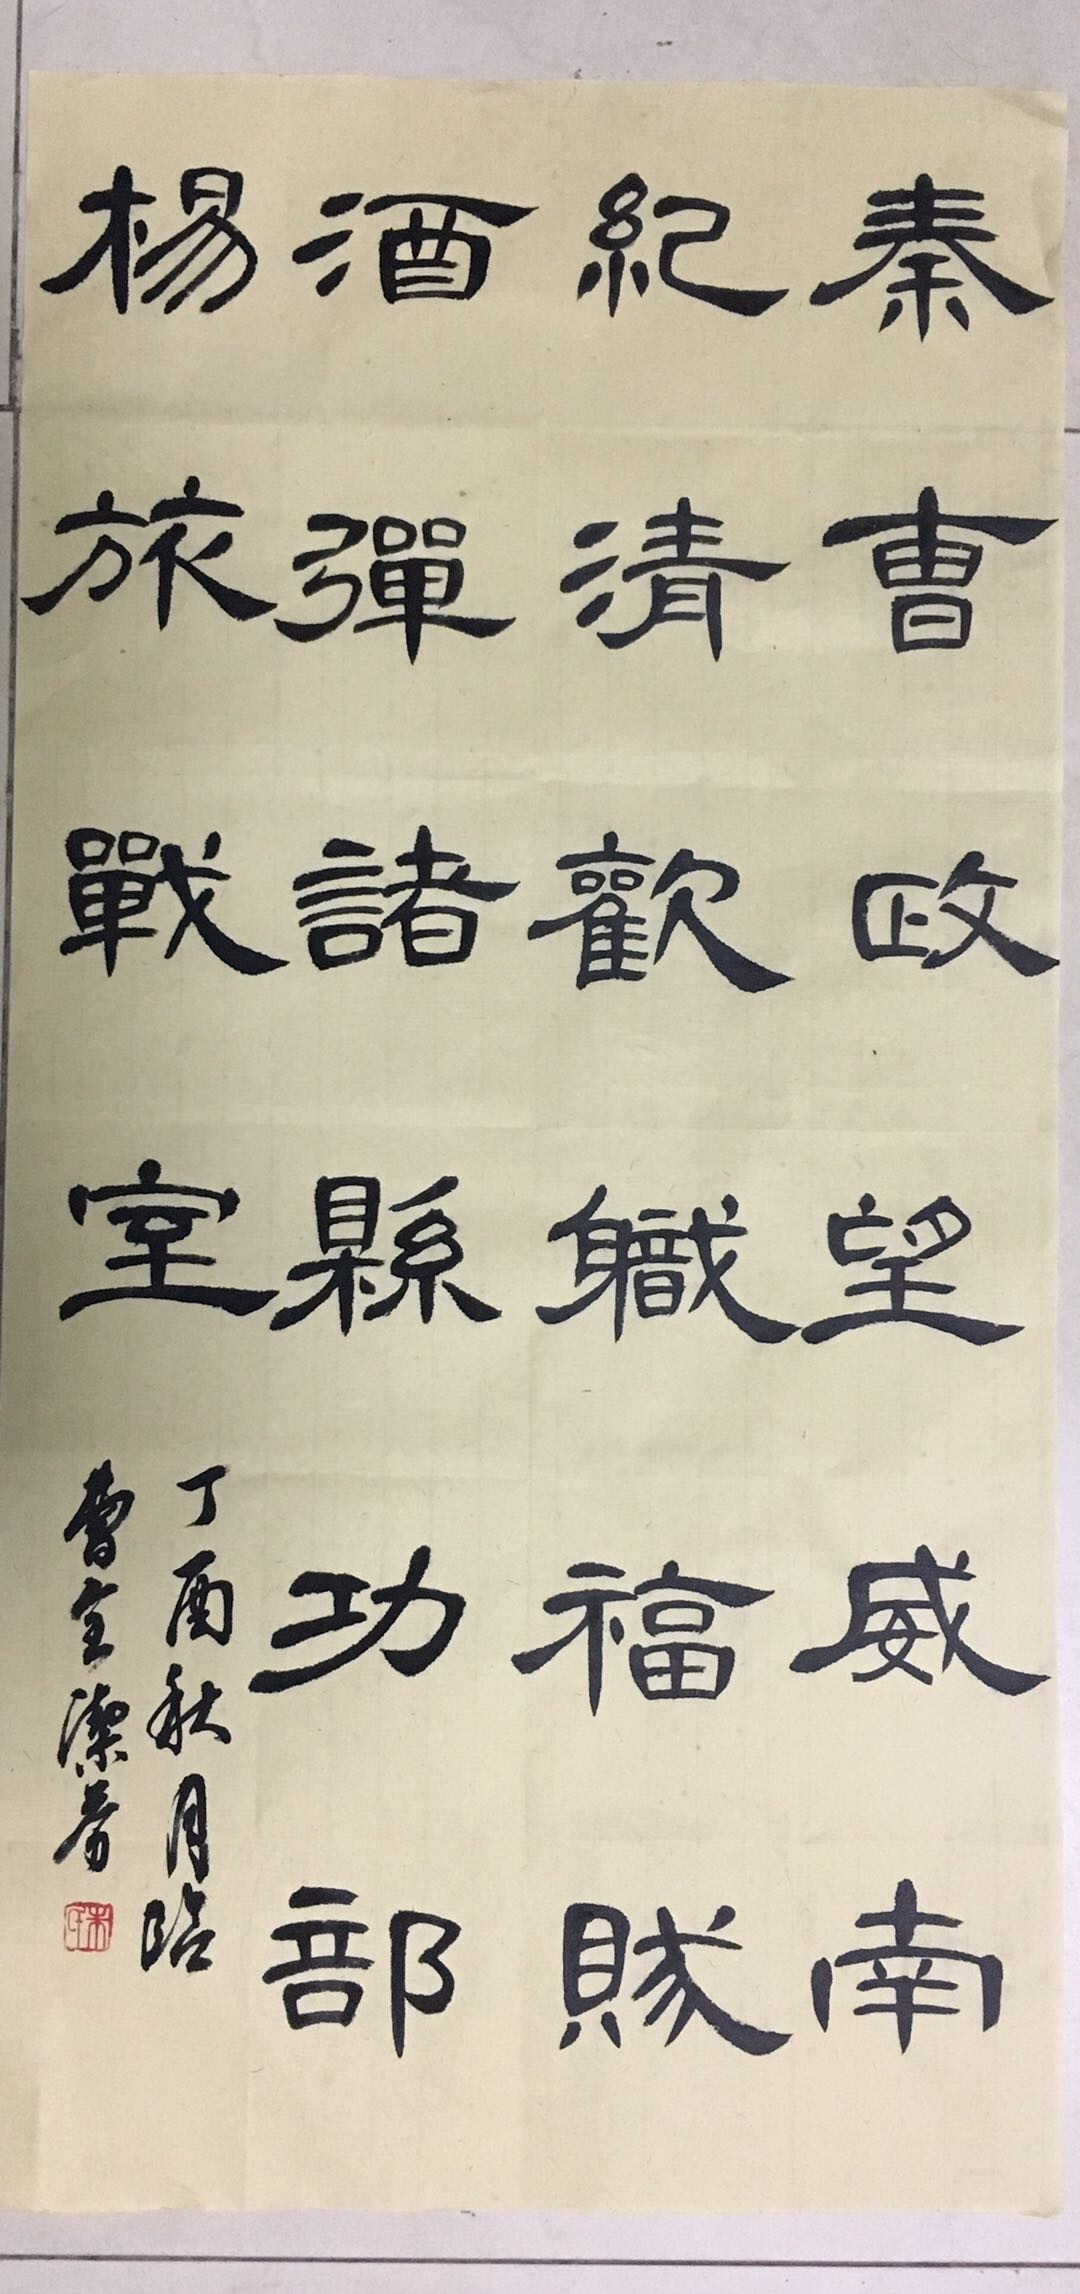
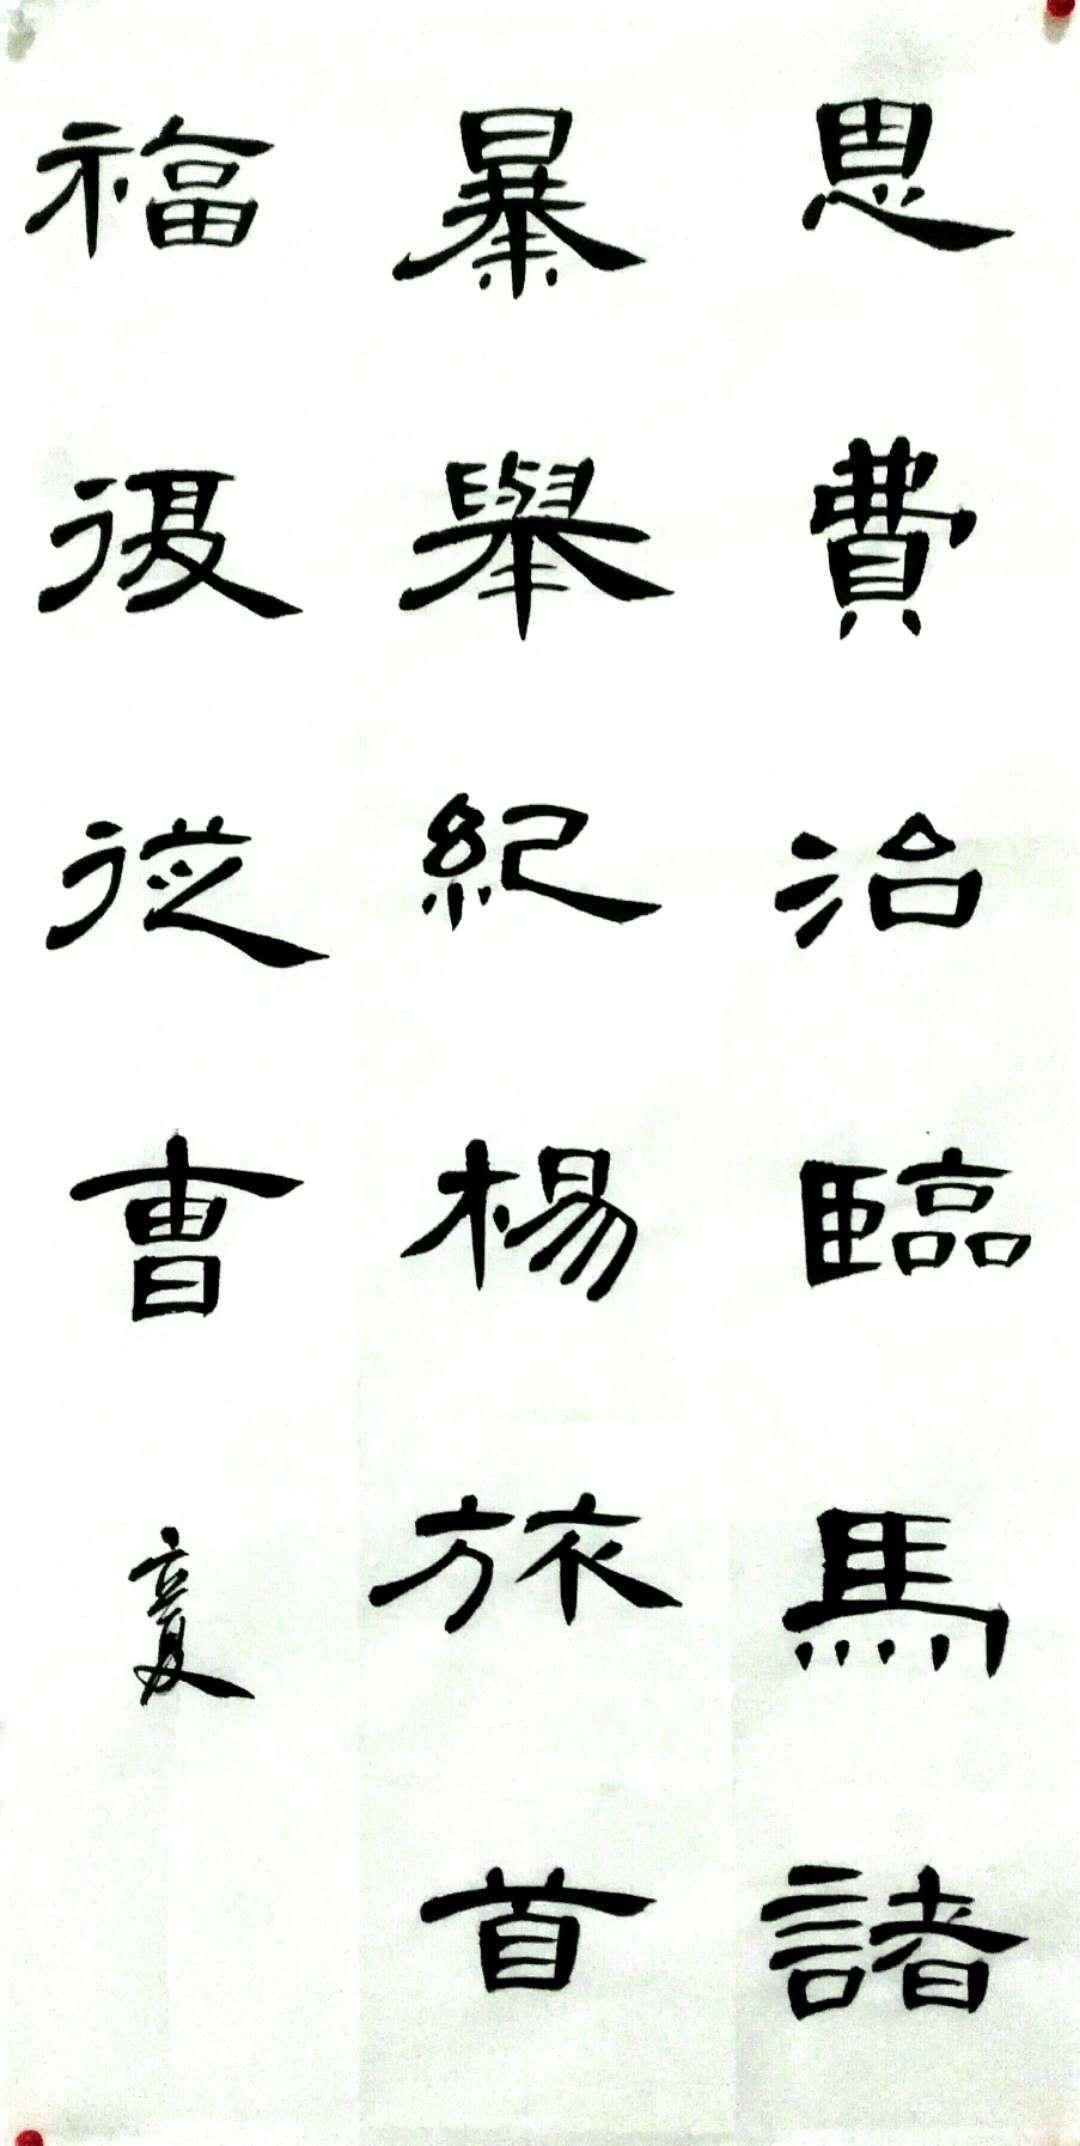
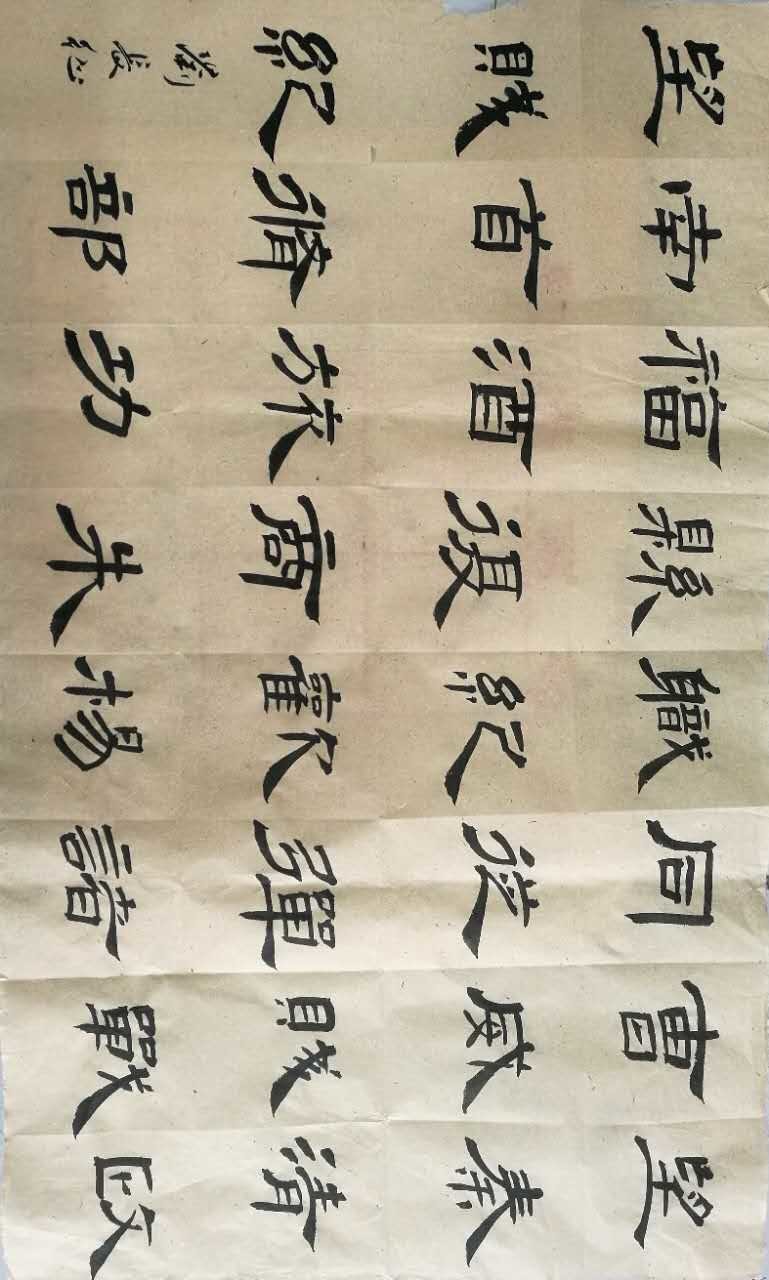
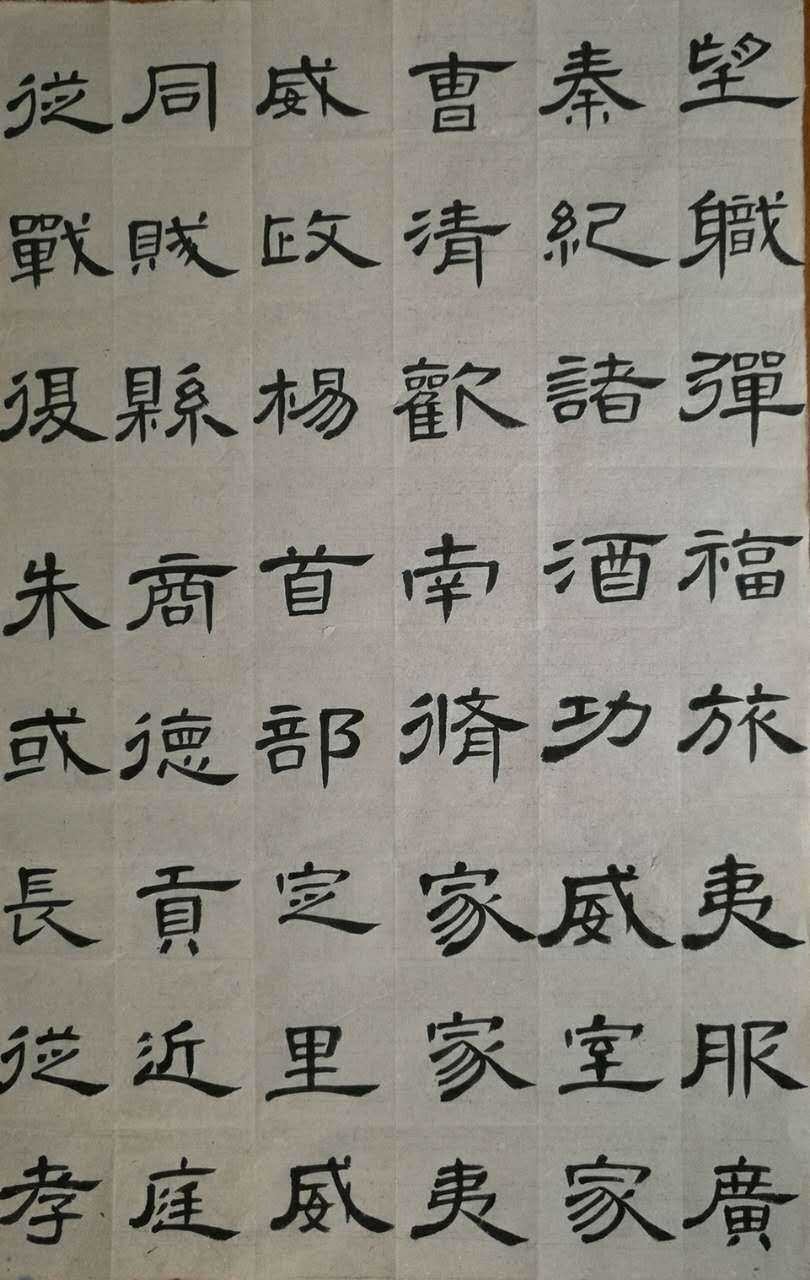
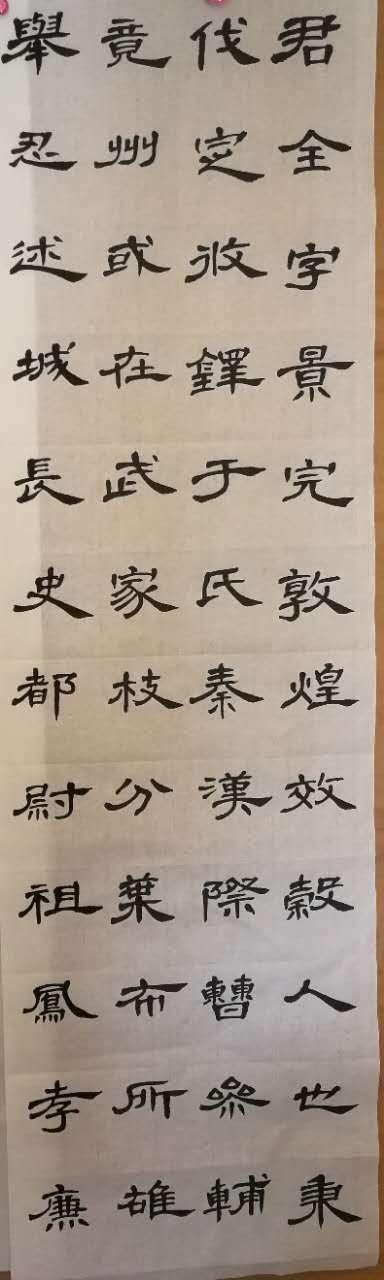
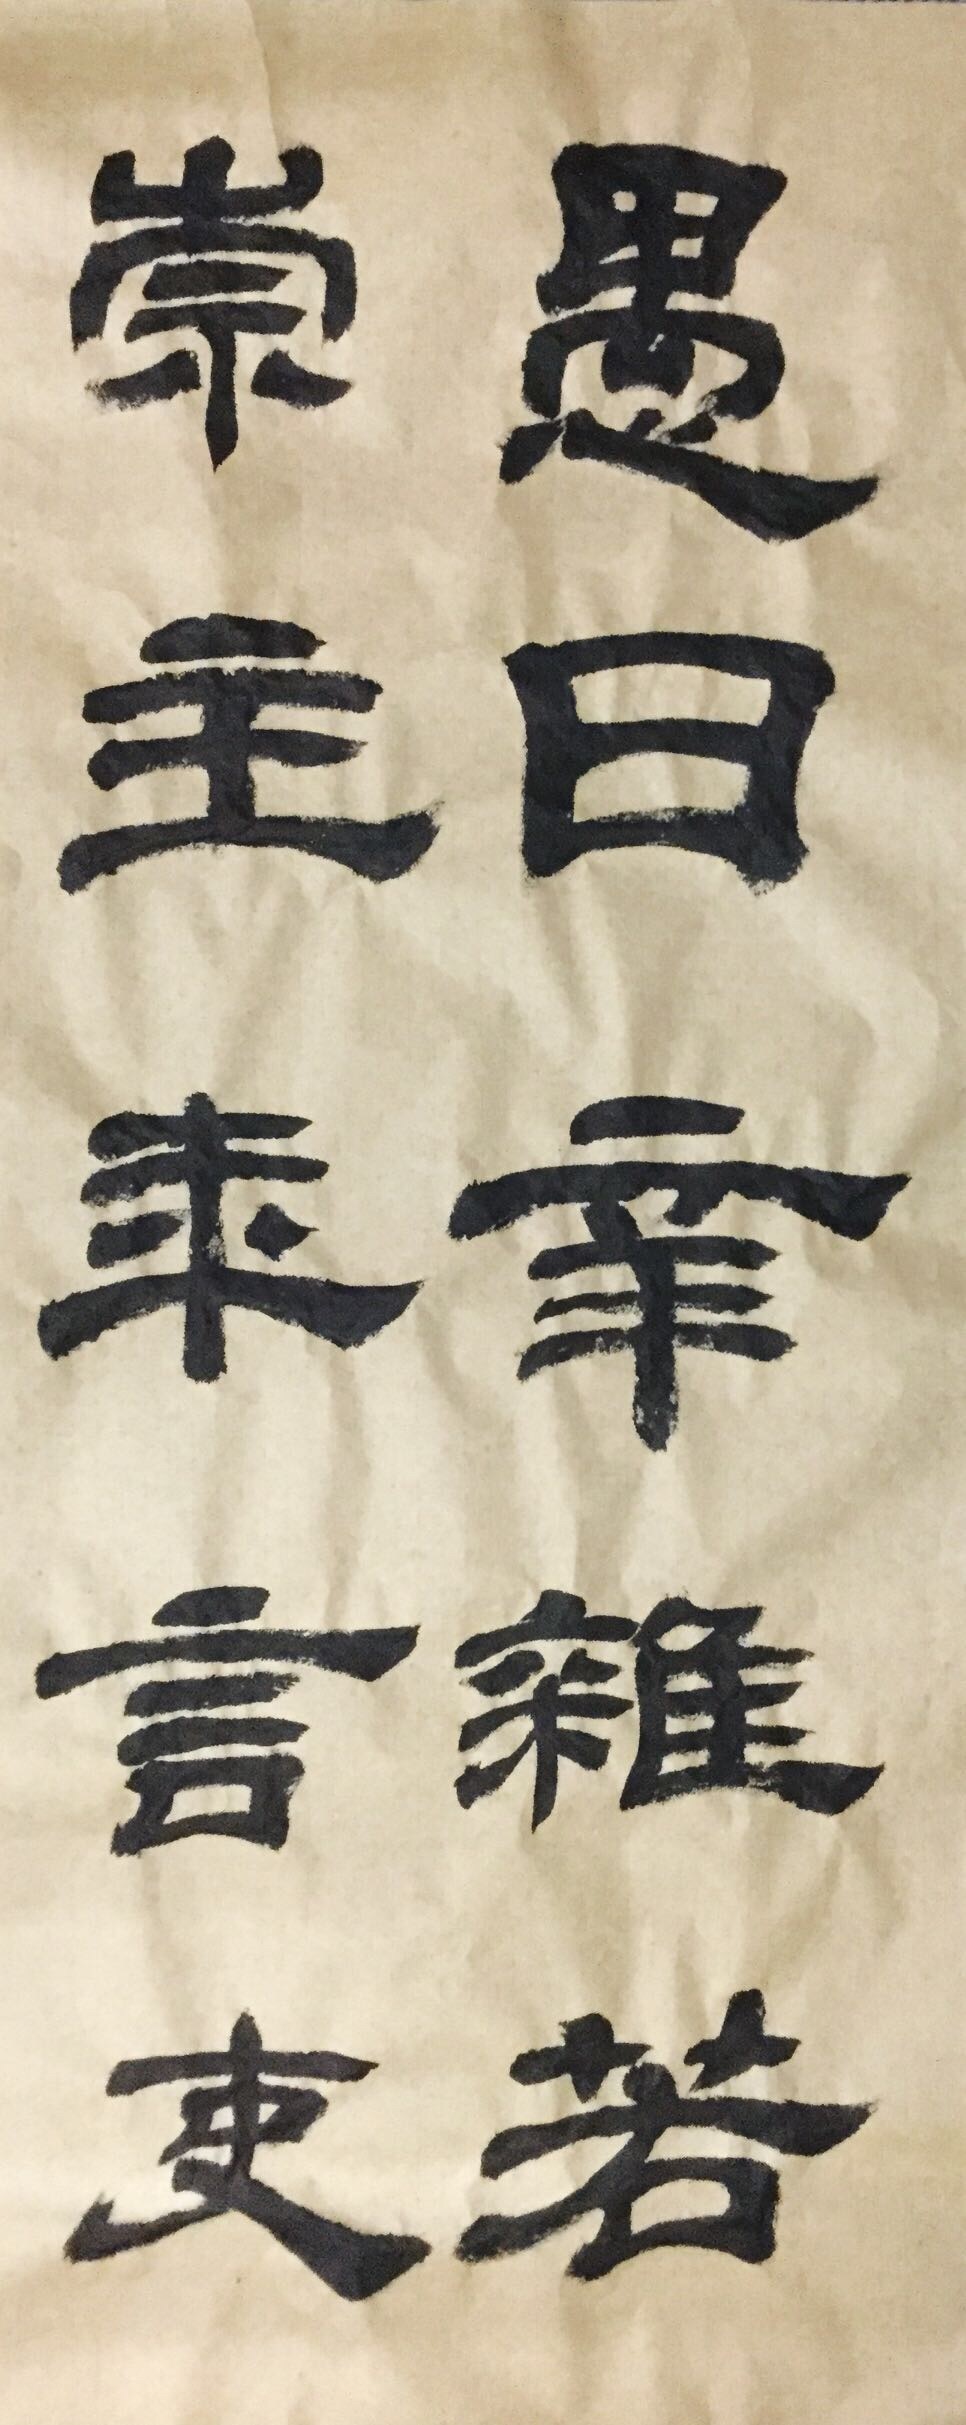
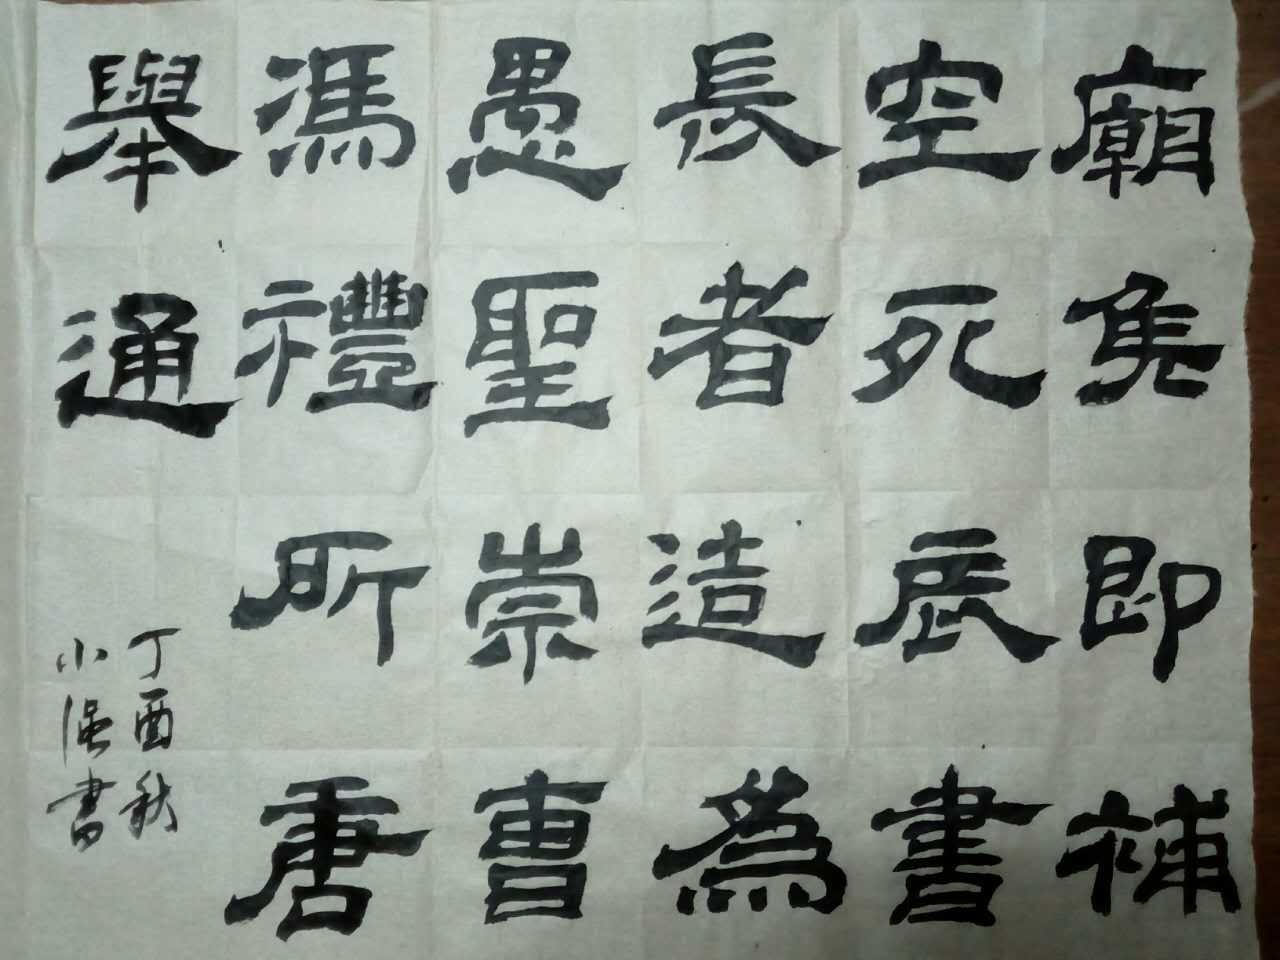
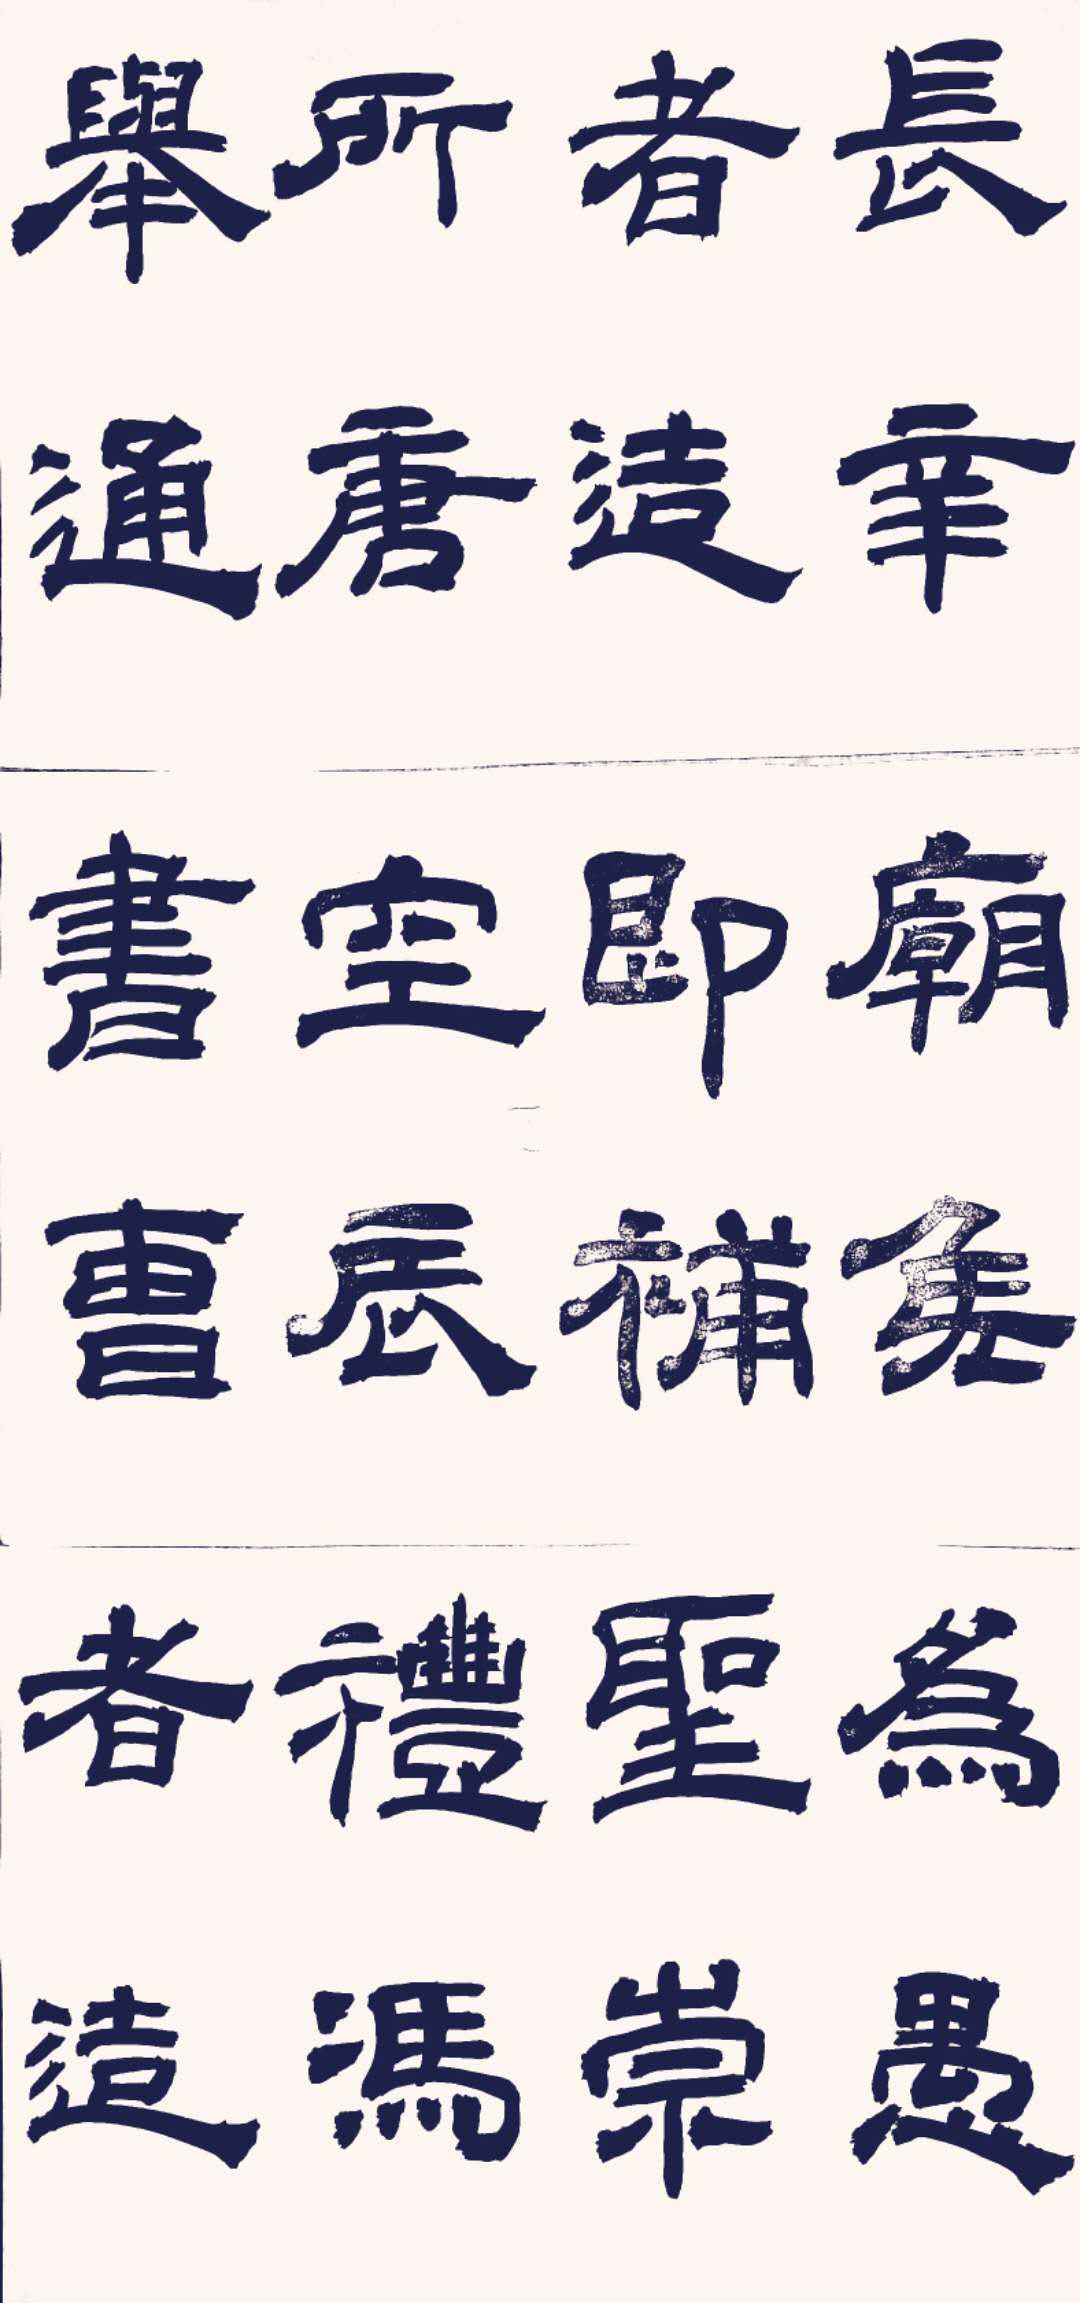
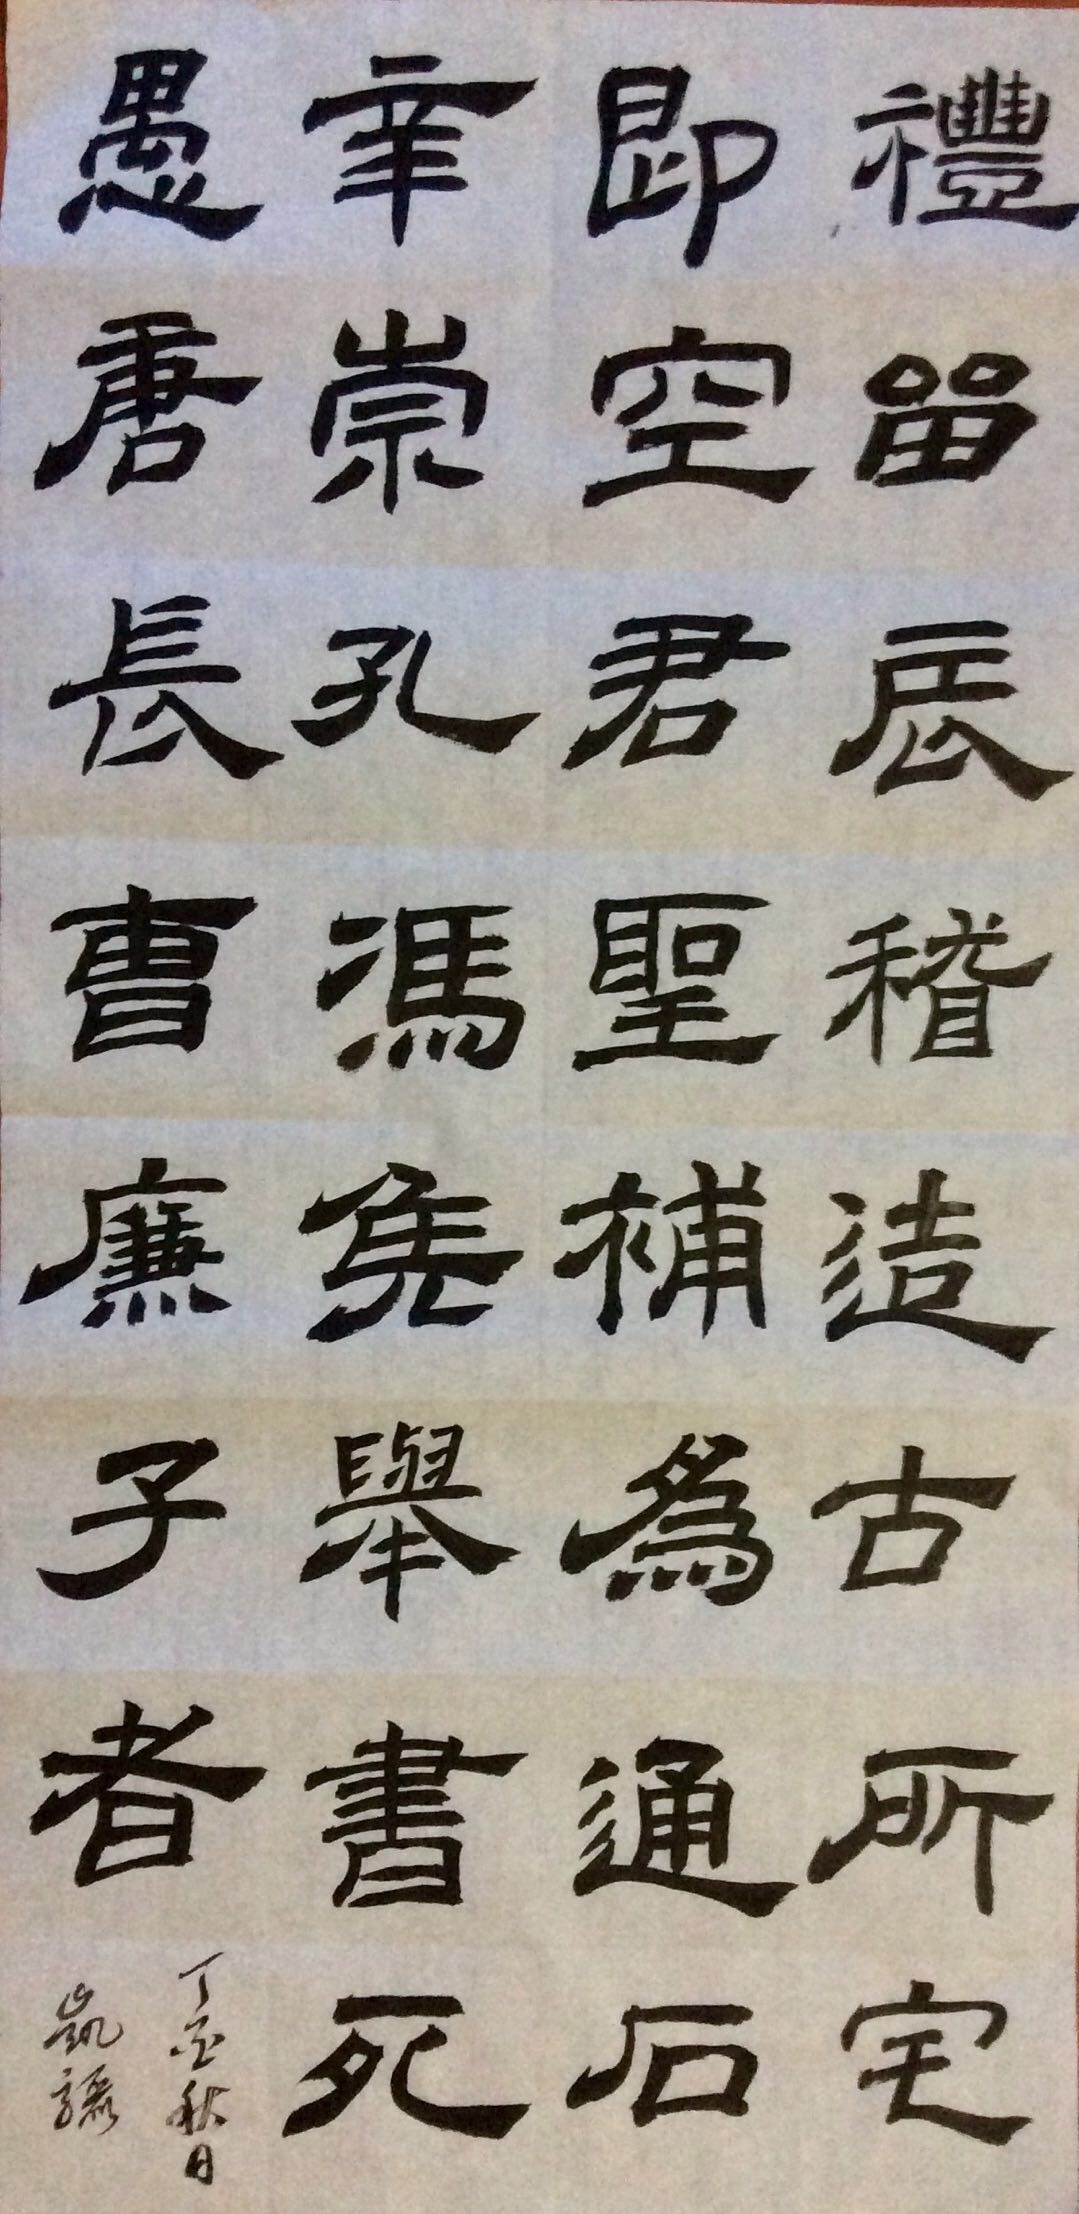
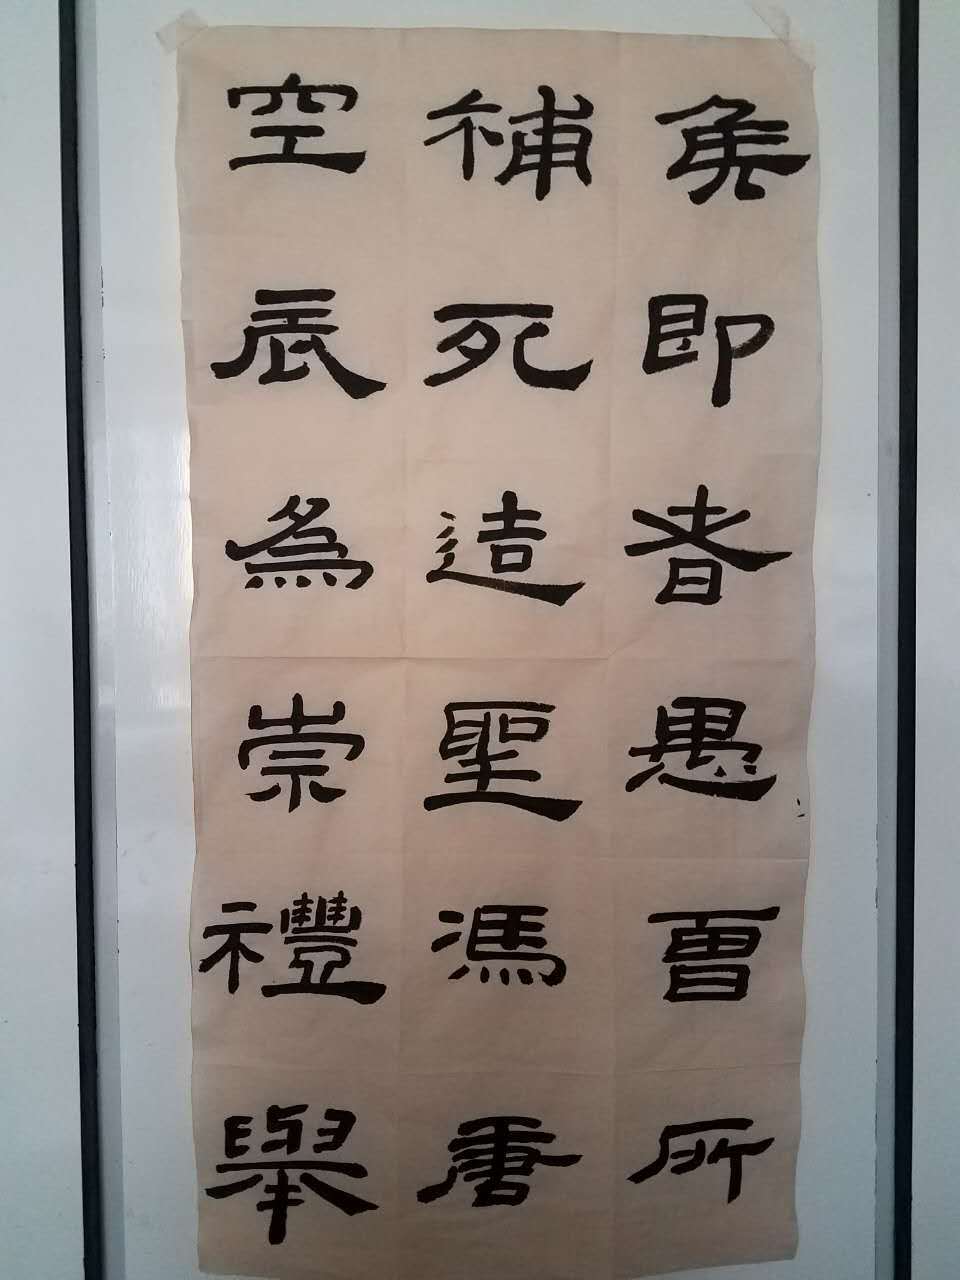
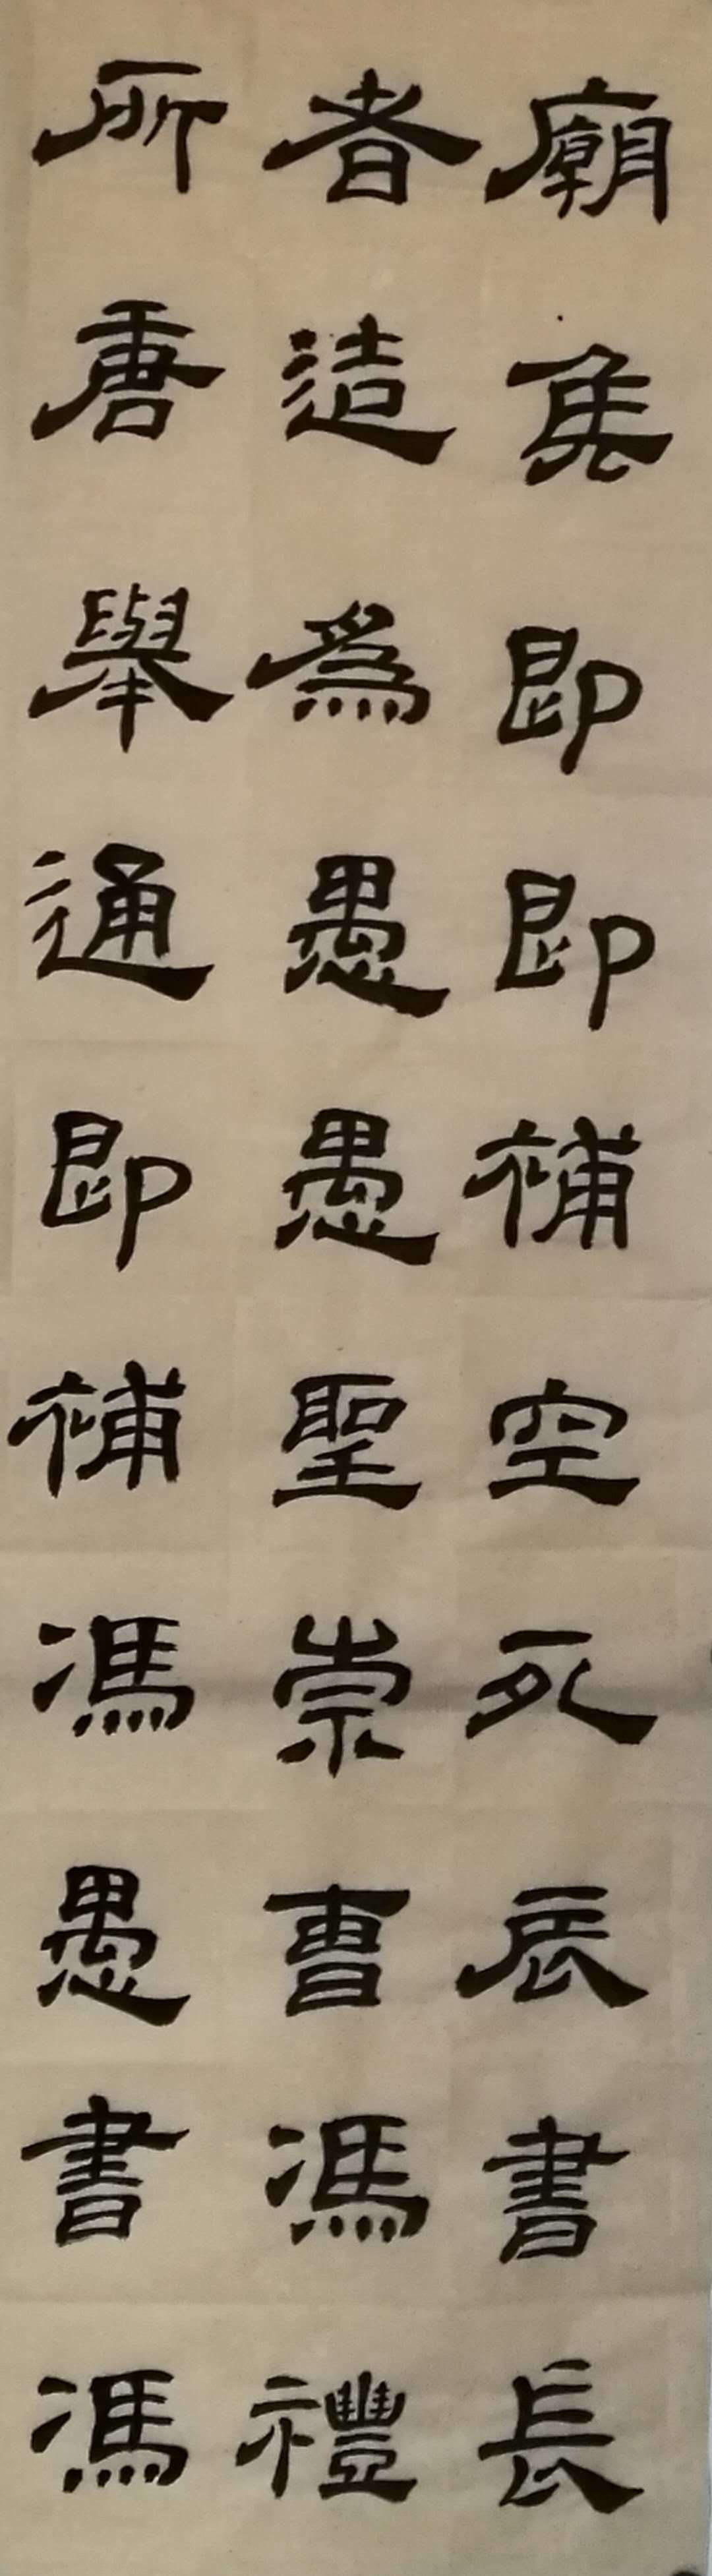
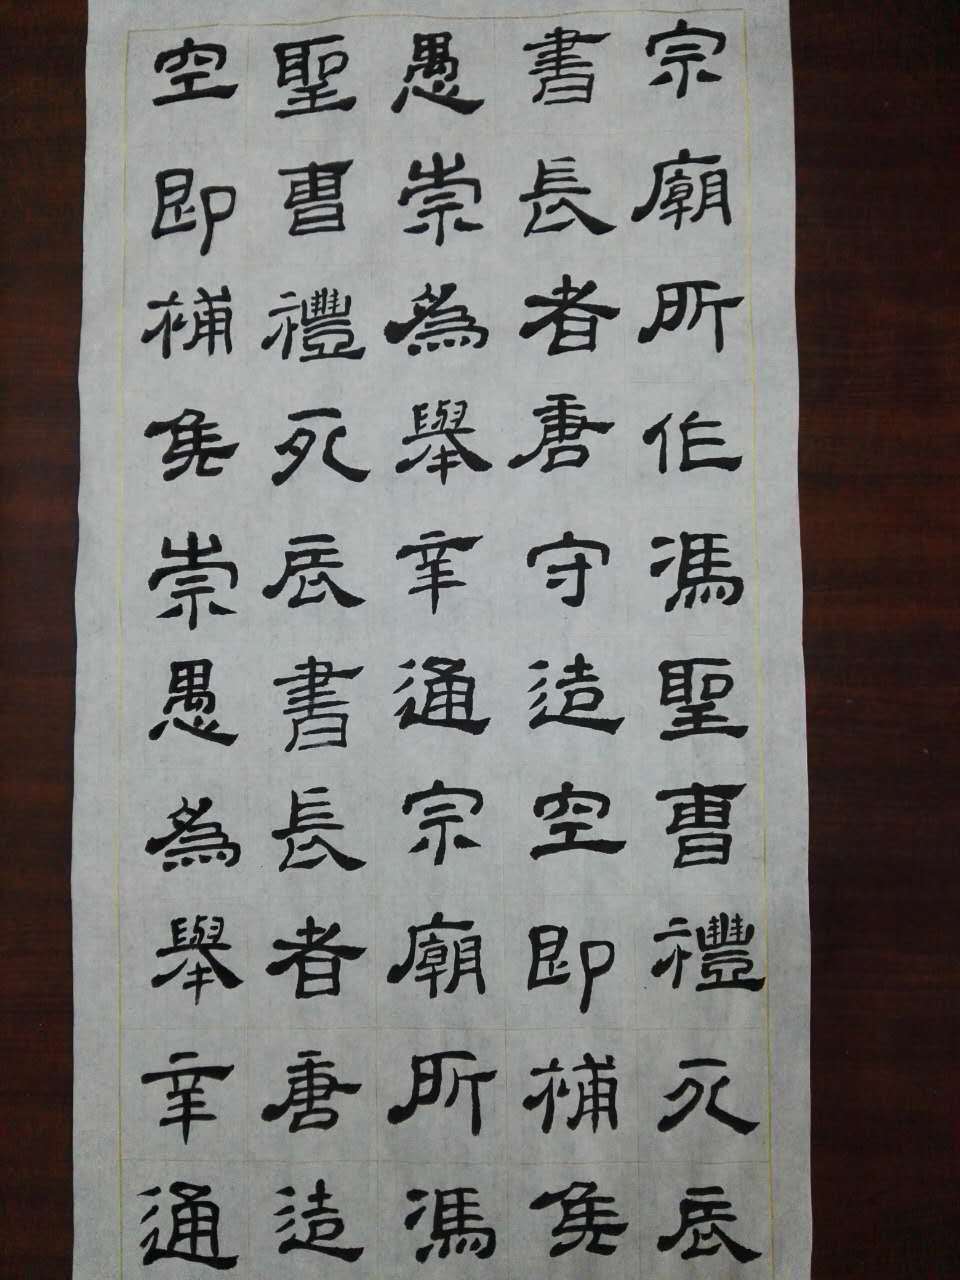
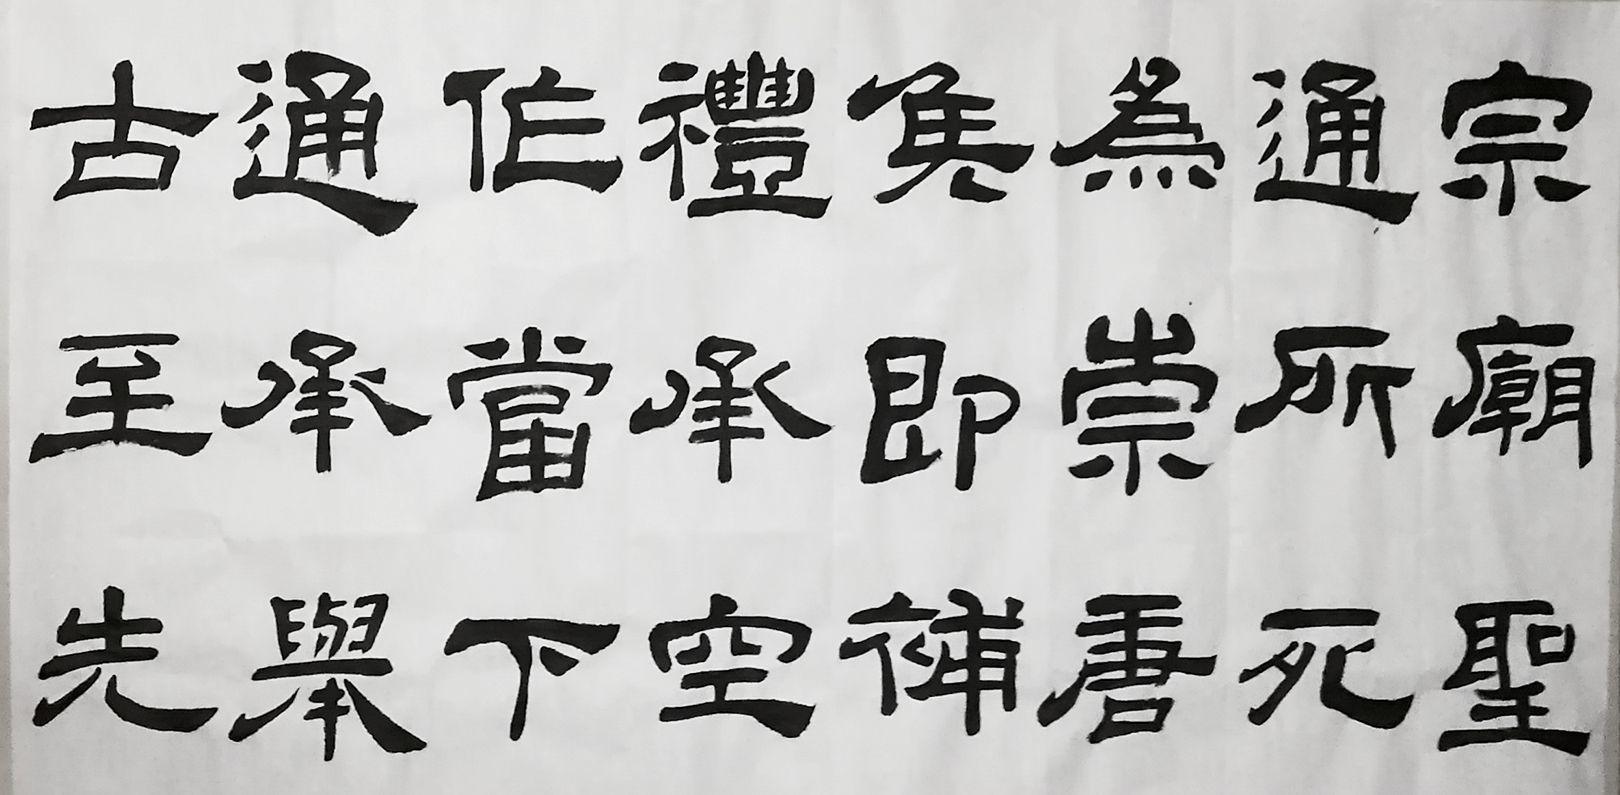
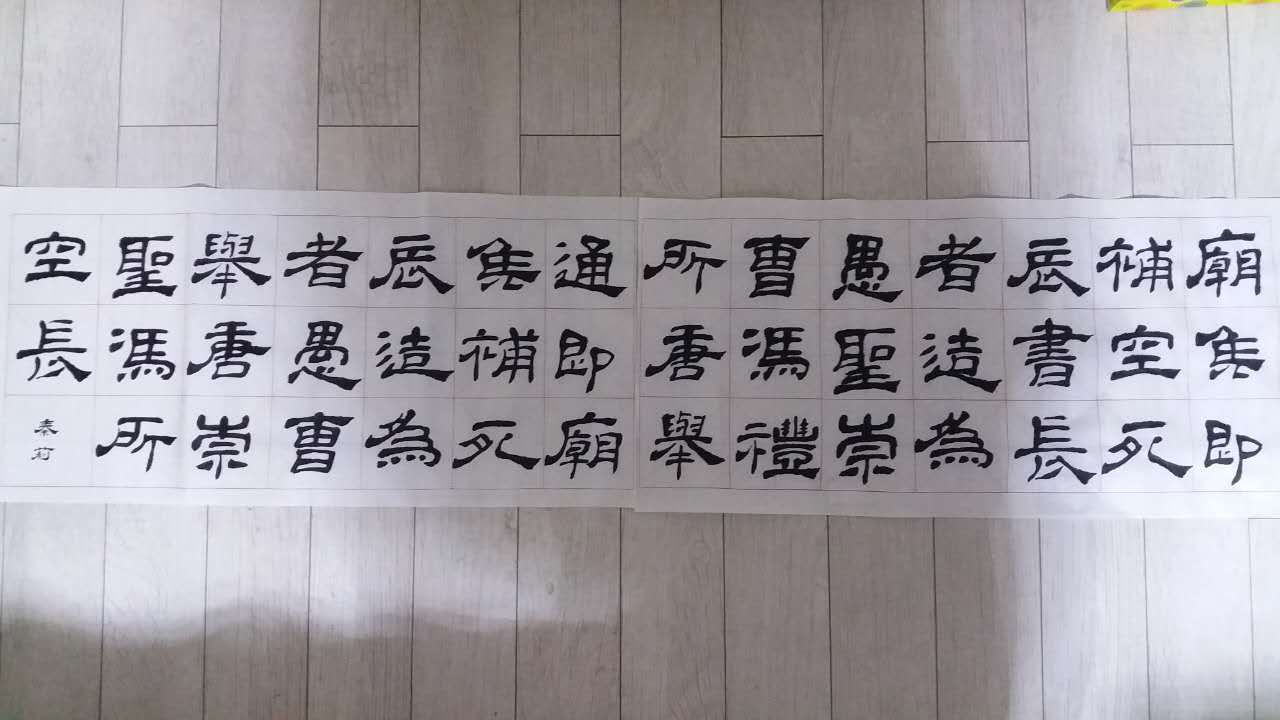
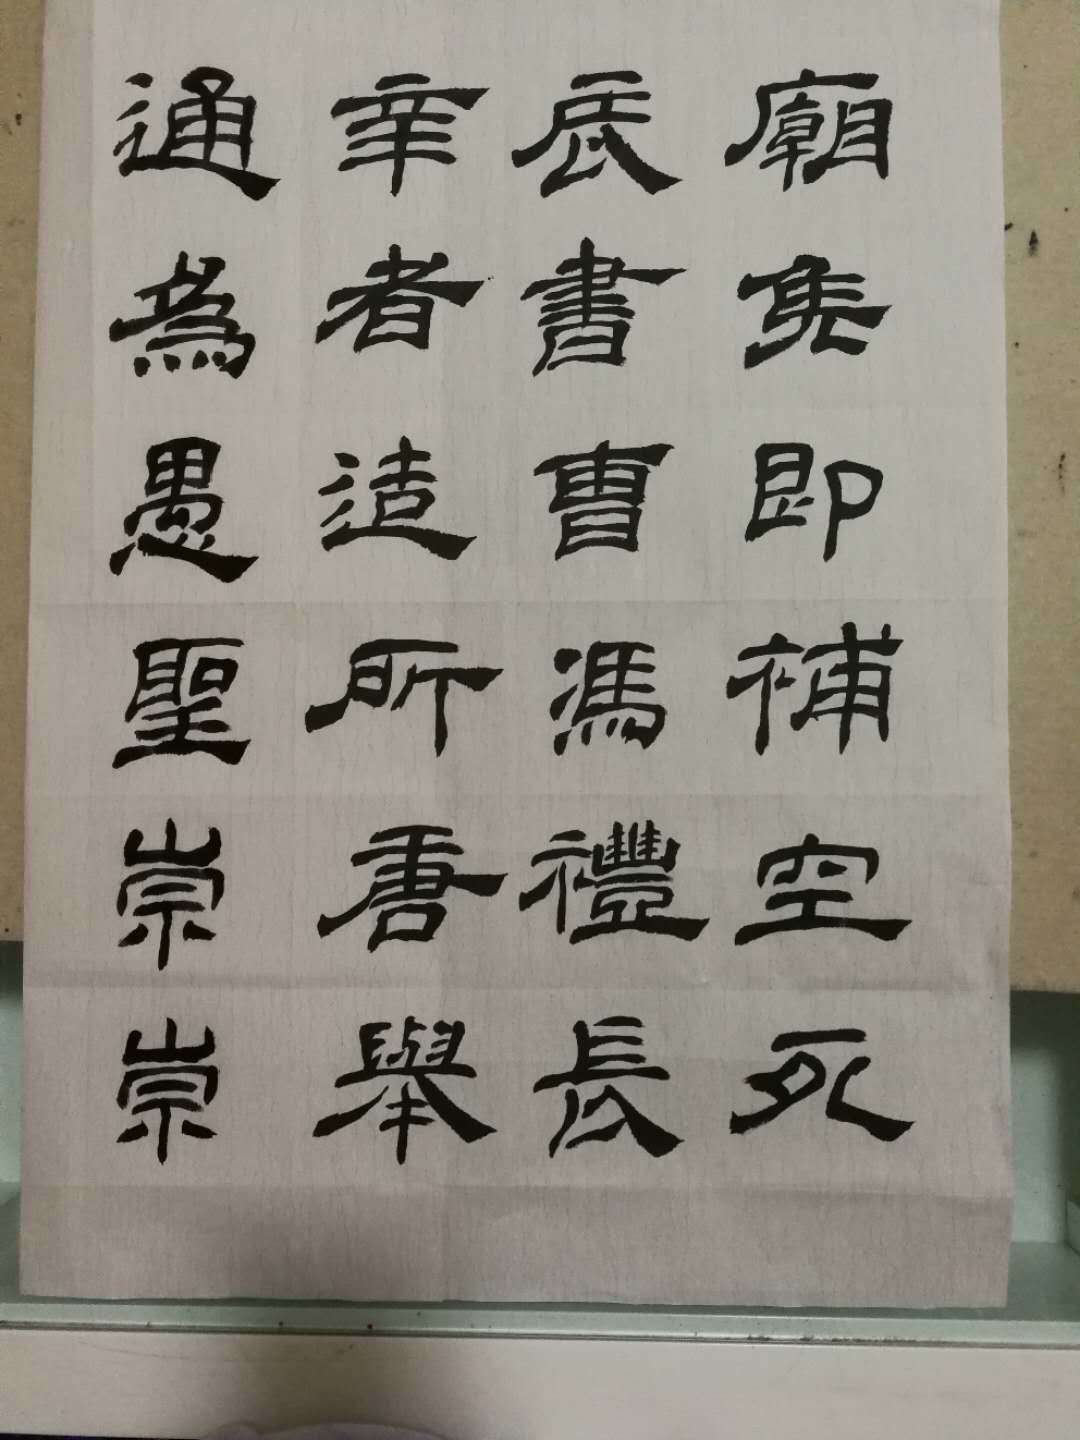
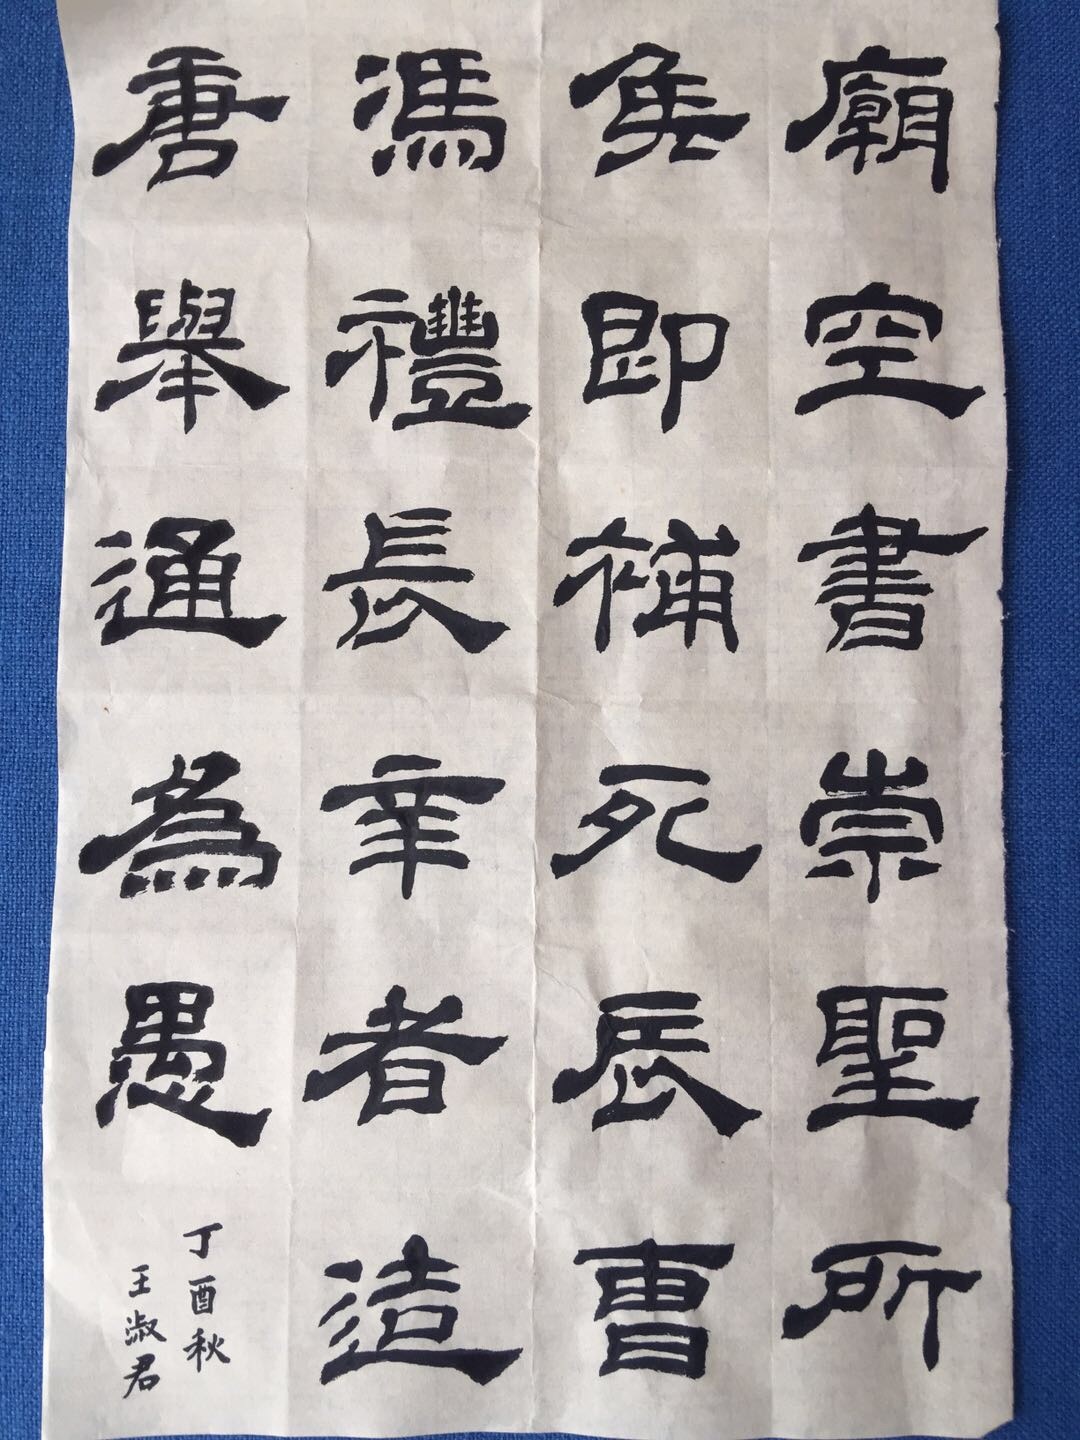
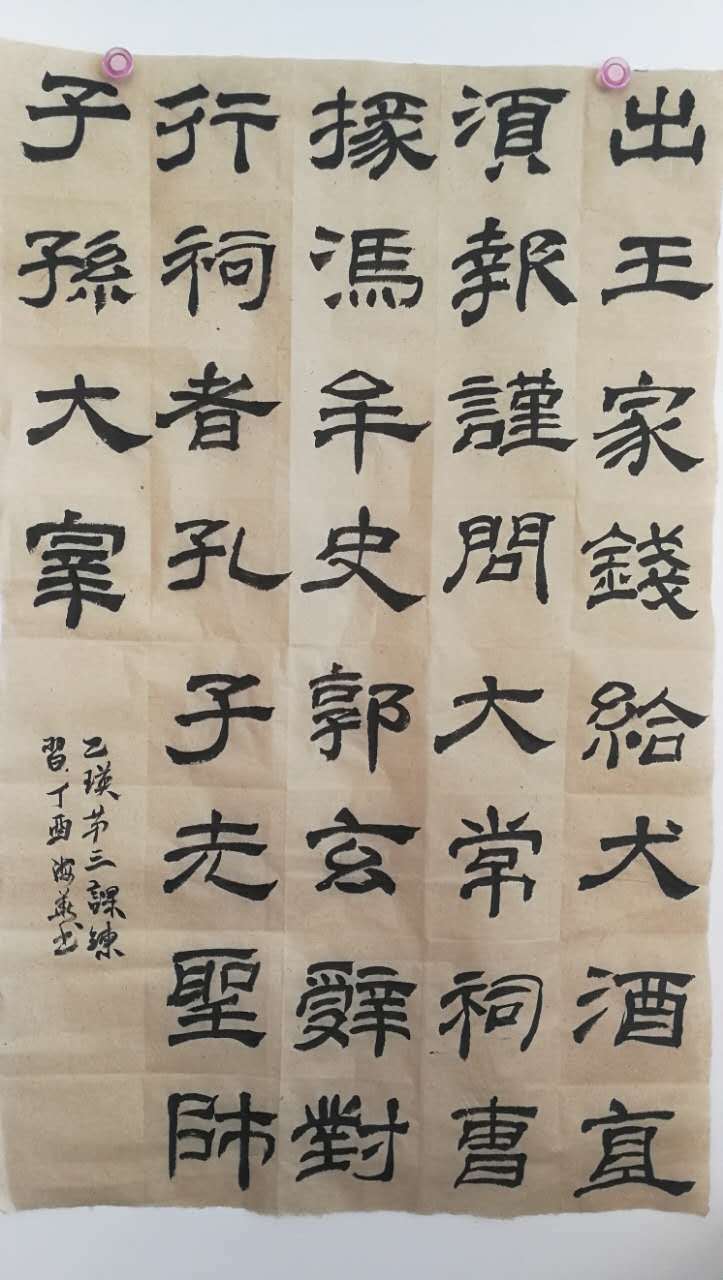
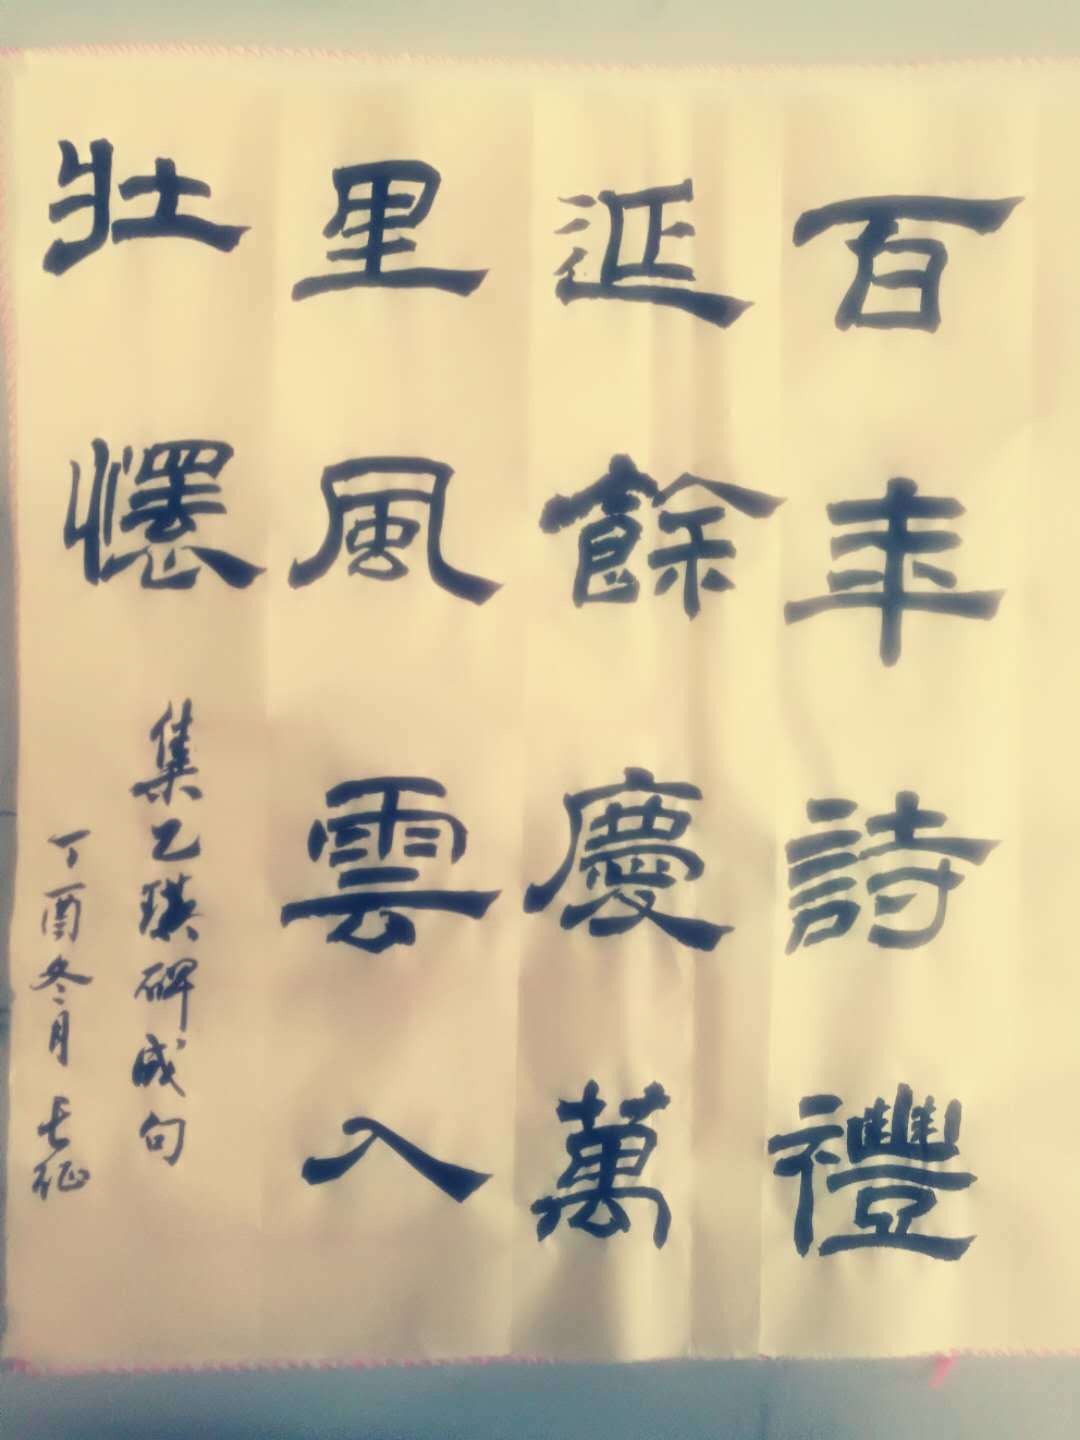
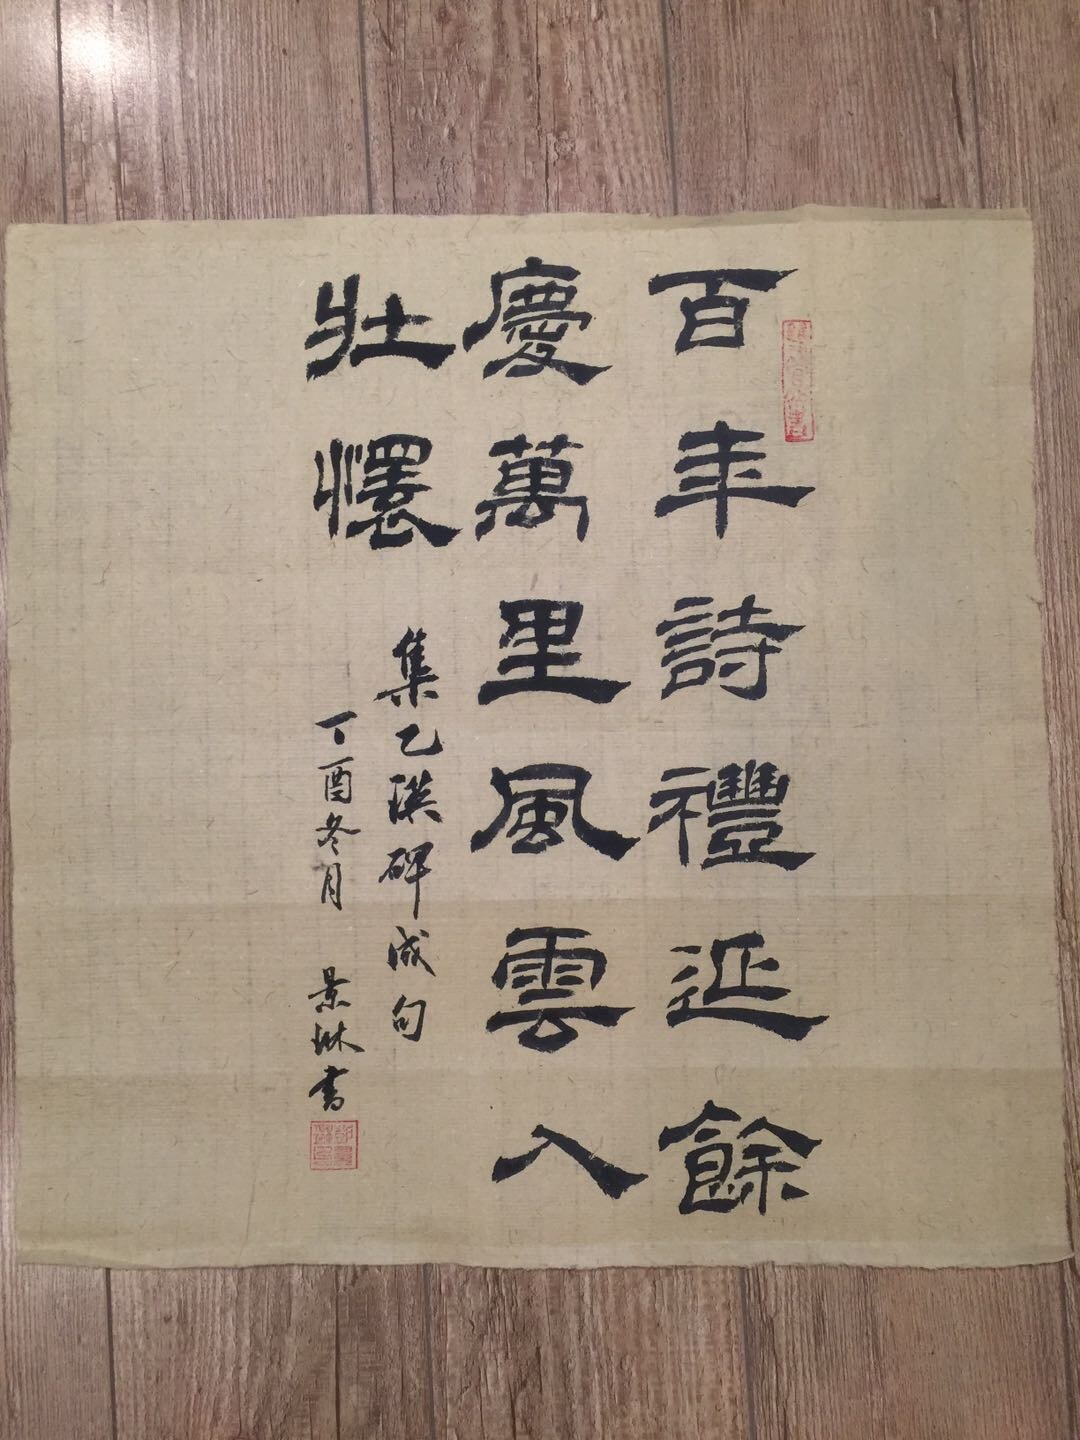
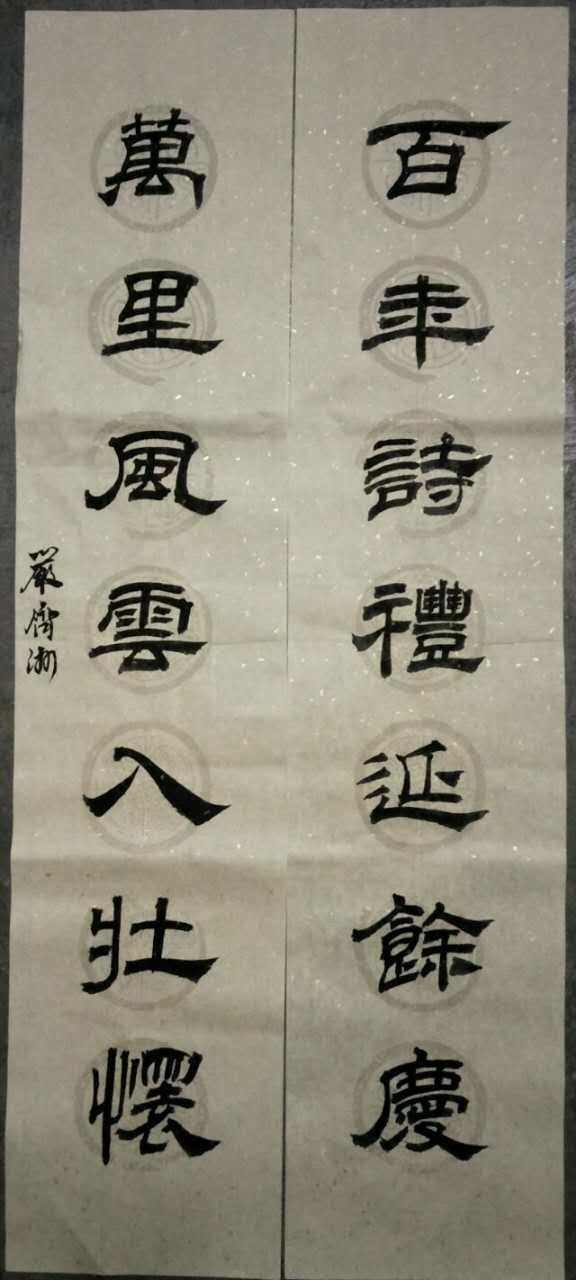
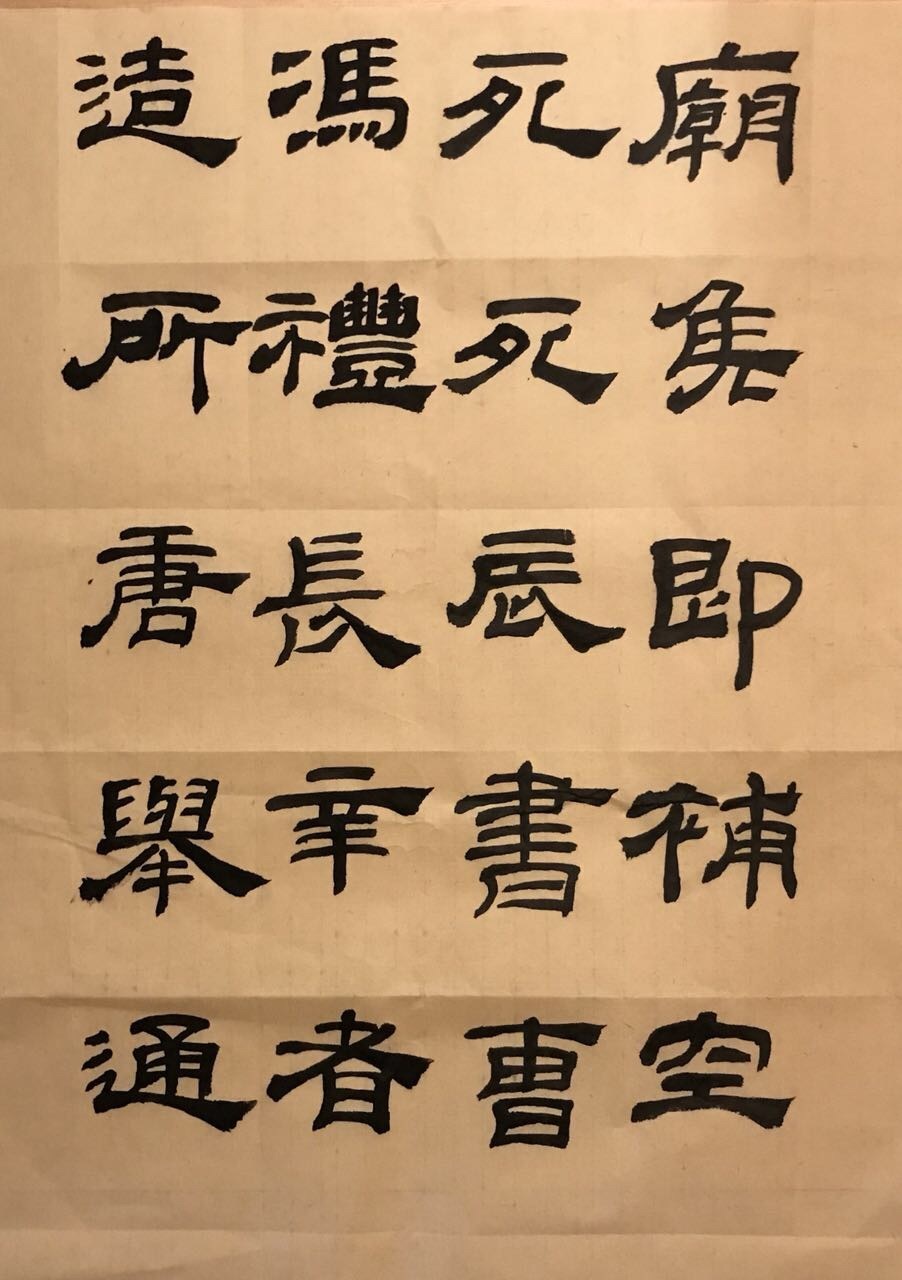
《乙瑛碑》学员作品图
▽
『zhiyuan 作品』
![zhiyuan 1]()
『崔鸿燕 作品』
![崔鸿燕 局部1]()
『立夏 作品』
![立夏 1]()
『艺海无涯 作品』
![艺海无涯 局部 1]()
『byte 作品』
![byte 1]()
『Kevin 作品』
![Kevin 1]()
『阿甲 作品』
![阿甲1]()
『安人 作品』
![安人]()
『高淑英 作品』
![高淑英 1]()
『顾宗涟 作品』
![顾宗涟 1]()
『鹤峰山人 作品』
![鹤峰山人 1]()
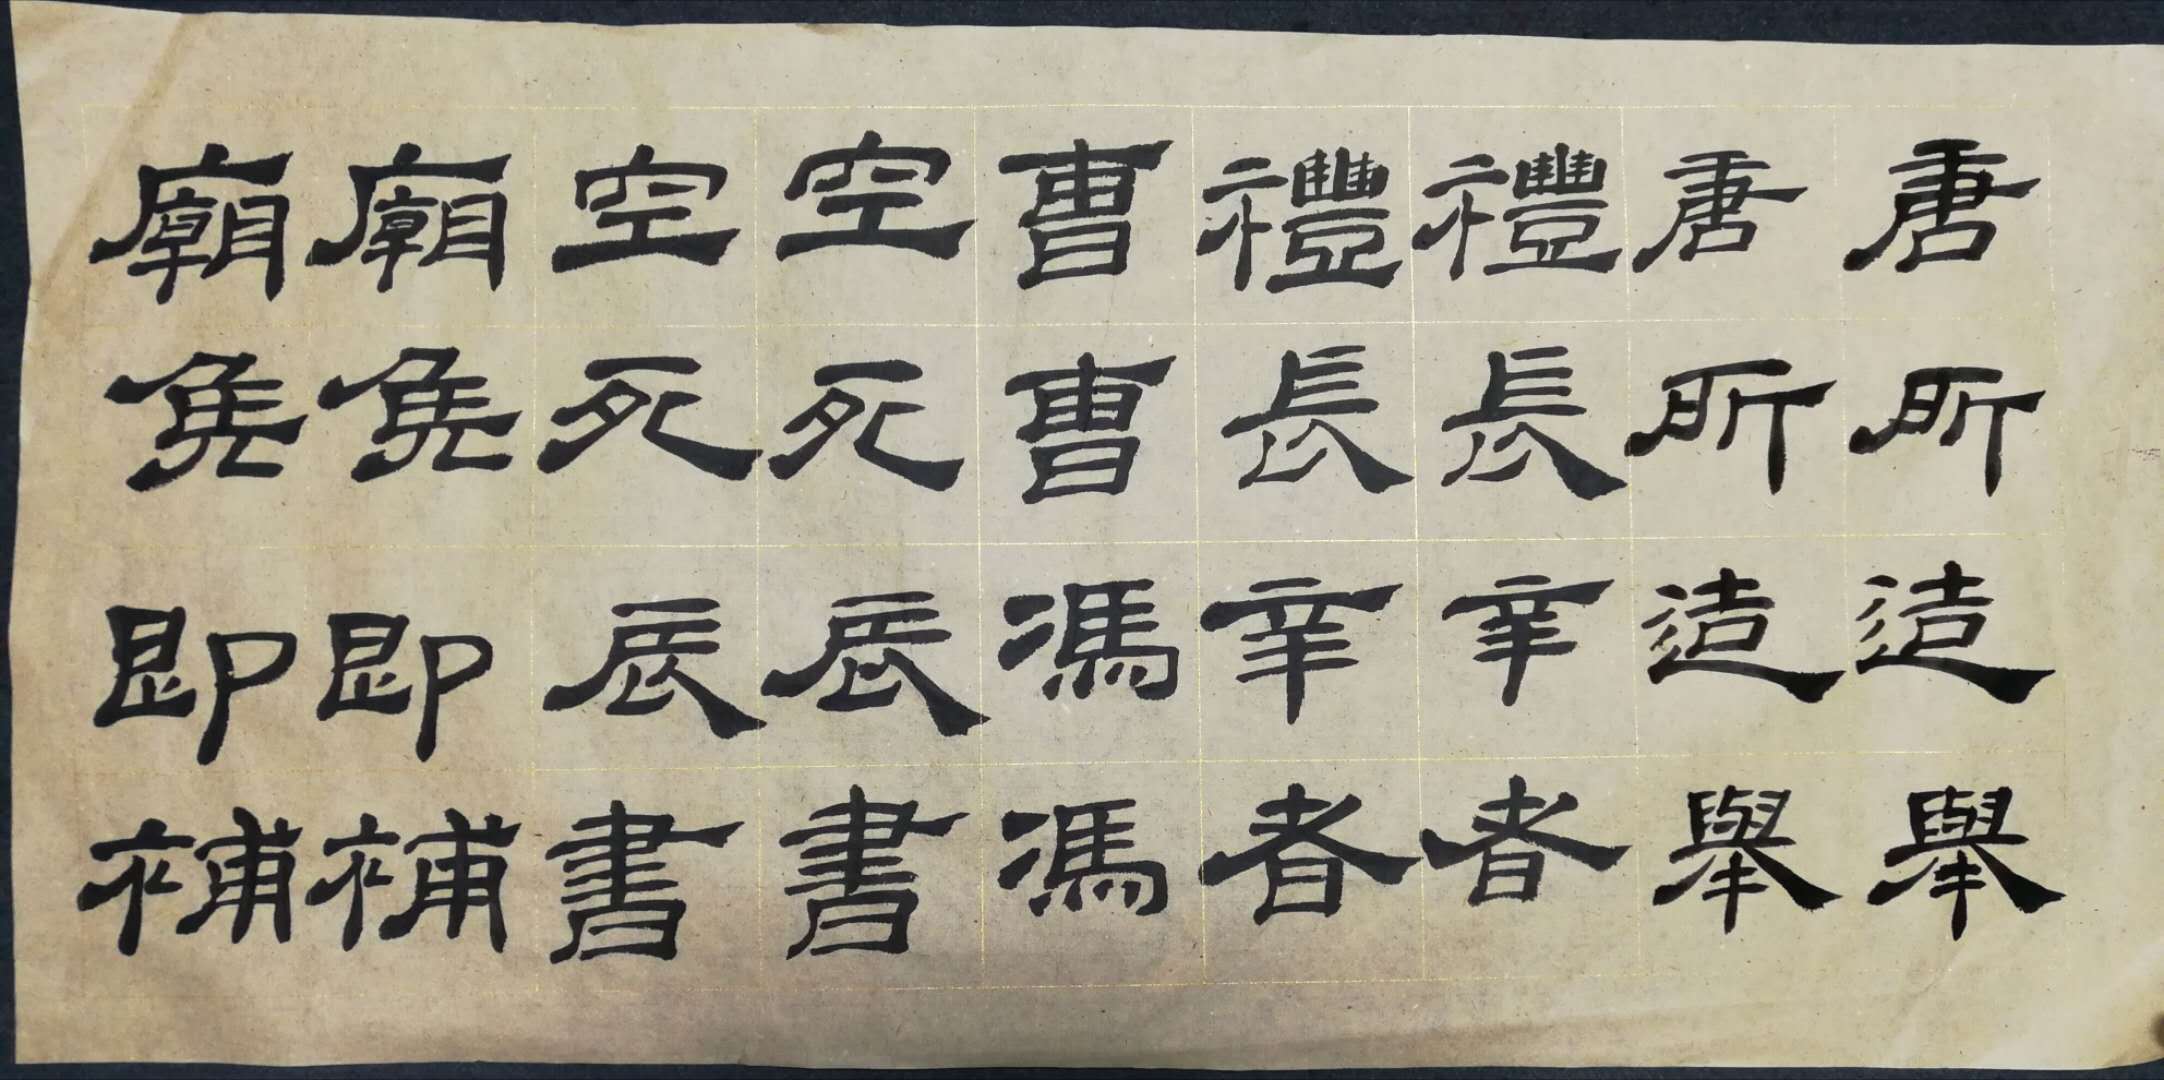
『金金 作品』
![金金 1]()
『九棵树 作品』
![九棵树 1]()
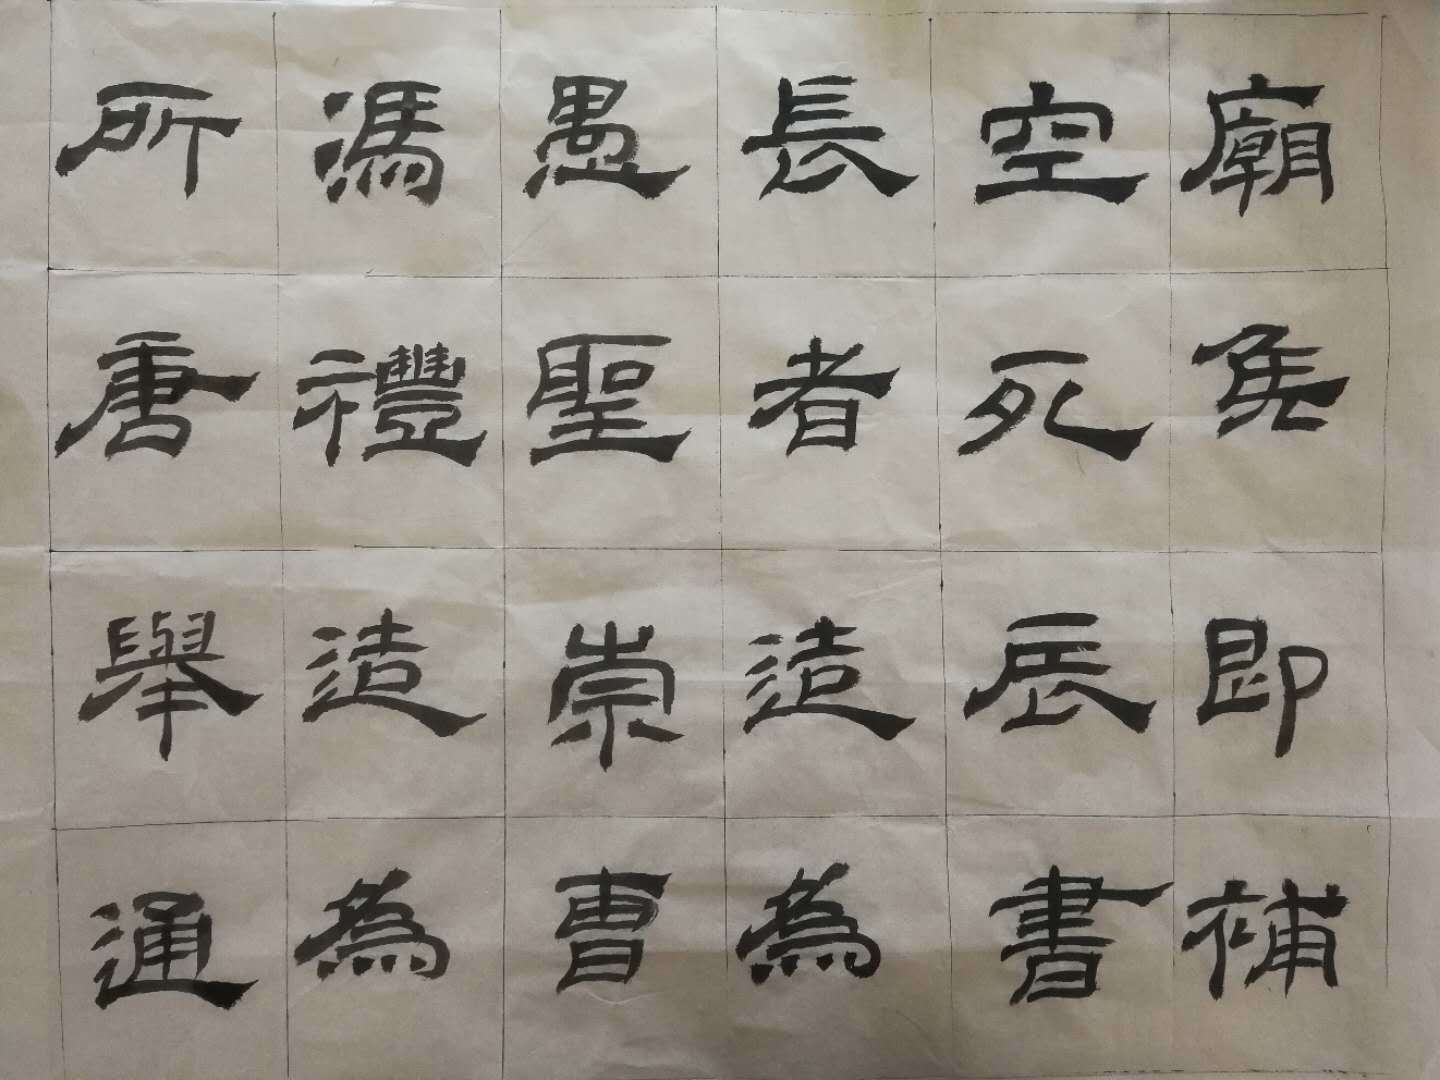
『君明 作品』
![君明 1]()
『拉布大林 作品』
![拉布大林 1]()
『乐山乐水 作品』
![乐山乐水1]()
『骆船长 作品』
![骆船长 1]()
『楠 作品』
![楠1]()
『情臻 作品』
![情臻1]()
『田毅 作品』
![田毅1]()
『徐艳 作品』
![徐艳 1]()
『庸君 作品』
![庸君 1]()
『悠悠 作品』
![悠悠 1]()
『紫玉 作品』
![紫玉 1]()
『e 2 百年 作品』
![e 2 百年]()
『LIN 作品』
![LIN 2]()
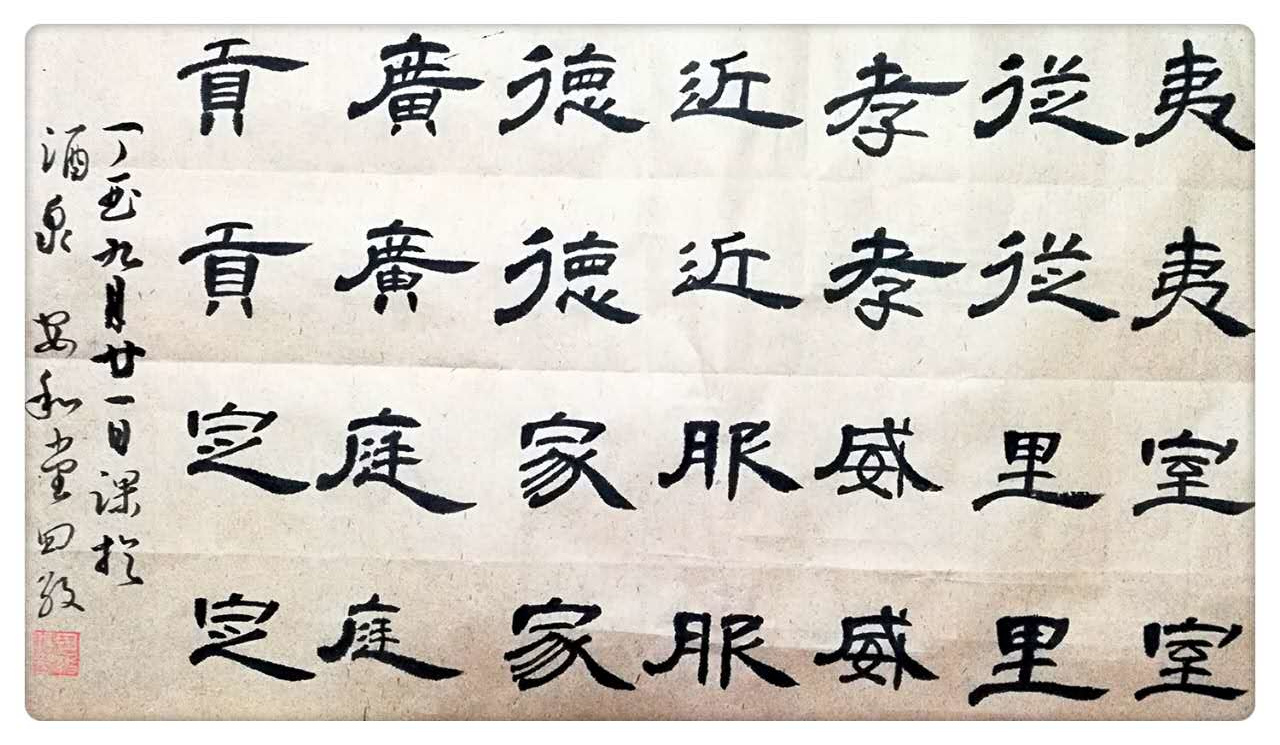
『山石齐洲 作品』
![山石齐洲 2 百年]()
『瓦楞上的草 作品』
![瓦楞上的草]()
『张健 作品』
![张健2]()
『张相勇 作品』
![张相勇2]()
![2017081803515330386]()
三个月时间写出这个效果
而且是每个学员都达到这个效果
学员们棒棒哒
小编也想报个王老师的班跟着学习一下了
![虚线]()
学员有话说
![2017081803401950587]()
学习隶书的三个月转瞬到了尾声,王老师带我们跨入汉碑宝库的大门,领略到汉碑的魅力,燃起了学隶书的浓厚兴趣,感觉没学够。
曹全、乙瑛、礼器、张迁、石门颂,老师精心选出这些由浅及深,各具特色的碑,系统的策划了课程。每节课几十个视频示范加理论分析,迅速让我们了解碑帖特点,能尽快把握住书写感觉。例如我原来惧怕写一《张迁碑》,不知道这样沉厚朴拙的线条怎样用笔和表现,没想到一节课下来,居然迫不急待的写了两篇,似乎有了实践和体验的信心!想来是前面参加了王老师篆书班,对线条有了历练的基础,而老师说张迁的用笔从篆书中来,所以找到些感觉,由衷感谢!
王老师的教学风格还有一点很具吸引力,就是“自然”,可以看出老师是精心备课的,但讲课时就像和同学们的自然交流,化繁为简,独辟蹊径,浅意默化中让我们学到了知识,体会到了书写特点。我想,这和老师一贯提倡的“自然书写”是相通的。
也再次感谢墨池提供了这么好的学习机会和环境,有优秀的老师和热情的同学,期待楷书班开课!
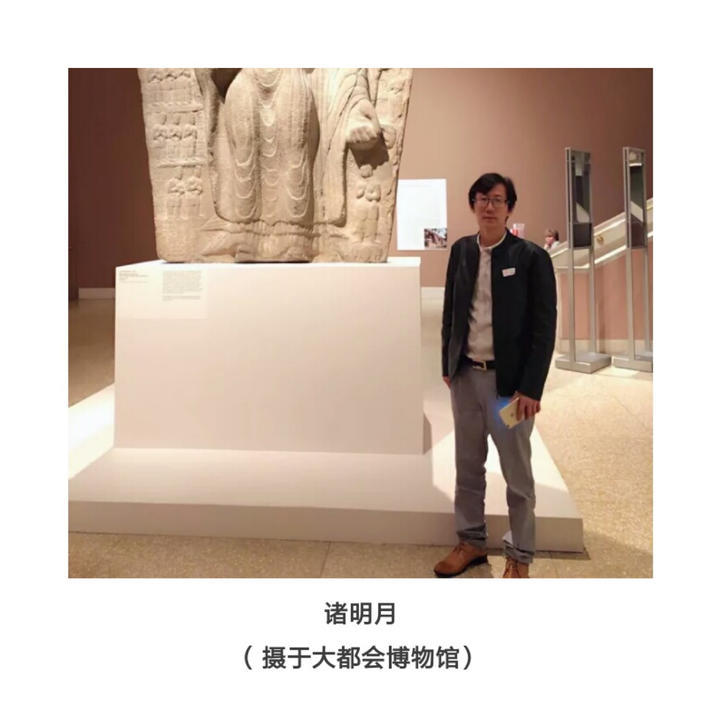
——志远·上海.闵行
![2017081803420621704]()
经过三个月篆书基础入门学习,继续跟着长远老师的课学习隶书。端庄典雅的庙堂气,拙朴开张的雄浑金石气,汉碑风格各异的美,璨若星辰,美不胜收,我却一直只能止步于远观,没有信心下笔落墨一写。
课程选的经典汉隶《曹全碑》《乙瑛碑》《礼器碑》和《张迁碑》《石门颂》,长远老师从秀逸干净的《曹全碑》的细腻秀逸入手,先训练同学们对隶书字形结构和审美基础,从篆之瘦长移情到隶之宽扁,从圓劲中和的中锋,指尖拈笔过渡到蚕头雁尾提按出波磔的柔媚。从结实的搭接到笔画之间有或散或连的疏朗变化。这个过渡,发现自己的手,居然有了惊喜赞叹的进步。
再是典重的《乙瑛碑》,从圆润的笔画到石料剥落的金石味线质,老师的运笔,开始有了丰富的变化,侧重细节特征的放大精讲和与《曹全碑》对照比较,使我们迅速地抓到乙瑛碑的书写特点,写出了乙瑛碑的庙堂气质。
再是瘦硬如铁的《礼器碑》和拙厚端方的《张迁碑》,虽然课程紧张浅尝则止,自己的练习量不多,但老师精心准备大量范字教学视频,几乎覆盖所有不同的结体和笔画特点,在墨池反复回看,加以自身足够练习和之前的基础,并不难以掌握。
看长远老师视频范字示范,爽利痛快得很。不同的碑书,老师书写的节奏,推提绞翻,有时矫若游龙惊鸿,翰逸神飞,有时拙厚滞涩若耄耋老者,蹀躞迟重,笔毫纸墨的洇化,同样一管笔一碟墨,透过刀锋看笔锋,在同学们眼前复现不同的原碑,气质迥异的审美内蕴。
三个月的课程快而充实紧凑,辛苦老师每堂课为我们准备至少四十个字的高清视频讲解,课后百忙之中为我们耐心仔细地改作业,正因为老师字字俱到的点评,所以我们的书写才有了日新月异的进步。学习一门雅致的爱好,也许需要穷尽一生的努力练习,见字观心,在书写中见天地,见自己。只要热爱,那就坚持。长远老师的楷书段课,约起~。
——立夏·福建.厦门![2017081803545466122]()
一直以来,我非常喜欢隶书,尤其喜欢曹全碑。但平时都仅凭字帖和书法书籍自学自写,以此为乐。没有进行系统的学习,所以进步缓慢。
一次偶然的机会发现了墨池并参加了一些试听课,也听过王老师的各种课程,觉得挺好,后来就报名了王老师的隶书课程,也正是自己在学习隶书过程所需要。
王老师的课通俗易懂,深入浅出,书写示范视频丰富到位,点评作业耐心细致。这样的学习机会对我来说如饥似渴,我珍惜每一次的课程讲解,珍惜每一次的作业点评。
转眼间,三个月的学习就要结束了。通过三个月的学习,使我获益良多,首先从理念上得到了提升,而且明确了学习方向;其次使我对隶书各体风格和笔法、章法有了更深的理解;第三,在书写技法上有了一定程度的进步,并对创作有了一个新的认识,也清楚了自己过去写字过程中的错误和不足。
在此,感谢王老师的辛勤付出和精心教导!为王老师的敬业精神点赞!同时感谢班长的辛勤付出!感恩和同学们相遇,共同学习,共同进步。
书法是一辈子的修行,只有把书法融入生活,人生才能其乐无穷。但愿大家学有所成,技艺精进。
——钟雪燕·广东.惠州![2017081803554748787]()
在王老师这学习书法,需然只有短短的几个月,学完篆书和隶书的知识和练笔,我深感胜过我自已瞎练的两年,这主要是1,通过这样的系统学习,对书法有了更进一步的了解,更爱上了书法的学习和练笔;2,通过这段时间的练笔我最大的进步就是跟着王老师的视频示范,能一定的控笔在纸上行走,对线条的起笔,行笔,收笔都有一定的灵活,多变的撑控,3,以前自己瞎练的时候就是几笔呆板的笔划和框架,现在学了后什么才是书法,好像懂了一点点,也就是说每笔一个笔划每一个字的结构都是有一定的法度的,在写一个字的时候,知道了去怎样读贴。我想等把整个课程学完后,还有更多的收获。
——徐艳·北京
![2017081803413785072]()
![微信图片_20171215104856]()
我是个初学者,原来认为隶书都一个样:扁平,有蚕头雁尾(都说是燕尾,学了才知道是雁尾),笔画粗细差不多,学三个月时间长点吧。
学起来才发现,隶书博大精深,三个月仅是浅尝而已,时间竟然不够用!
长远老师的教学深入浅出,笔法精炼,讲解到位,点评中肯。三个月让大家快速了解到了汉隶的不同风采,学到了实用的技法,俺也敢在朋友圈里发发临作了。
期待更精彩的下一阶段,不忘初心,甘苦与共,学有所成!
——秦健
![虚线]()
王老师的长期班
写得好的不是一两个人
可以说是全部!
优秀屡屡100%!
![2017081803515330386]()
【 班 级 特 色 】
每周一次作业+语音点评
不定期的群内点评
每周一次时长1.5小时课程+40个左右清晰教学视频
免费增加理论知识串讲课
三个月12次课不够上,额外另加技法课
![2017081807194085232]()
小编还有话说![440ef293-0d0b-497a-a5b5-5c6e42e03eb6]()
隶书阶段将于本月23日结束
经过一周的修整
王老师带着大家继续起航
进行楷书阶段的学习![2017081803413785072]()
•
扫
码
订
阅
![王长远]()
点
击
订阅课程链接
来吧
笔墨纸砚
大干一场
让写字不再是孤单的修行
![123]()
让我们一起期待
三个月后的又一次大丰收
——END——


 时间过得真快


